How to Build a Small House Kit: Getting Started
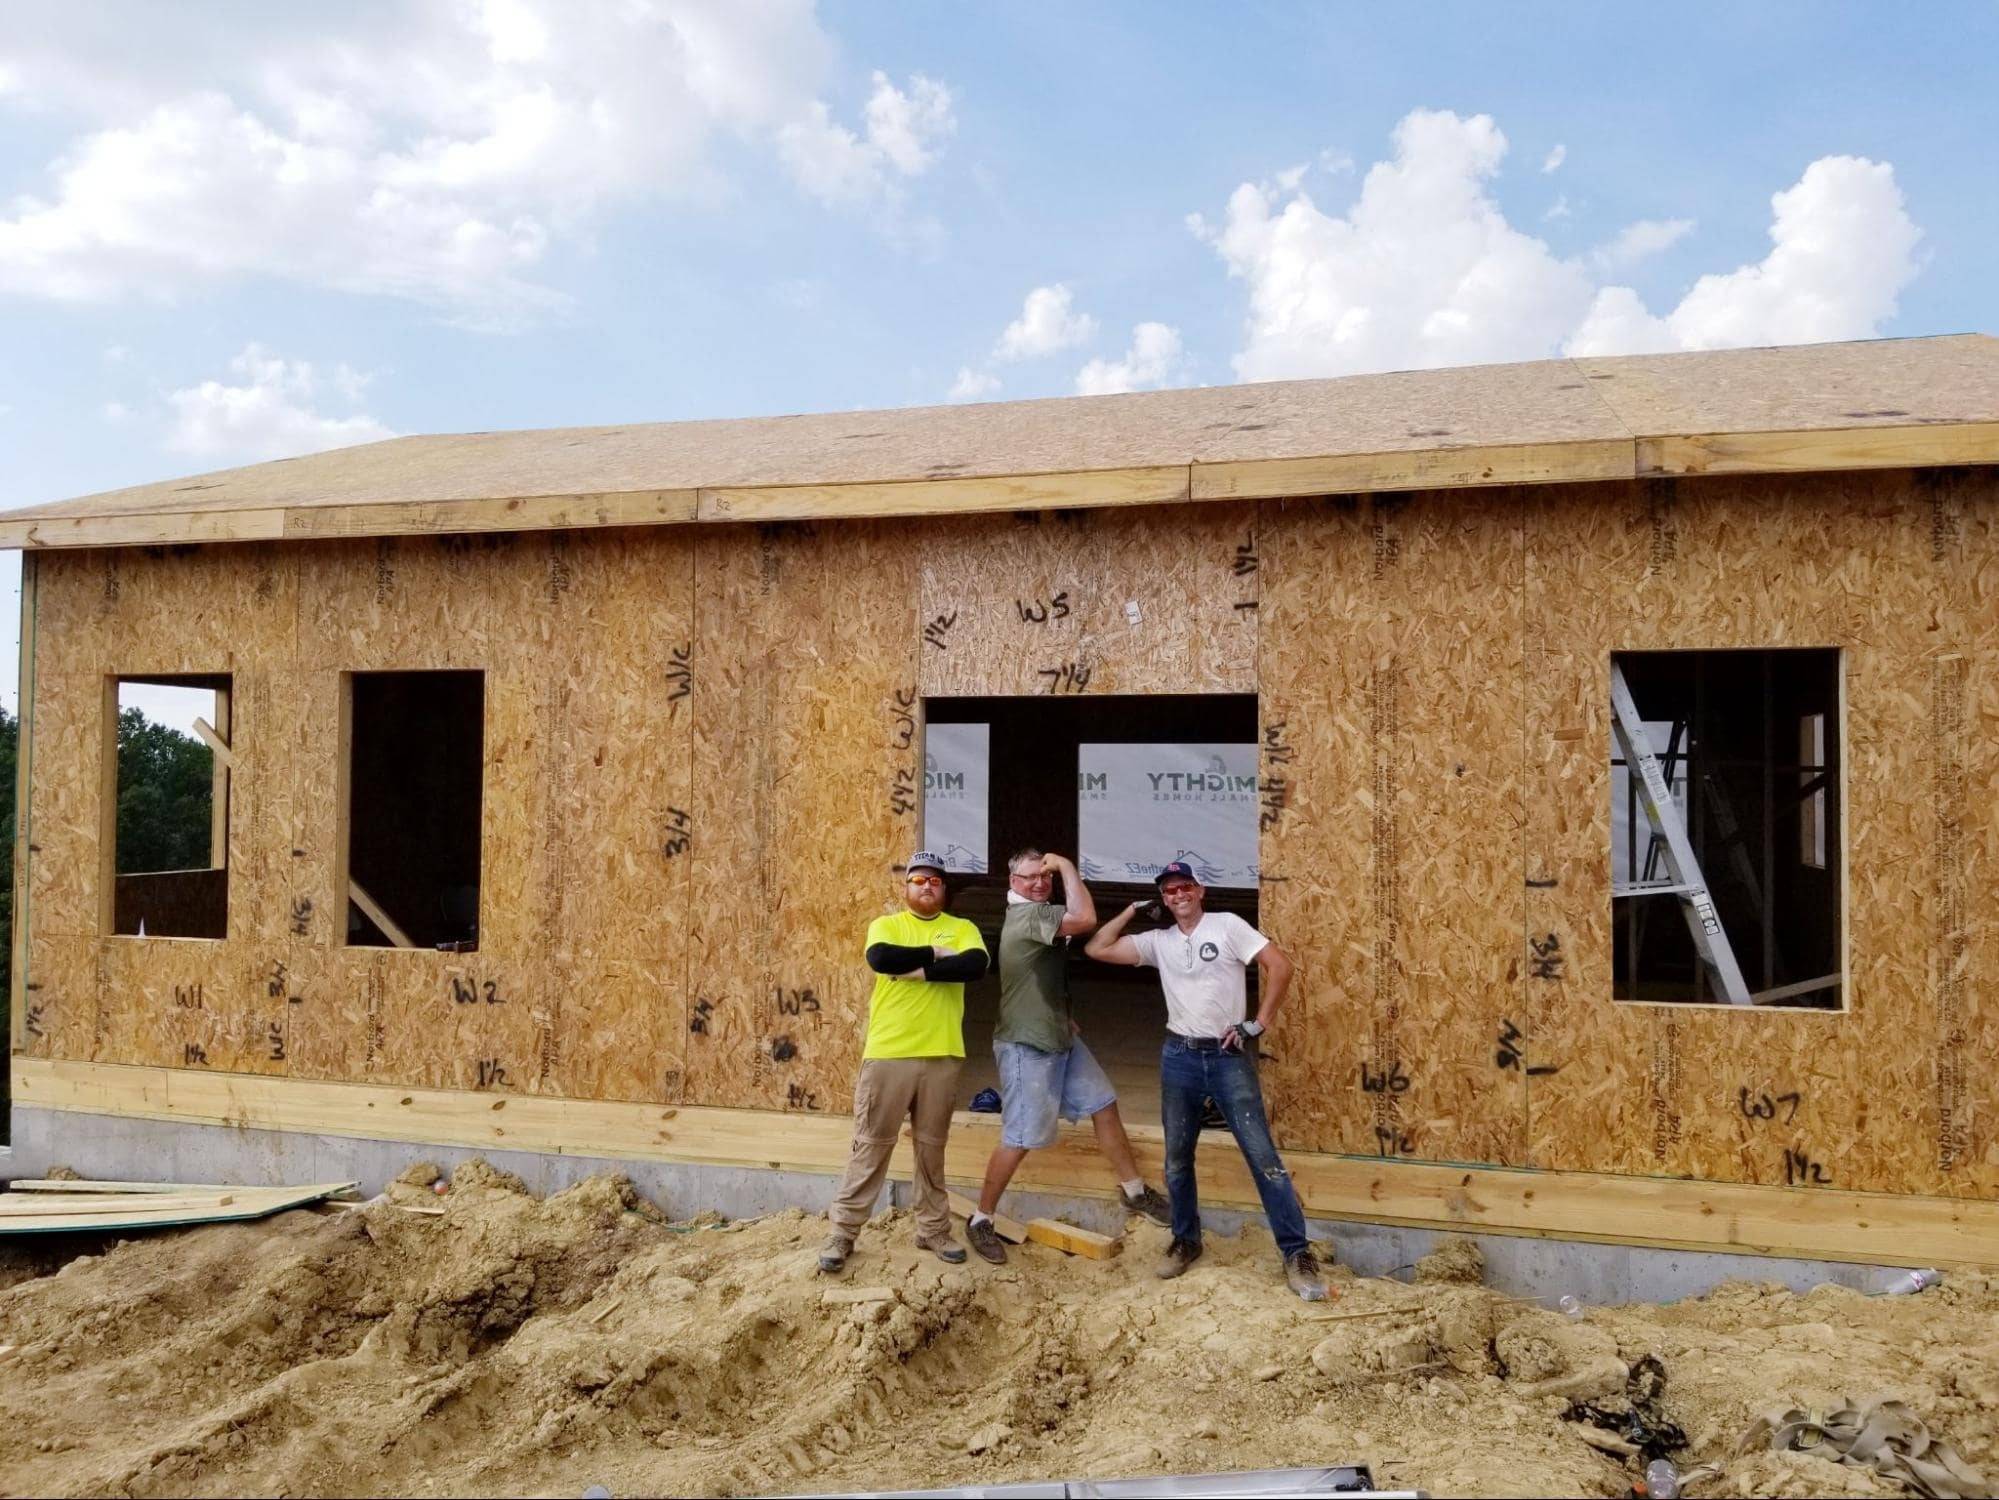

When most people think of home construction, they immediately think of traditional framing with 2x4 wood studs. These are called stick-built homes.
But a growing number of people are considering DIY home building as an alternative to purchasing a new home, driven by factors such as the shortage of available homes, not wanting to buy someone else’s problem, cost saving, customization options, and living in a suitable location.
Approximately 10% of new homes in the U.S. are constructed by DIY builders, who hope to build equity quicker by cutting costs by up to 30%. While some may choose to build a stick-built home, many are instead opting to build prefabricated home kits.
Learn How to Build a Small Kit Home
Index
Click the headline to explore the topic.
- Step 1: Choosing the Perfect Lot
- Step 2: Choosing Your Prefab House Kit
- Step 3: Navigating Codes and Permits
- Step 4: Building the Foundation
- Step 5: Preparing for Delivery
- Step 6: Assembling Your House Kit
- Step 7: Wrapping the Home's Exterior
- Step 8: Installing Windows and Doors
- Step 9: Wiring in Your Home
- Step 10: Roofing Your Home
- Step 11: Plumbing Your Home
- Step 12: Installing Ductless HVAC
This series guides you through building a prefab kit home with structural insulated panels (SIPs), an increasingly popular homebuilding choice. A SIPs kit home is stronger, three times more energy efficient, and can be completed faster, saving you money on interest costs if you’re relying on an initial construction loan. Check out the models from Mighty Small Homes or jump down to the section about selecting a kit home.
The DIY home-building process involves linear and non-linear steps. While some steps must follow a specific sequence, others can be tackled in a more flexible order. Additionally, it helps to understand the beneficial role of a contractor. Hiring a contractor for specific tasks beyond your comfort and skill level can ensure everything is up to code.
By following this series of articles, you'll gain valuable insights and step-by-step guidance to confidently embark on your DIY home-building adventure. Here are the highlights of the key steps when building a home yourself.
Step 1: Choosing the Perfect Lot for Your House Kit

DIY home building starts with choosing the right lot or land. That doesn’t mean you can be looking at home styles and kits along the way. This crucial first step involves several factors to ensure your new home is built in the perfect spot.
But why is this so important?
It's all about "location, location, location!" Choosing the right spot factors into daily life, long-term satisfaction, and your home’s value. You’ll want to consider access to utilities, school districts, traffic today and in the future, and amenities like shopping.
Check local zoning laws to make sure the land you have your eye on is suitable for residential construction. Also, check whether there are homeowners associations (HOA) to contend with.
Step 2: Choosing Your Prefab House Kit

Choosing the right kit home is a crucial step because it influences other DIY decisions. With various kit types available, it's essential to find the one that fits your needs and preferences.
Here’s a quick look at three common kit systems
Panelized: Pre-cut and ready to assemble, panelized kits include essential components like wall panels and roof trusses. They save time and are generally more affordable than other options. However, they require some construction skills for assembly and may need additional materials for finishing. Flexibility in design is also somewhat limited compared to modular kits.
Modular: These kits come in pre-built sections that are assembled on-site, offering a faster construction process with high precision and quality control. Customizable design options are a significant advantage. On the downside, modular kits are generally more expensive, require transportation, and need a crane for installation. The design may also be limited by the size of the modules.
Structural Insulated Panels: Known for superior insulation, precision fit, and energy efficiency, SIP kits are easy to assemble and provide a strong, durable structure. These homes can withstand wind speeds up to 150 mph. While offering excellent performance, SIP kits come with a somewhat higher initial cost. Faster construction, energy efficiency, and no need for skilled labor for framing save costs.
Step 3: Navigating Codes and Permits for Building Houses

Getting your DIY home project off the ground means understanding and adhering to local building codes and regulations. This crucial step ensures your build meets safety and legal standards. This may be your first experience with bureaucracy.
One word of advice: patience.
Codes and regulations have their place. They specify the minimum standards for safety and quality in construction. These can include zoning laws, occupancy permits, and environmental regulations. They vary by jurisdiction. There may be county rules or city requirements depending on the population.
Steps for Obtaining Permits
- Research Local Requirements
- Prepare Your Documentation
- Submit Your Application
- Pay Permit Fees
- Schedule Inspections
- Maintain Records
Read Choosing Permits and Codes
Step 4: Building the Kit Home’s Foundation

A solid foundation prevents issues like settling or shifting that could lead to structural damage. It's crucial for maintaining home integrity, safety, and durability over time.
When choosing and planning your home’s foundation, consider the soil type, climate, building codes, and your budget. Costs can vary, making it important to balance quality and affordability.
Common Foundations
- Concrete Slab: A cost-effective option ideal for warm climates with stable soil
- Crawl Space: Elevates the home slightly above ground level, allowing access to plumbing and electrical systems
- Basement: Adds additional living or storage space and is ideal for colder climates
- Pillar and Beam: Uses posts or piers to support beams and the home above, ideal for uneven terrain or flood zones
Step 5: Shipping and Preparing for Delivery
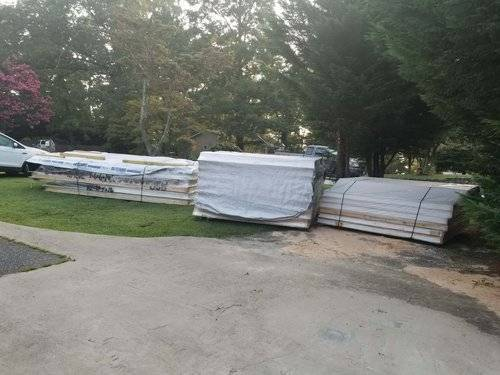
Now things start getting exciting – and real. Proper preparation for delivery kicks off a smooth process and sets the stage for successful assembly.
Stay in touch with the delivery team to confirm the schedule and address. Upon arrival, inspect the kit components for any damage or missing parts to ensure everything is in order before you begin assembly. With thorough preparation, you can ensure a smooth delivery process and focus on building your new home.
What to Do in Advance
- Clear the Site: Make sure the delivery area is accessible and free of obstacles like debris or overgrown vegetation.
- Prepare Access Routes: Verify that roads and driveways can accommodate the semi delivery trucks, and make sure there are no obstructions.
Step 6: Assembling a SIP House Kit

The moment you’ve been waiting for — assembling your small house kit. This phase involves bringing all the components together. Our detailed guide provides comprehensive instructions, illustrated with numerous photos, to walk you through each step.
- Details and Instructions: From laying the first panel to securing the final roof tile, our guide covers all the critical details you need to ensure a smooth assembly process. And our team is available to answer questions during assembly.
- Step-by-Step Guide: The step-by-step instructions are accompanied by clear photos that help you visualize and execute the assembly. We break down complex procedures into manageable bites.
- Tips and Tools: Discover valuable tips and the essential tools for assembling your kit. The good news is that assembly uses DIY tools.
Step 7: Wrapping and Protecting the Home’s Exterior
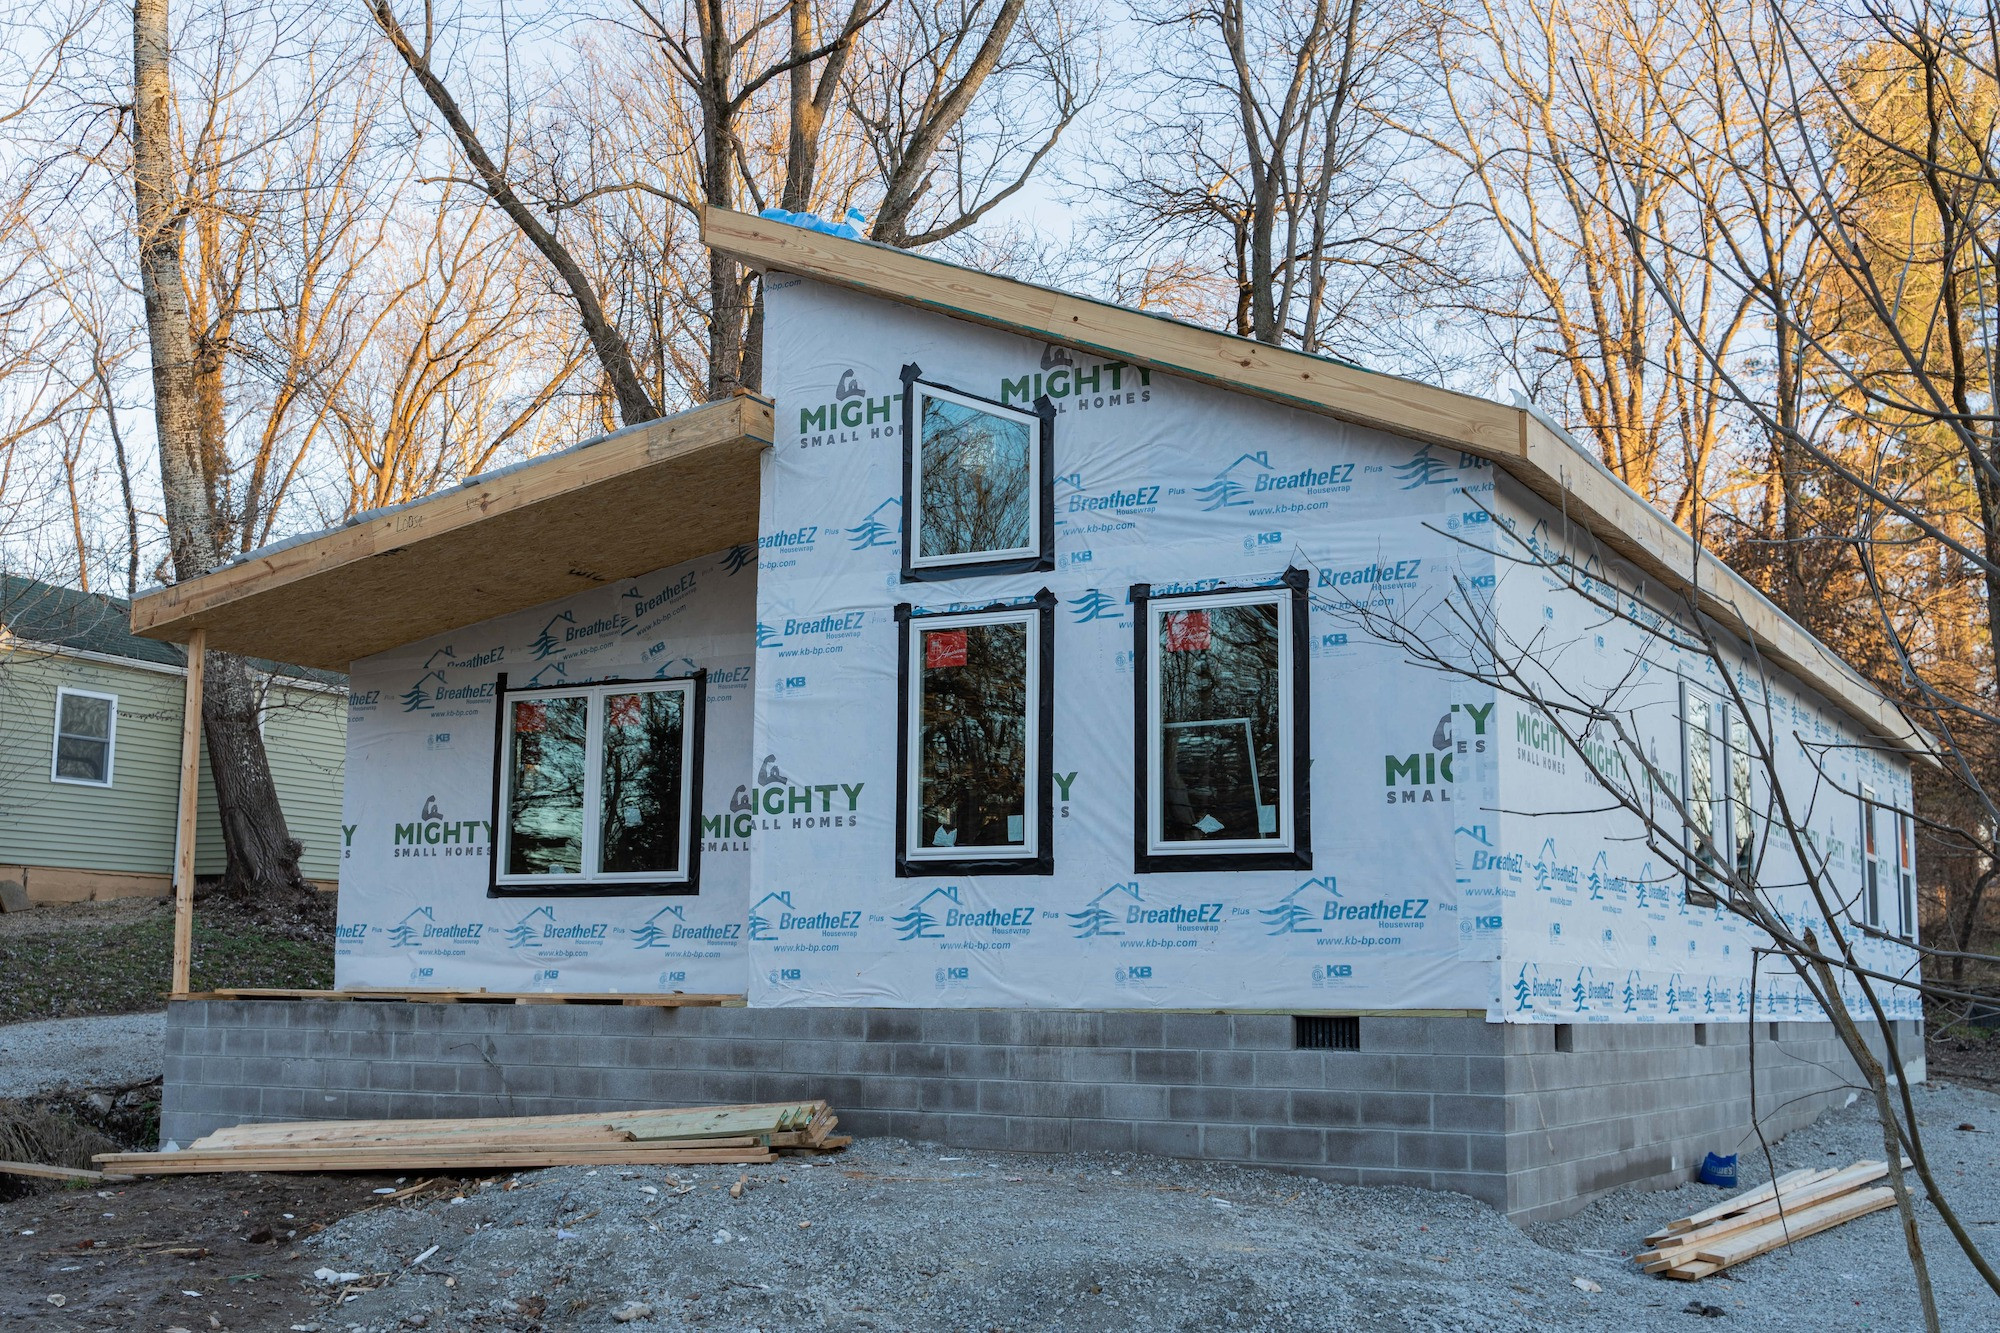
Since your home can be under roof in just a couple of days, it's essential to protect it from the elements as quickly as possible. Wrapping and protecting the exterior of your house kit protects your home from moisture and drafts and ensures long-lasting durability and energy efficiency.
Mighty Small Homes provides high-quality house wrap with your kit. You may know it as Tyvek. We also provide roofing “paper,” the underlayment material before shingles or other final materials are added.
Step 8: Installing Windows and Doors
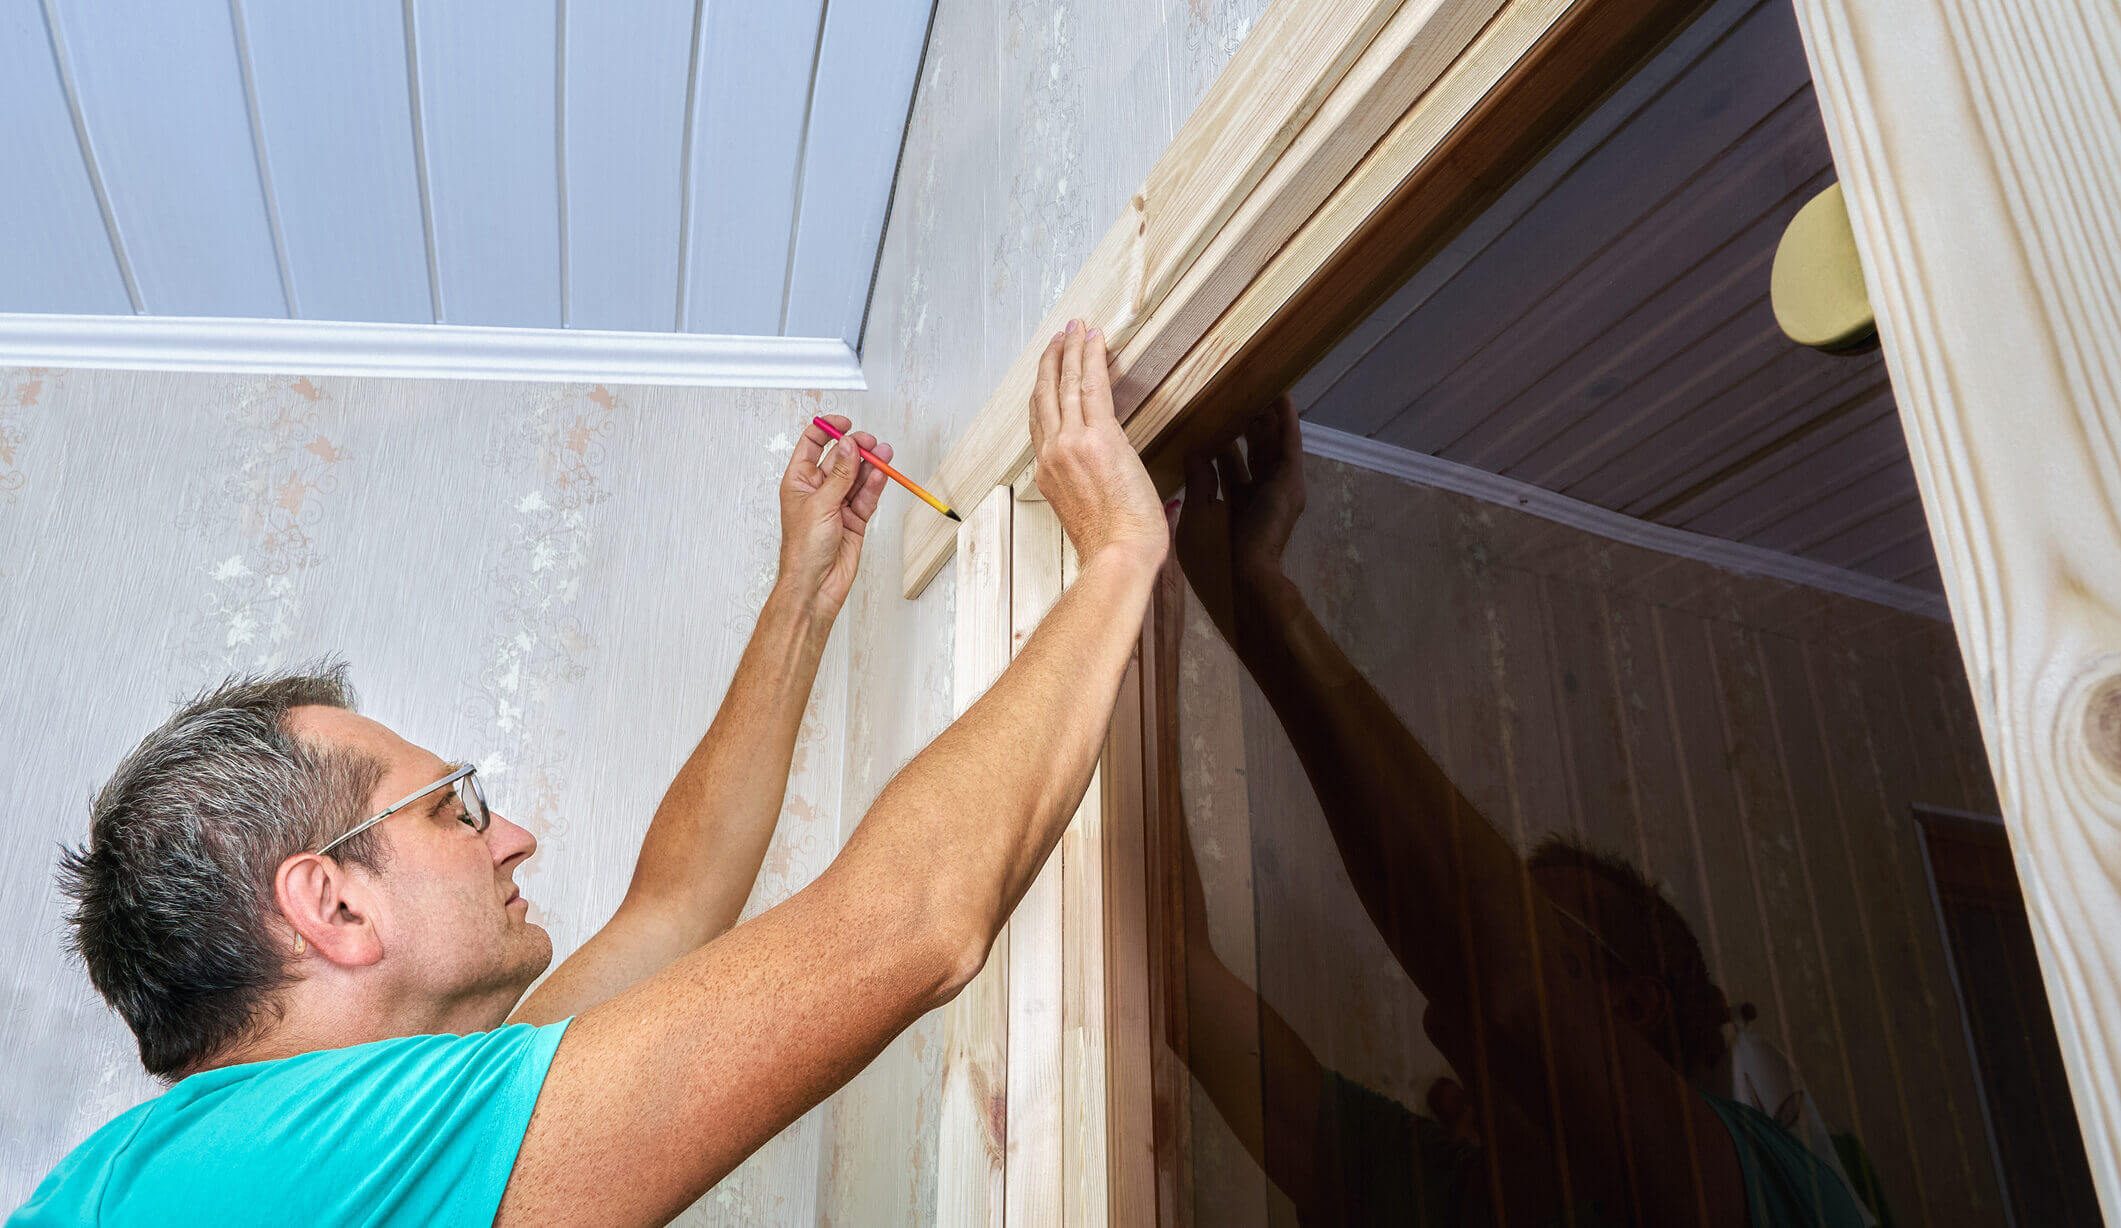
Installing high-quality, energy-efficient windows and doors is an essential step in your DIY home-building project. This process secures your home and plays a significant role in its overall energy efficiency and comfort.
Window and door openings on our kit homes are precut, simplifying installation. No special tools are required for installation.
- Preparation: Ensure window and door openings are correctly framed and level. Remove debris.
- Sealing: Apply flashing tape around the openings to prevent water infiltration
- Setting Windows and Doors: Carefully place the windows and doors into the openings, making sure they are level and plumb before securing them with screws or nails
- Insulation: Fill gaps around windows and doors with spray foam insulation
- Final Sealing: Apply caulking around the exterior of the windows and doors to create a watertight seal.
Read Installing Windows and Doors
Step 9: Considerations for Electrical Wiring in Your Home
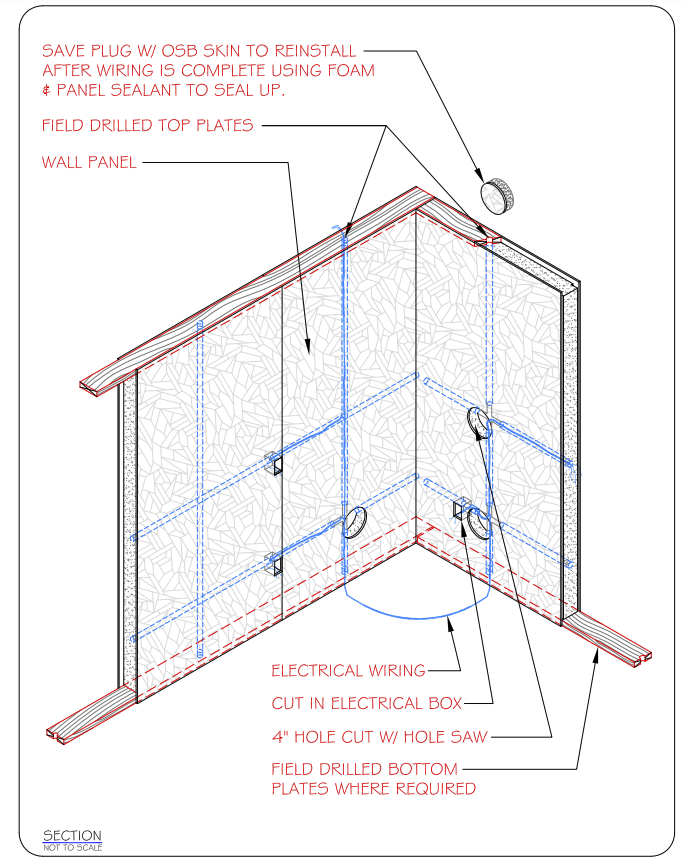
Wiring your small house kit can feel like a complex task, but it’s quite similar to wiring traditional stick-built homes. One notable difference is the presence of predrilled wire chases in the panels. With an electrical plan, you may be able to do some of the wire pulling and later, adding outlets and switches.
Follow all local building codes and regulations. If you’re not confident in your wiring skills, consider hiring a professional electrician to handle all or part of the work. The contractor could offer the wiring plan and handle the service connections.
Basic Steps
- Planning: Start by planning your electrical layout. Determine the locations of outlets, switches, lights, and appliances.
- Pulling Wires: Use the predrilled wire chases in the panels to fish your wires.
- Connecting: Connect the wires to the appropriate fixtures and outlets, following your plan.
- Inspection: Have your wiring inspected by a licensed electrician to ensure it meets local codes and safety standards.
Step 10: Overview of Roofing Your Small House Kit
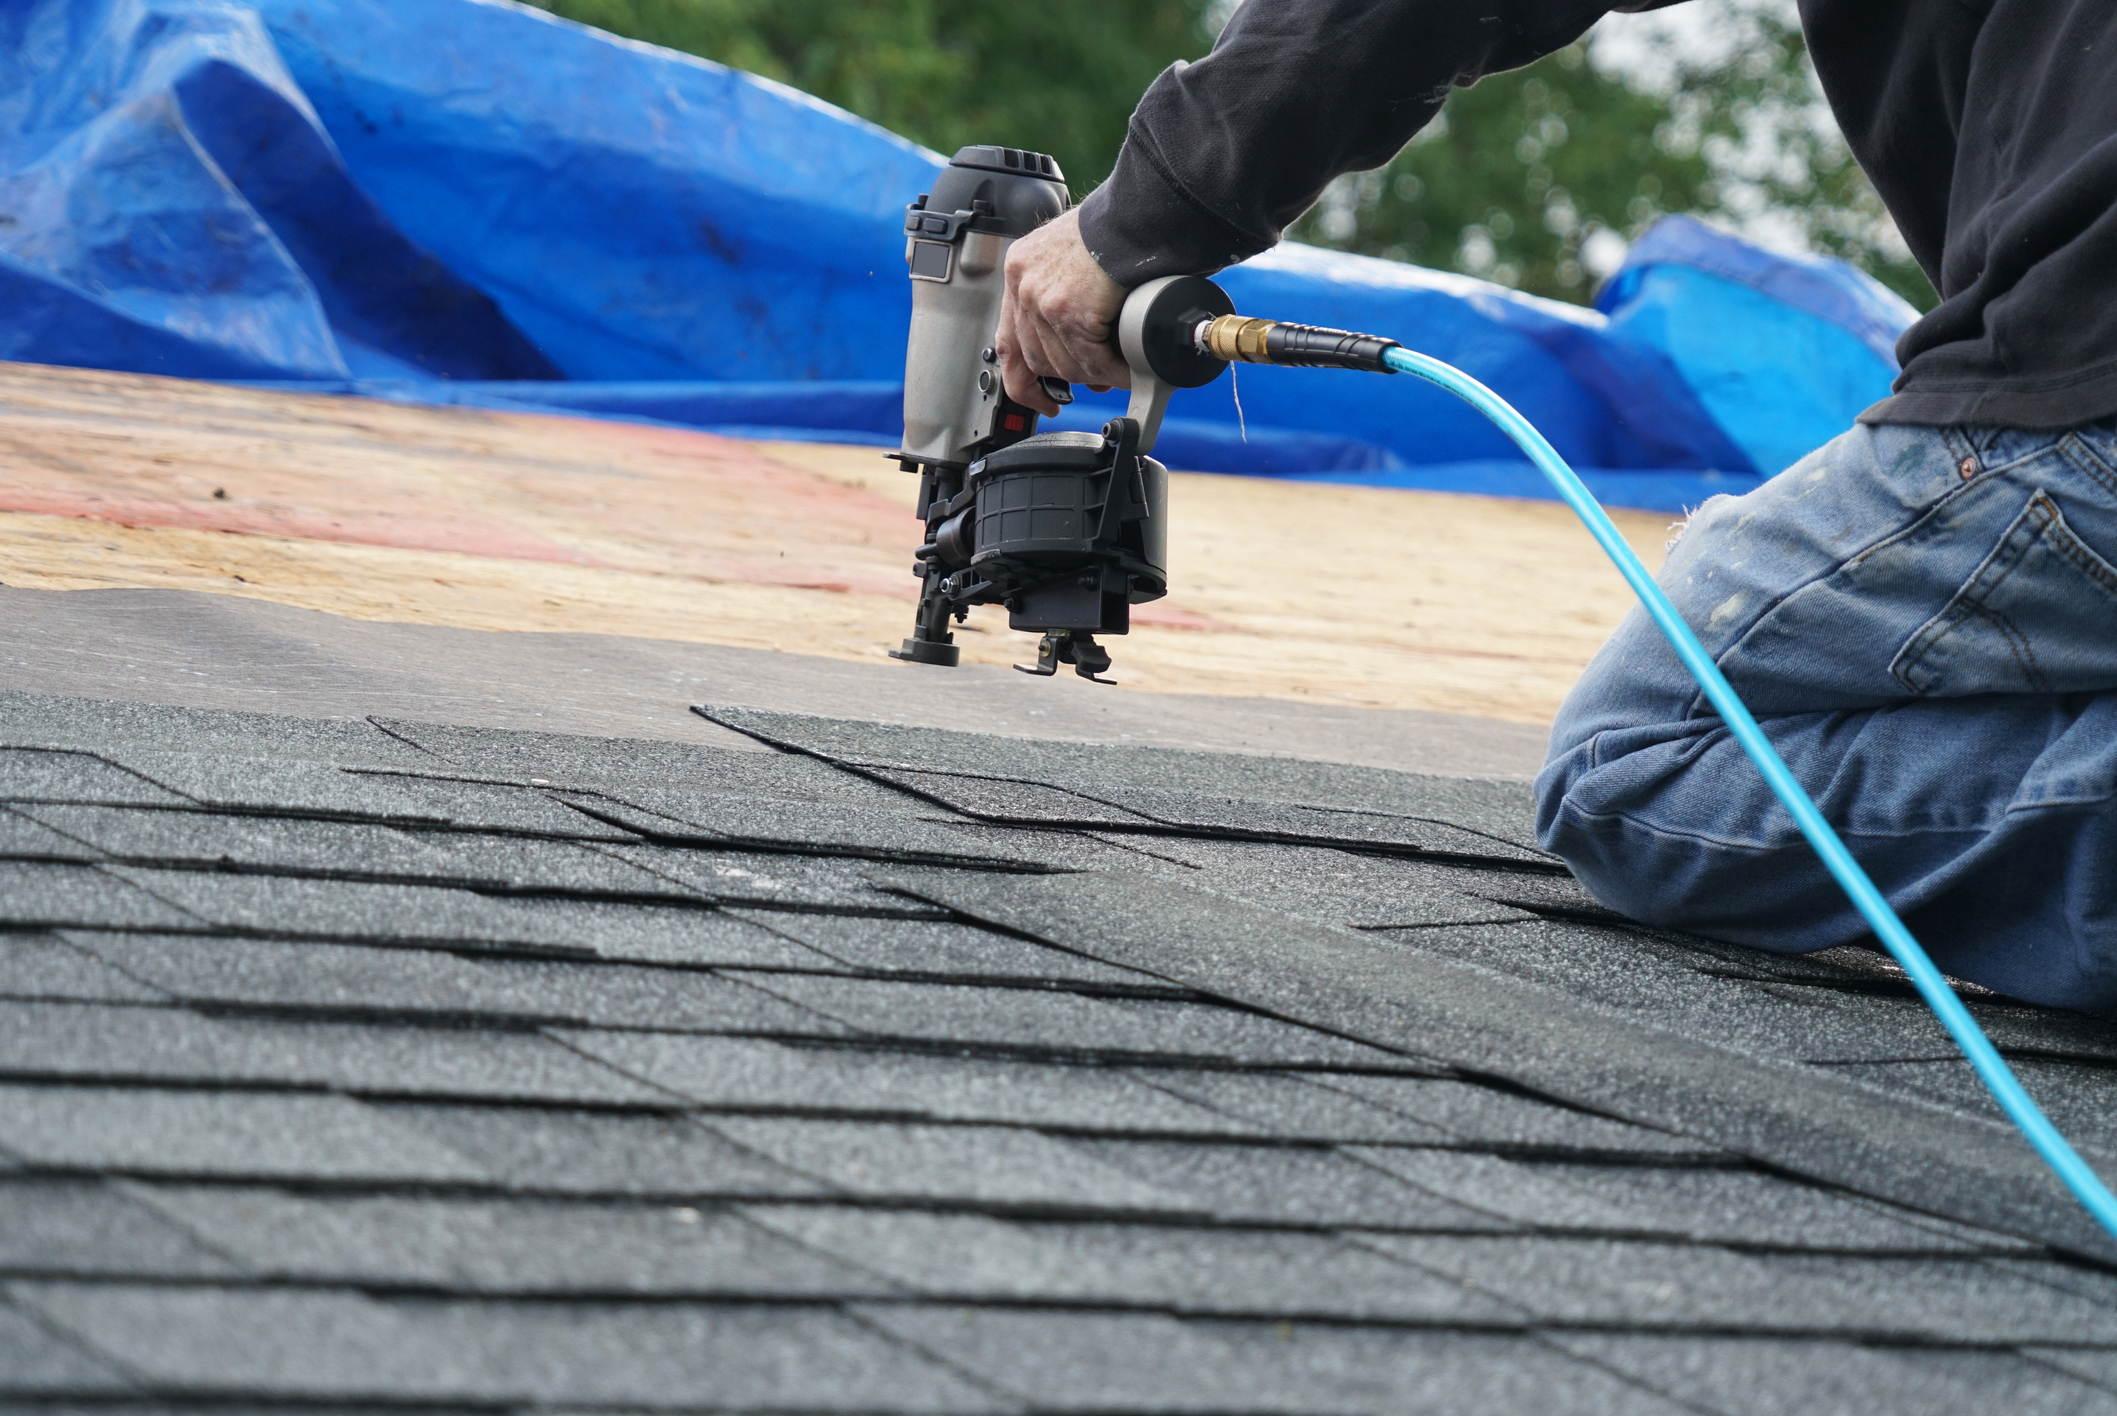
The roofing stage of your DIY home-building project is key for protecting your home from the elements and ensuring its structural integrity. Choosing the right roofing option and following proper installation steps will provide long-lasting benefits.
When choosing your roofing option, consider the local climate, your budget, the aesthetics, and the maintenance needs of the material. This will help you select the right material with durability, protection, and visual appeal.
Quick Look at Roofing Materials
- Asphalt Shingles: Affordable, easy to install, and available in various colors. They offer good protection and can last 20-30 years.
- Metal Roofing: Durable and long-lasting with a lifespan of 40-70 years. Metal roofing is also energy-efficient and recyclable.
- Clay or Concrete Tiles: Highly durable and resistant to fire and extreme weather conditions. Tiles can last up to 50 years or more but are heavier and may require additional structural support.
- Wood Shingles/Shakes: Provide a natural, rustic look. They are durable and energy-efficient but require more maintenance.
- Slate Roofing: Extremely durable and long-lasting (up to 100 years). Slate is also fire-resistant but can be more expensive and heavy.
Step 11: Plumbing Guide for Your Small House Kit
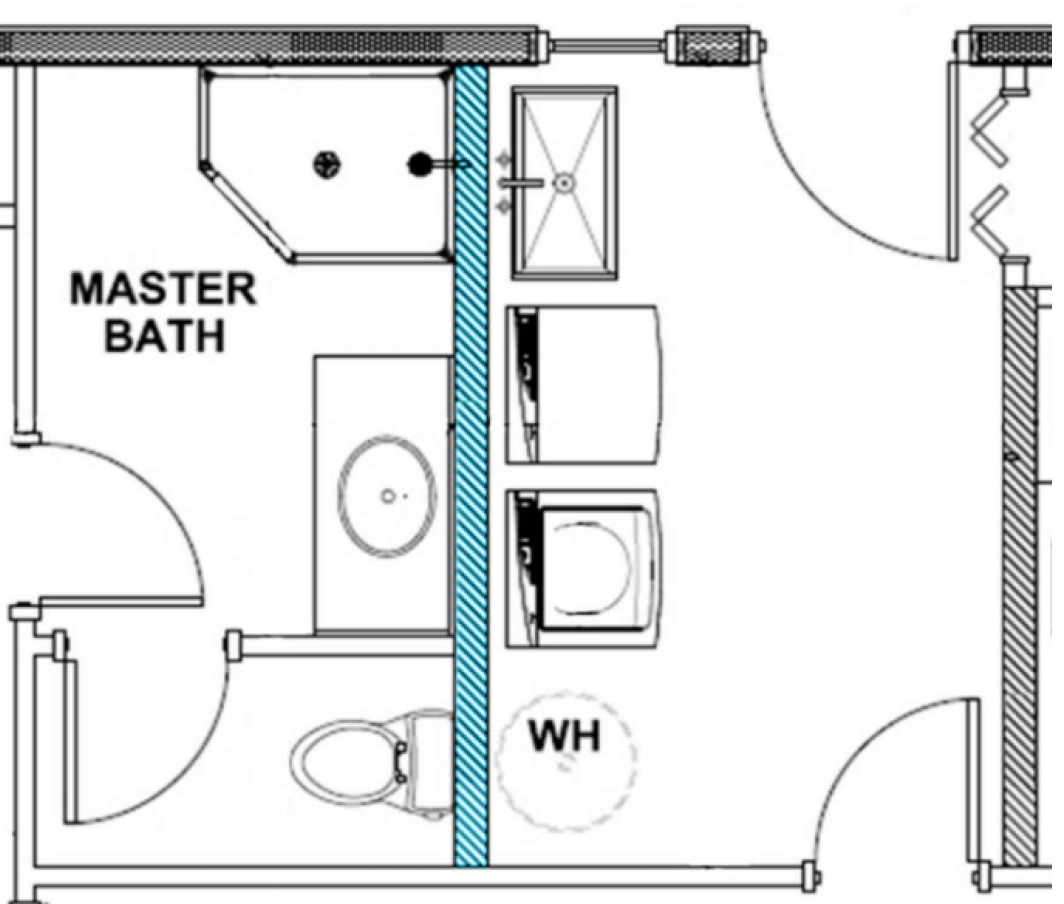
Getting the plumbing right in your small house kit is crucial for a functional and comfortable home. When building your small house kit, meticulous planning and execution of the plumbing system can save time and money and prevent potential issues.
- Design Your Layout: Plan your plumbing layout as you optimize space and material use. This can save time and money.
- Plan Service Lines: Ensure water and drainage service lines align with both the foundation and home design for efficient installation and optimal performance.
- Contract Work: Similar to electrical work, you may need to contract some plumbing tasks to meet building codes and pass inspections.
Step 12: Installing Ductless HVAC Systems
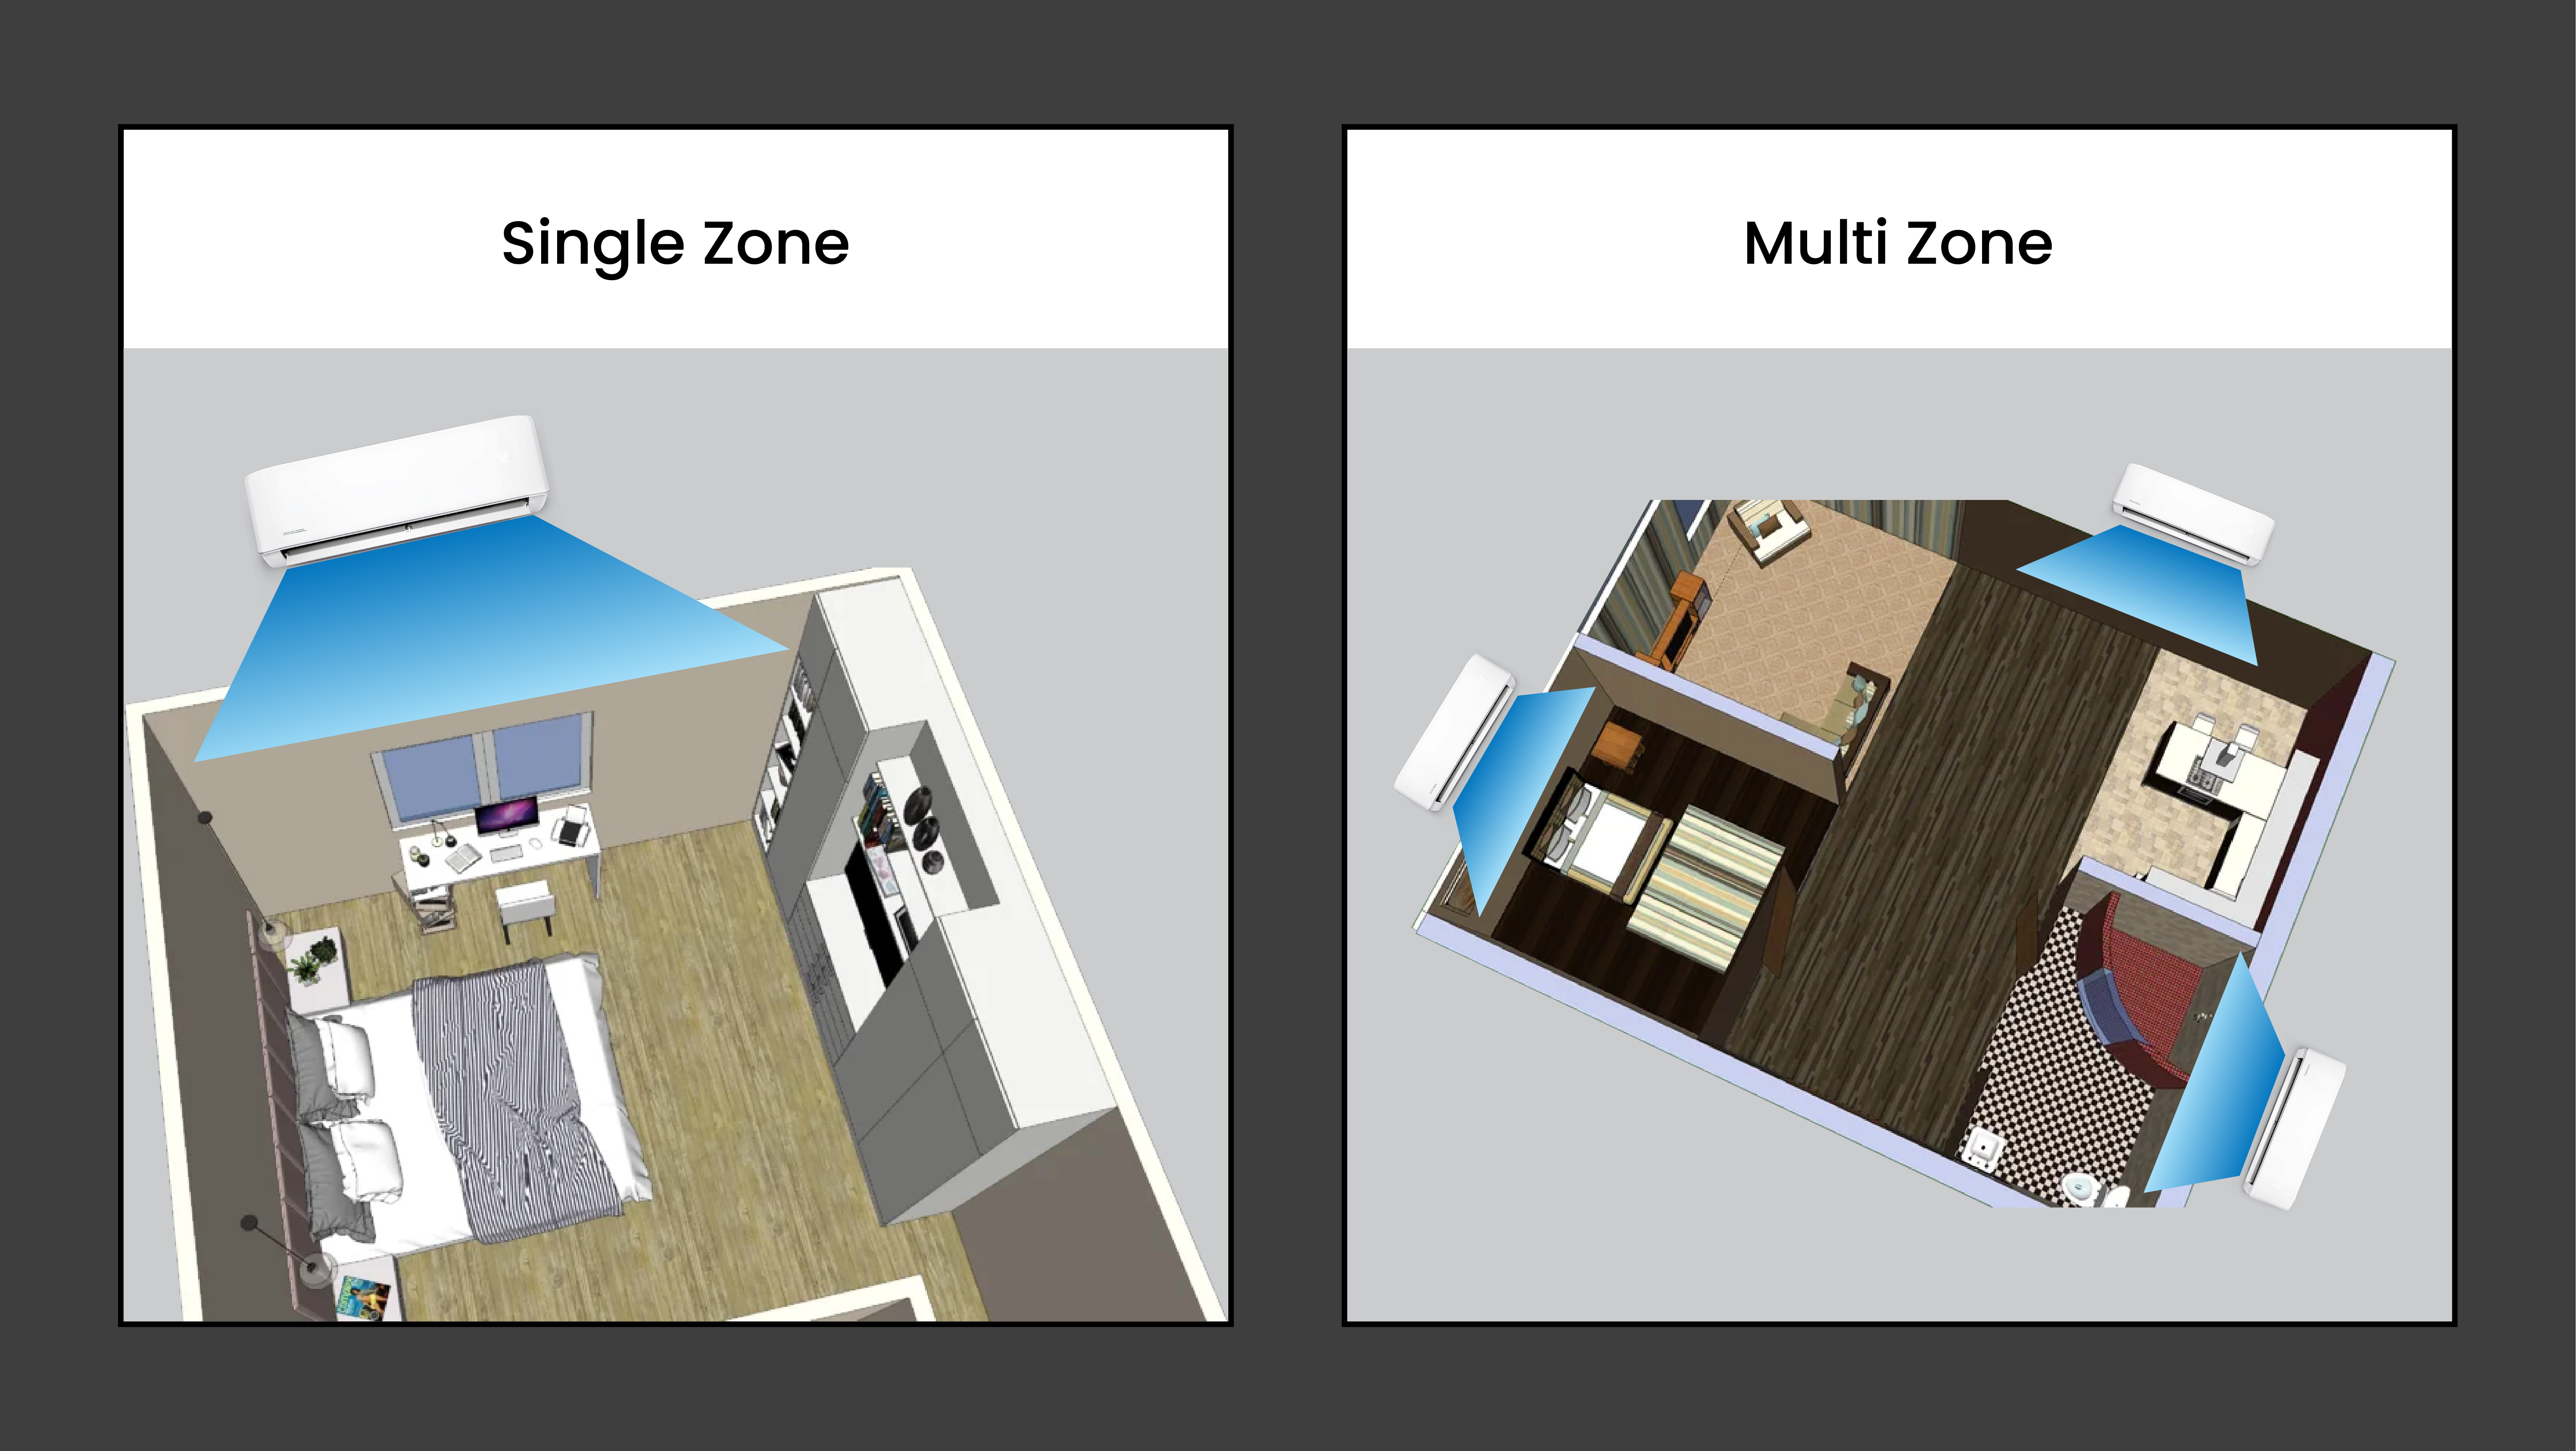
When installing HVAC systems in your small house kit, there's a significant difference from traditional homes: no vents or ducts are required. This streamlined approach simplifies the installation process and offers several benefits. HVAC systems for small house kits, especially those using SIPs, typically use ductless mini-split systems.
Installing a mini-split system is relatively straightforward for a DIYer. It involves mounting the indoor and outdoor units, connecting them with a conduit, and following the manufacturer's instructions for a quick and efficient setup.
Benefits of Mini-splits
- Energy Efficiency: Ductless systems minimize energy loss that can occur through ducts, making them more energy-efficient.
- Ease of Installation: With no ductwork, installation is quicker and less invasive, saving time and labor costs.
- Flexible Zoning: Ductless systems offer flexible zoning, giving you temperature control in individual rooms or areas.
- Improved Air Quality: Without ducts, there's less opportunity for dust and allergens to accumulate and circulate.
Take the Hassle Out of DIY Building
Building your own home with a small house kit can be an exciting and rewarding experience.
And, it can save you money. Be honest with yourself about your skills.
By carefully selecting the right lot, kit, and materials and by navigating the codes and permits process, you set yourself up for success.
Assembling your home with attention to detail ensures its durability and efficiency.
Each step, from foundation to roofing, windows, doors, wiring, plumbing, and HVAC, requires planning and care. Mighty Small Homes takes much of the hassle out of building our prefab kit homes. We provide all the fasteners, internal framing lumber, special SIP tools, and more.
Using high-quality materials and, when needed, professional help will help you meet building codes and create a comfortable, energy-efficient home.
Ready to get started? Explore Models or Contact Us.
FAQs
This government department may be called something different depending on where you live. Building permits are typically issued by a city or county jurisdiction. Start by doing a Google search for “get a building permit in [your city, state or county]" or call your local government office and ask who you should contact for home-building permits.
Think of a setback as the margins for your lot. Your home and plans must stay within the lines. Local codes determine setbacks for reasons such as safety, privacy, or environmental protection.
It gives somebody access to your property. You still own the land. Generally, you’ll want to avoid building on easements. Utility companies have property easements for electrical, gas, water, or sewer services. We generally all benefit from easements. Your electrical service may depend on an easement across your neighbor’s property.


