How to Build a Small House Kit: Windows and Doors
Windows are your eyes to the world and come in various shapes and sizes depending on an individual’s choice of style and budget.
It’s important to plan for the openings you will need for windows in your kit’s panels early in your home kit-building process. Otherwise, it will be much more difficult, if not impossible, to place your windows where you want them.
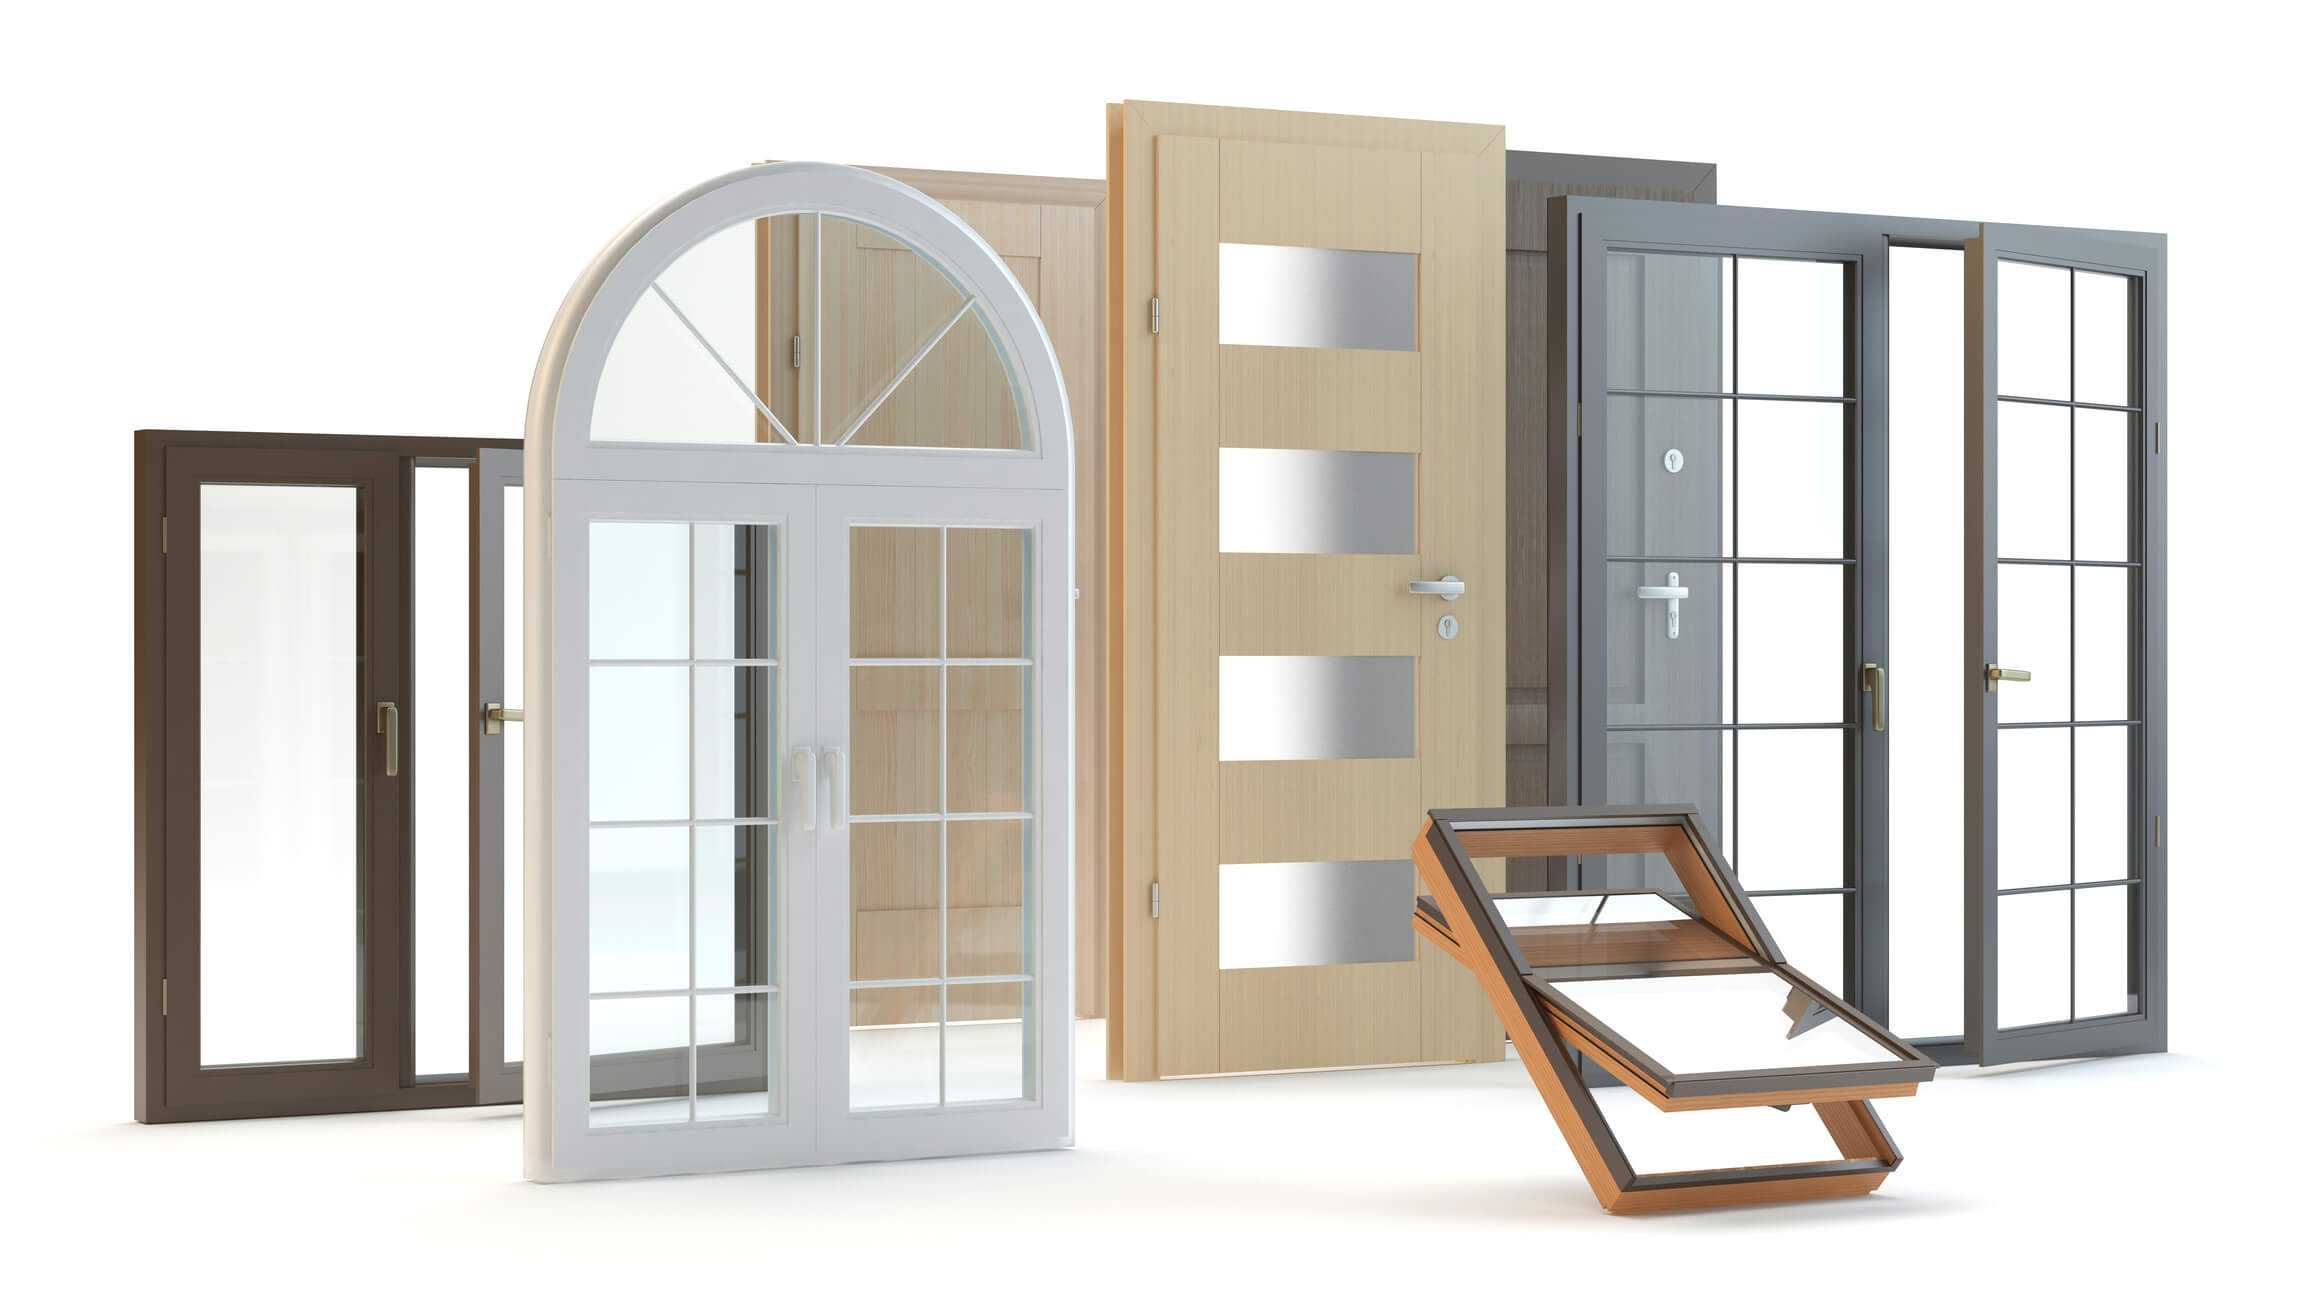
Before moving into what to know about installing windows and doors, here’s an overview of the common types of windows and doors installed in new home construction.
Common Types of Windows
Single-Hung and Double-Hung Windows
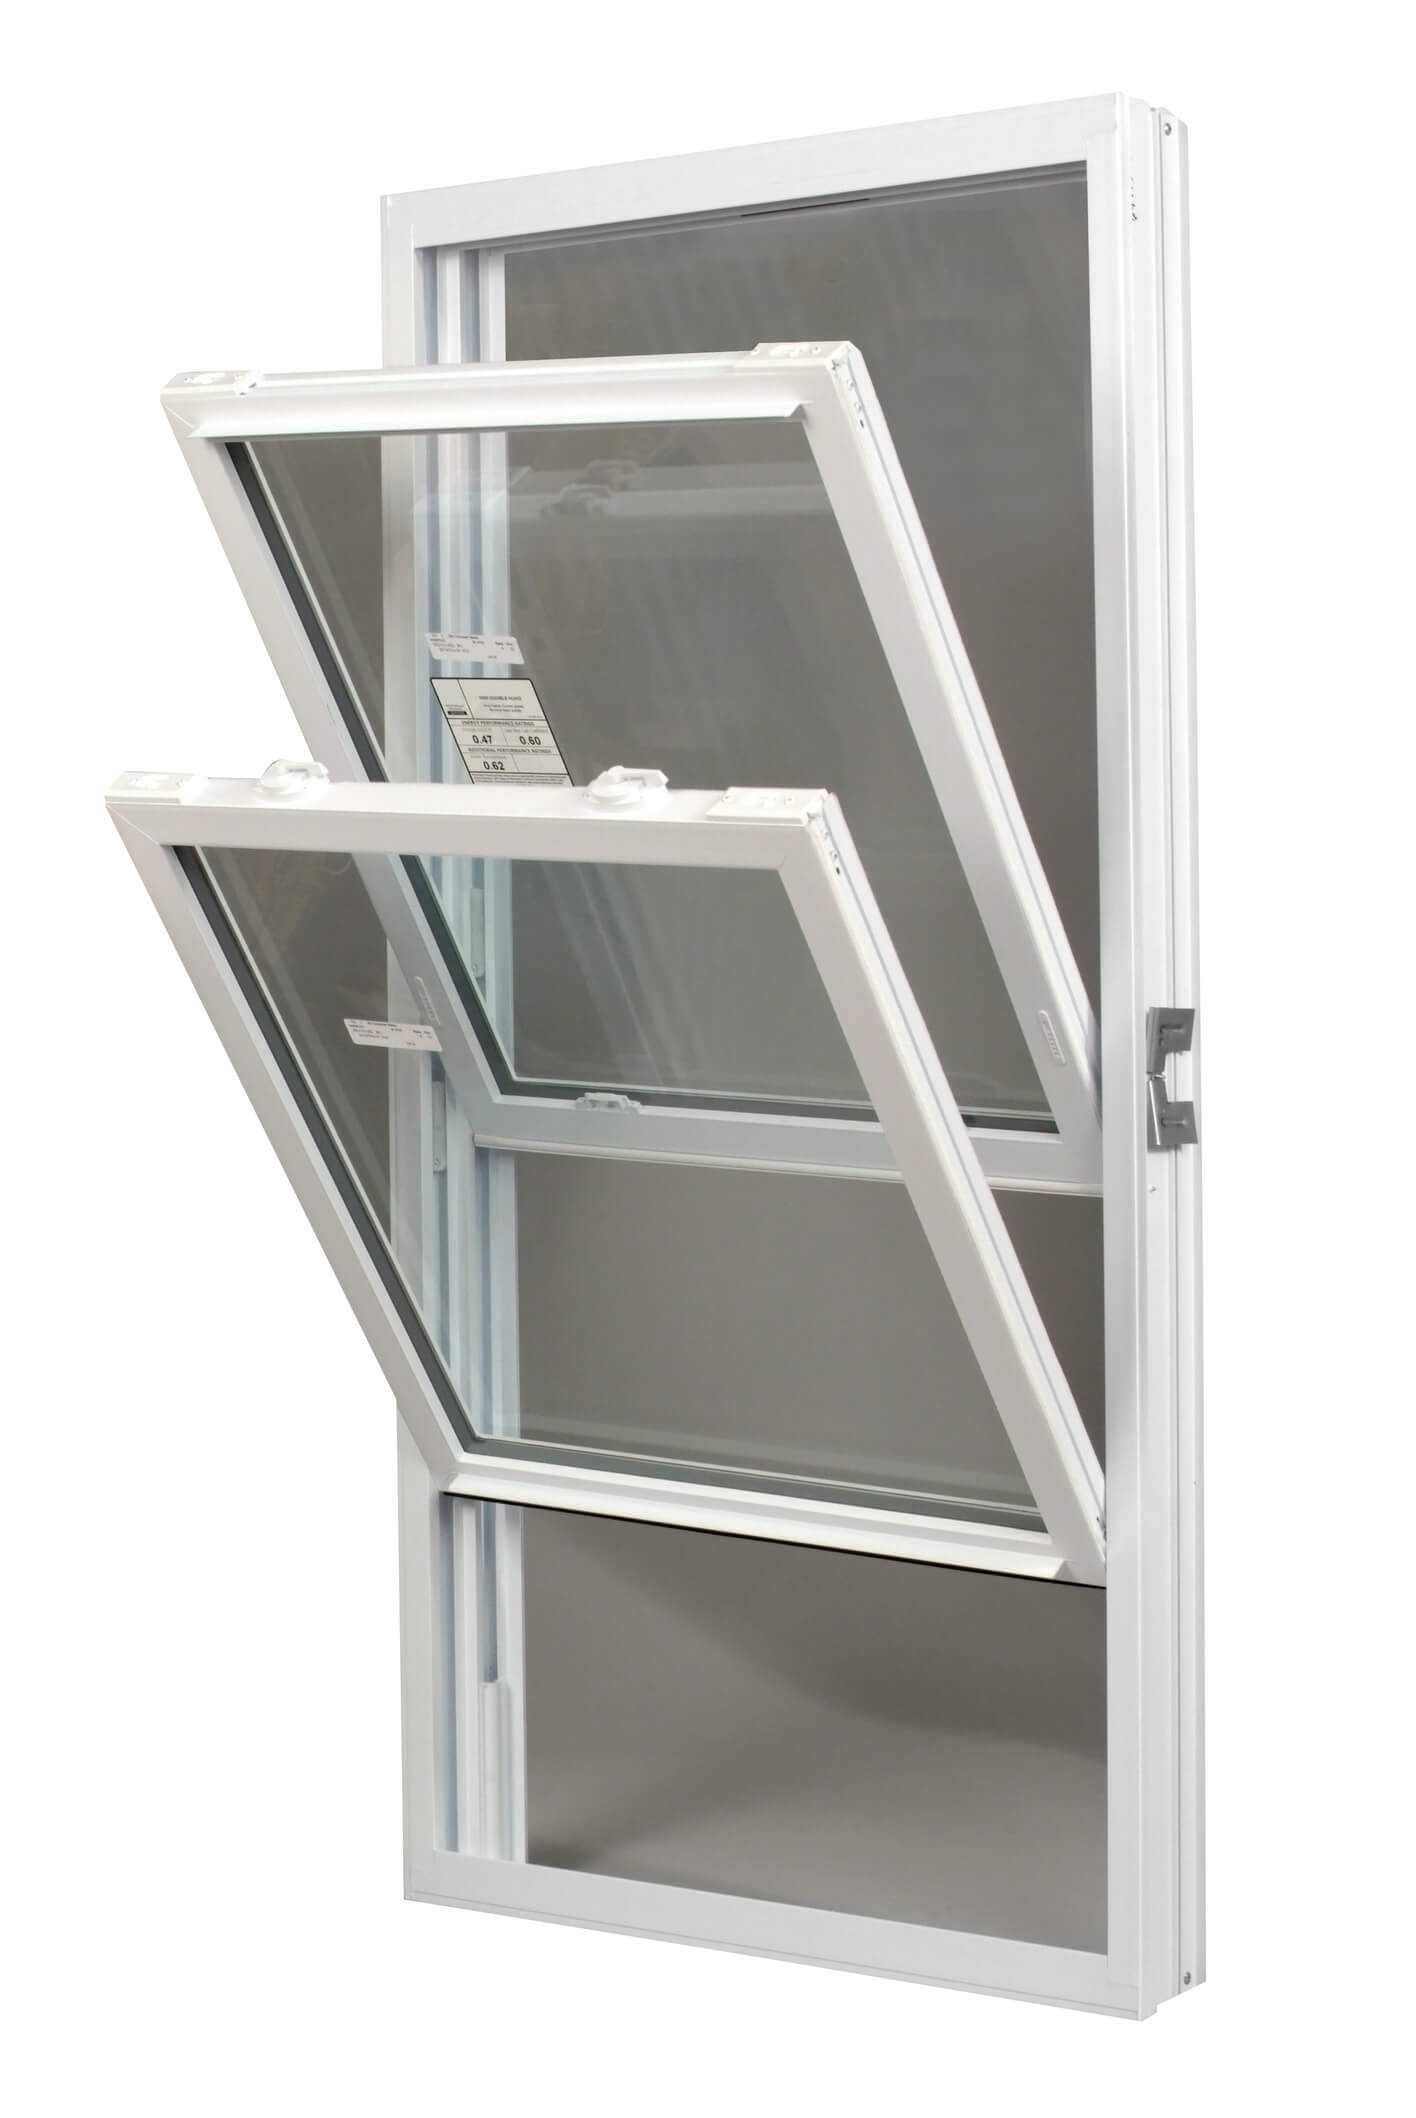
The major difference between a single-hung window and a double-hung window is how the window sections move. With single-hung windows, the bottom window panel or lower sash moves up and down, and the upper sash remains stationary.
A single-hung window usually costs between $170 to $360 per window, though this varies depending on the materials used and energy efficiency.
You can choose single, double, or triple pane options.
In double-hung windows, the lower sash and upper sash slide vertically.
Most of these style windows tilt in for easy cleaning and maintenance.
A double–hung vinyl window typically costs between $450 and $600, while a double-hung wood window would be a more expensive option. This design is one of the most common windows installed in new homes.
Arched Windows
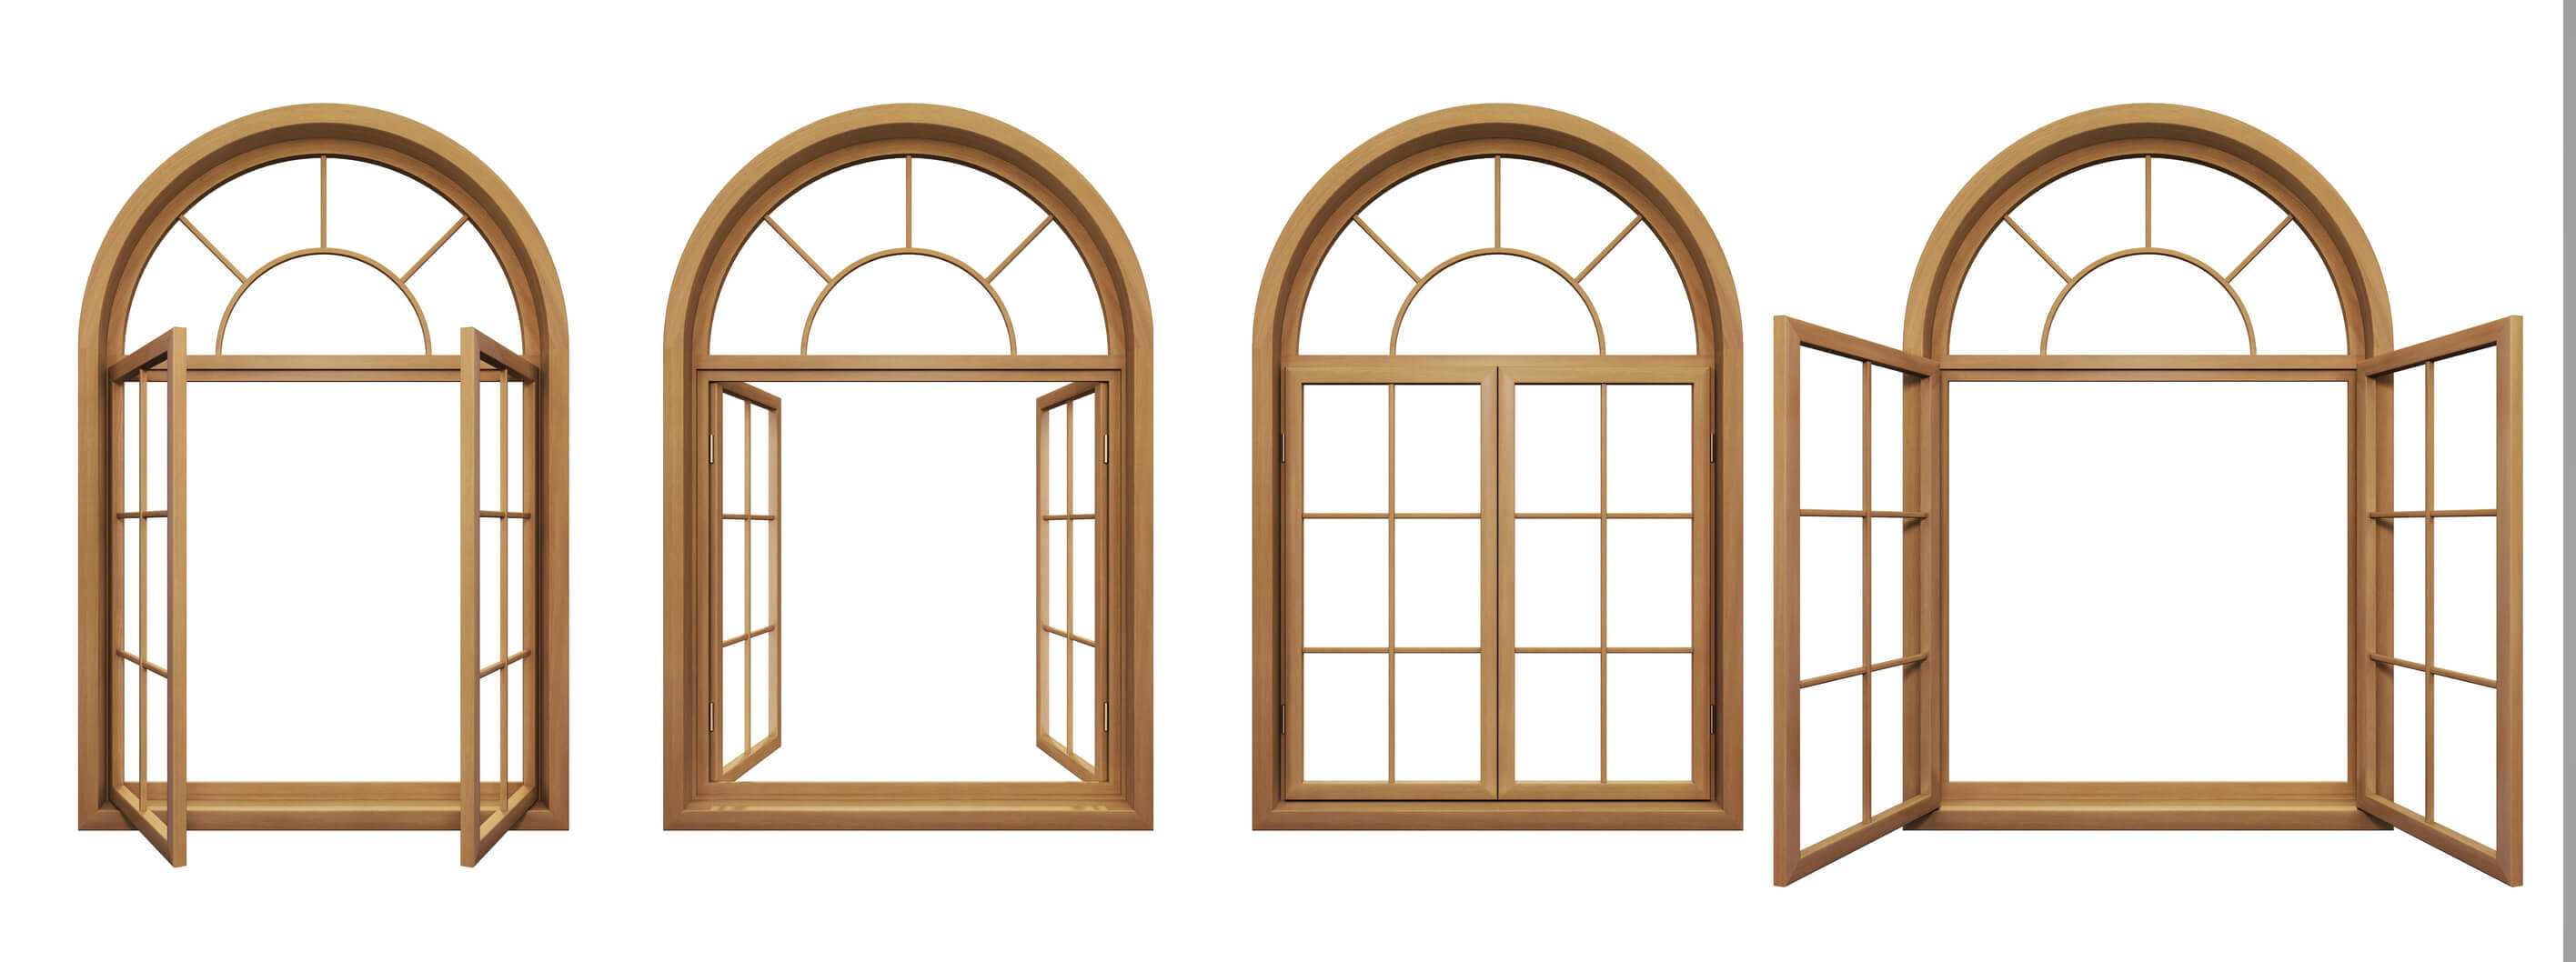
Arched windows, as the name describes, have rounded tops that add an architectural design to any home. The average cost for arched window installation is around $325 to $500 per window. Most arched window sections do not open or close and are often installed above standard windows that provide ventilation.
Mighty Small Homes offers custom cutouts for most window styles, including arch windows. However, custom-designed windows may increase overall costs.
At the end of the article there are examples of other types of windows occasionally used for home building projects. See other types of windows.
Doors
The choice of front door material for your home is an important decision. When selecting the perfect door, consider factors such as how well it protects and insulates your home, its durability against the elements, and the associated costs. There are various door styles and options to match your preferences The primary material choices for exterior doors typically fall into four main categories: wood, fiberglass, steel, and glass.
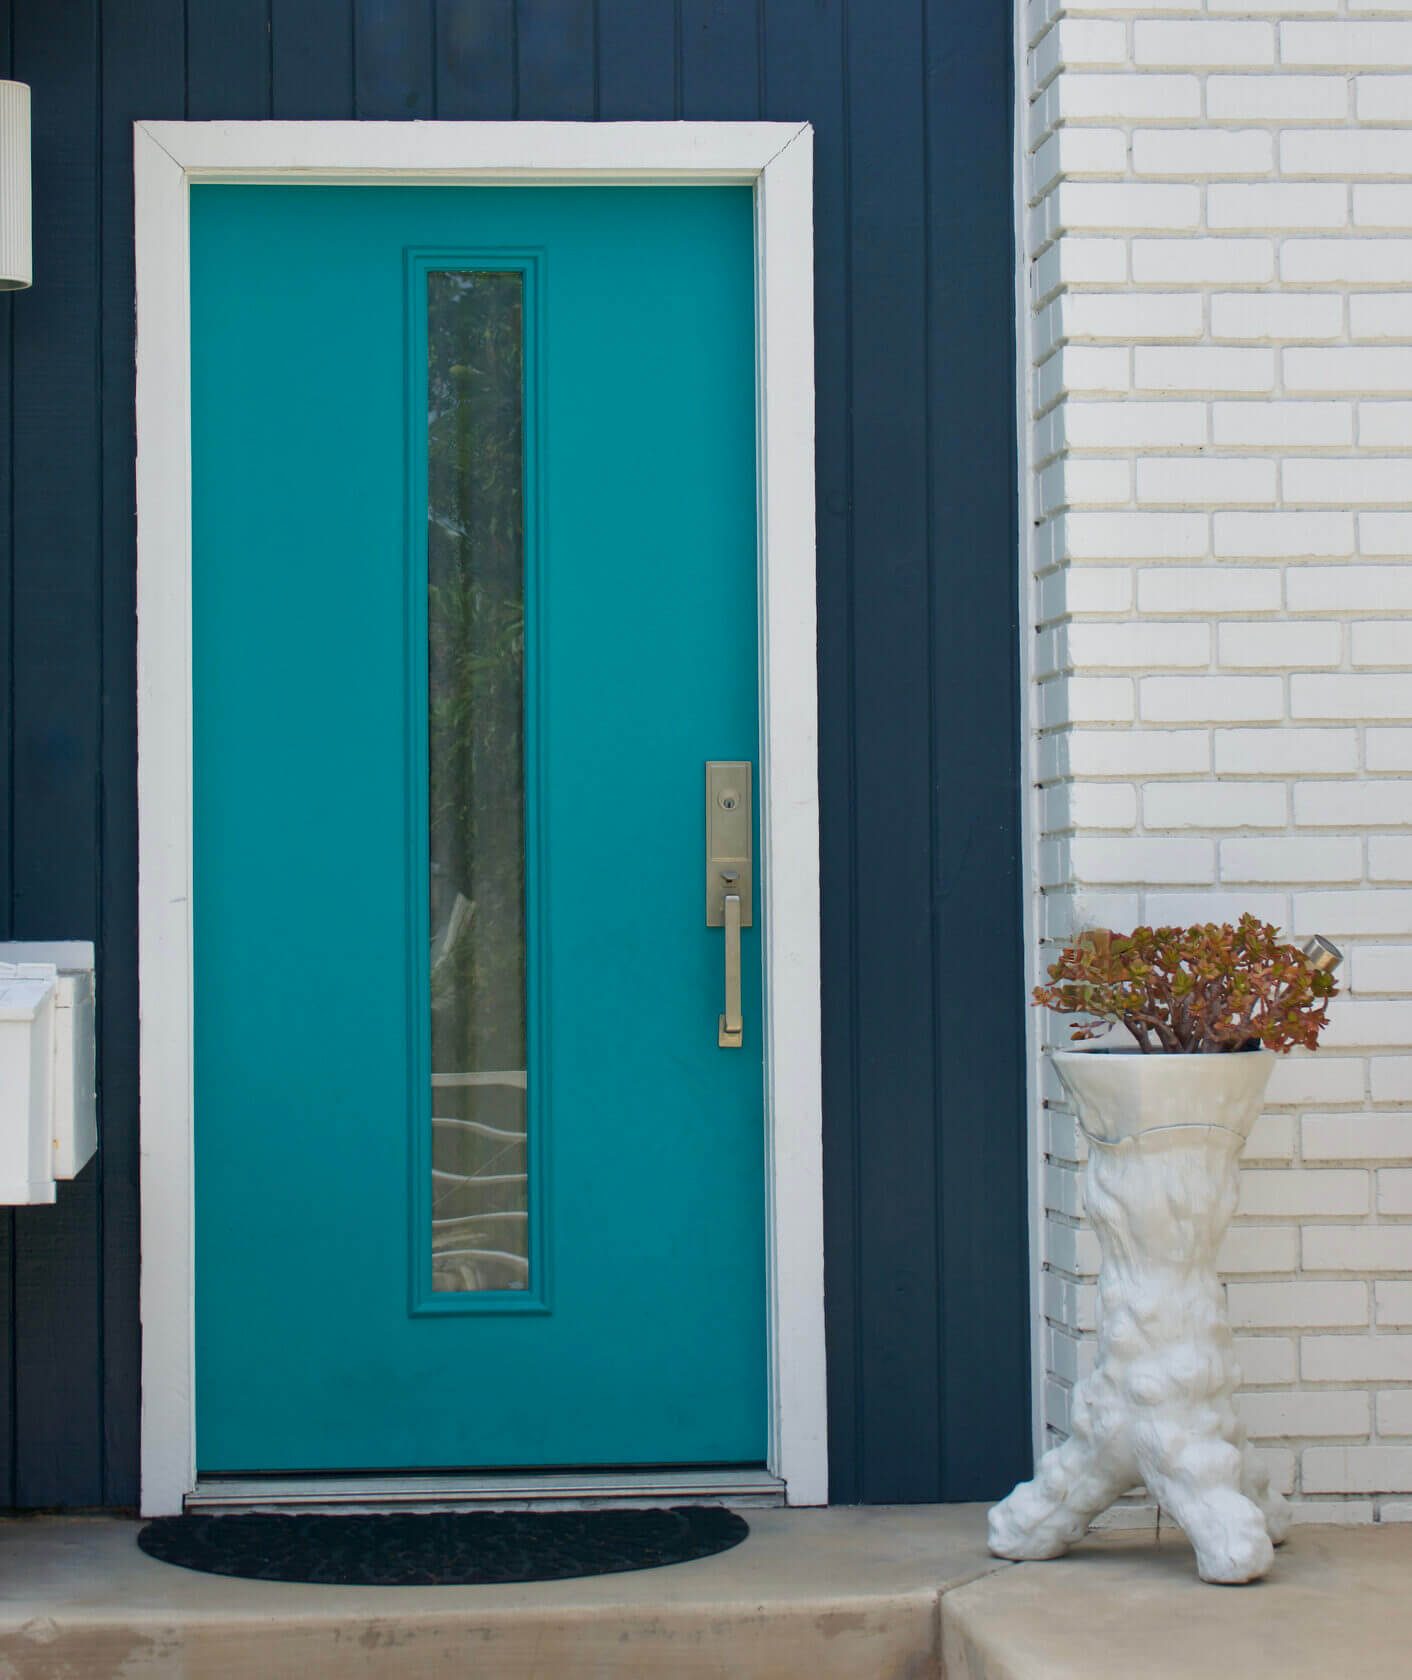
Wooden Door
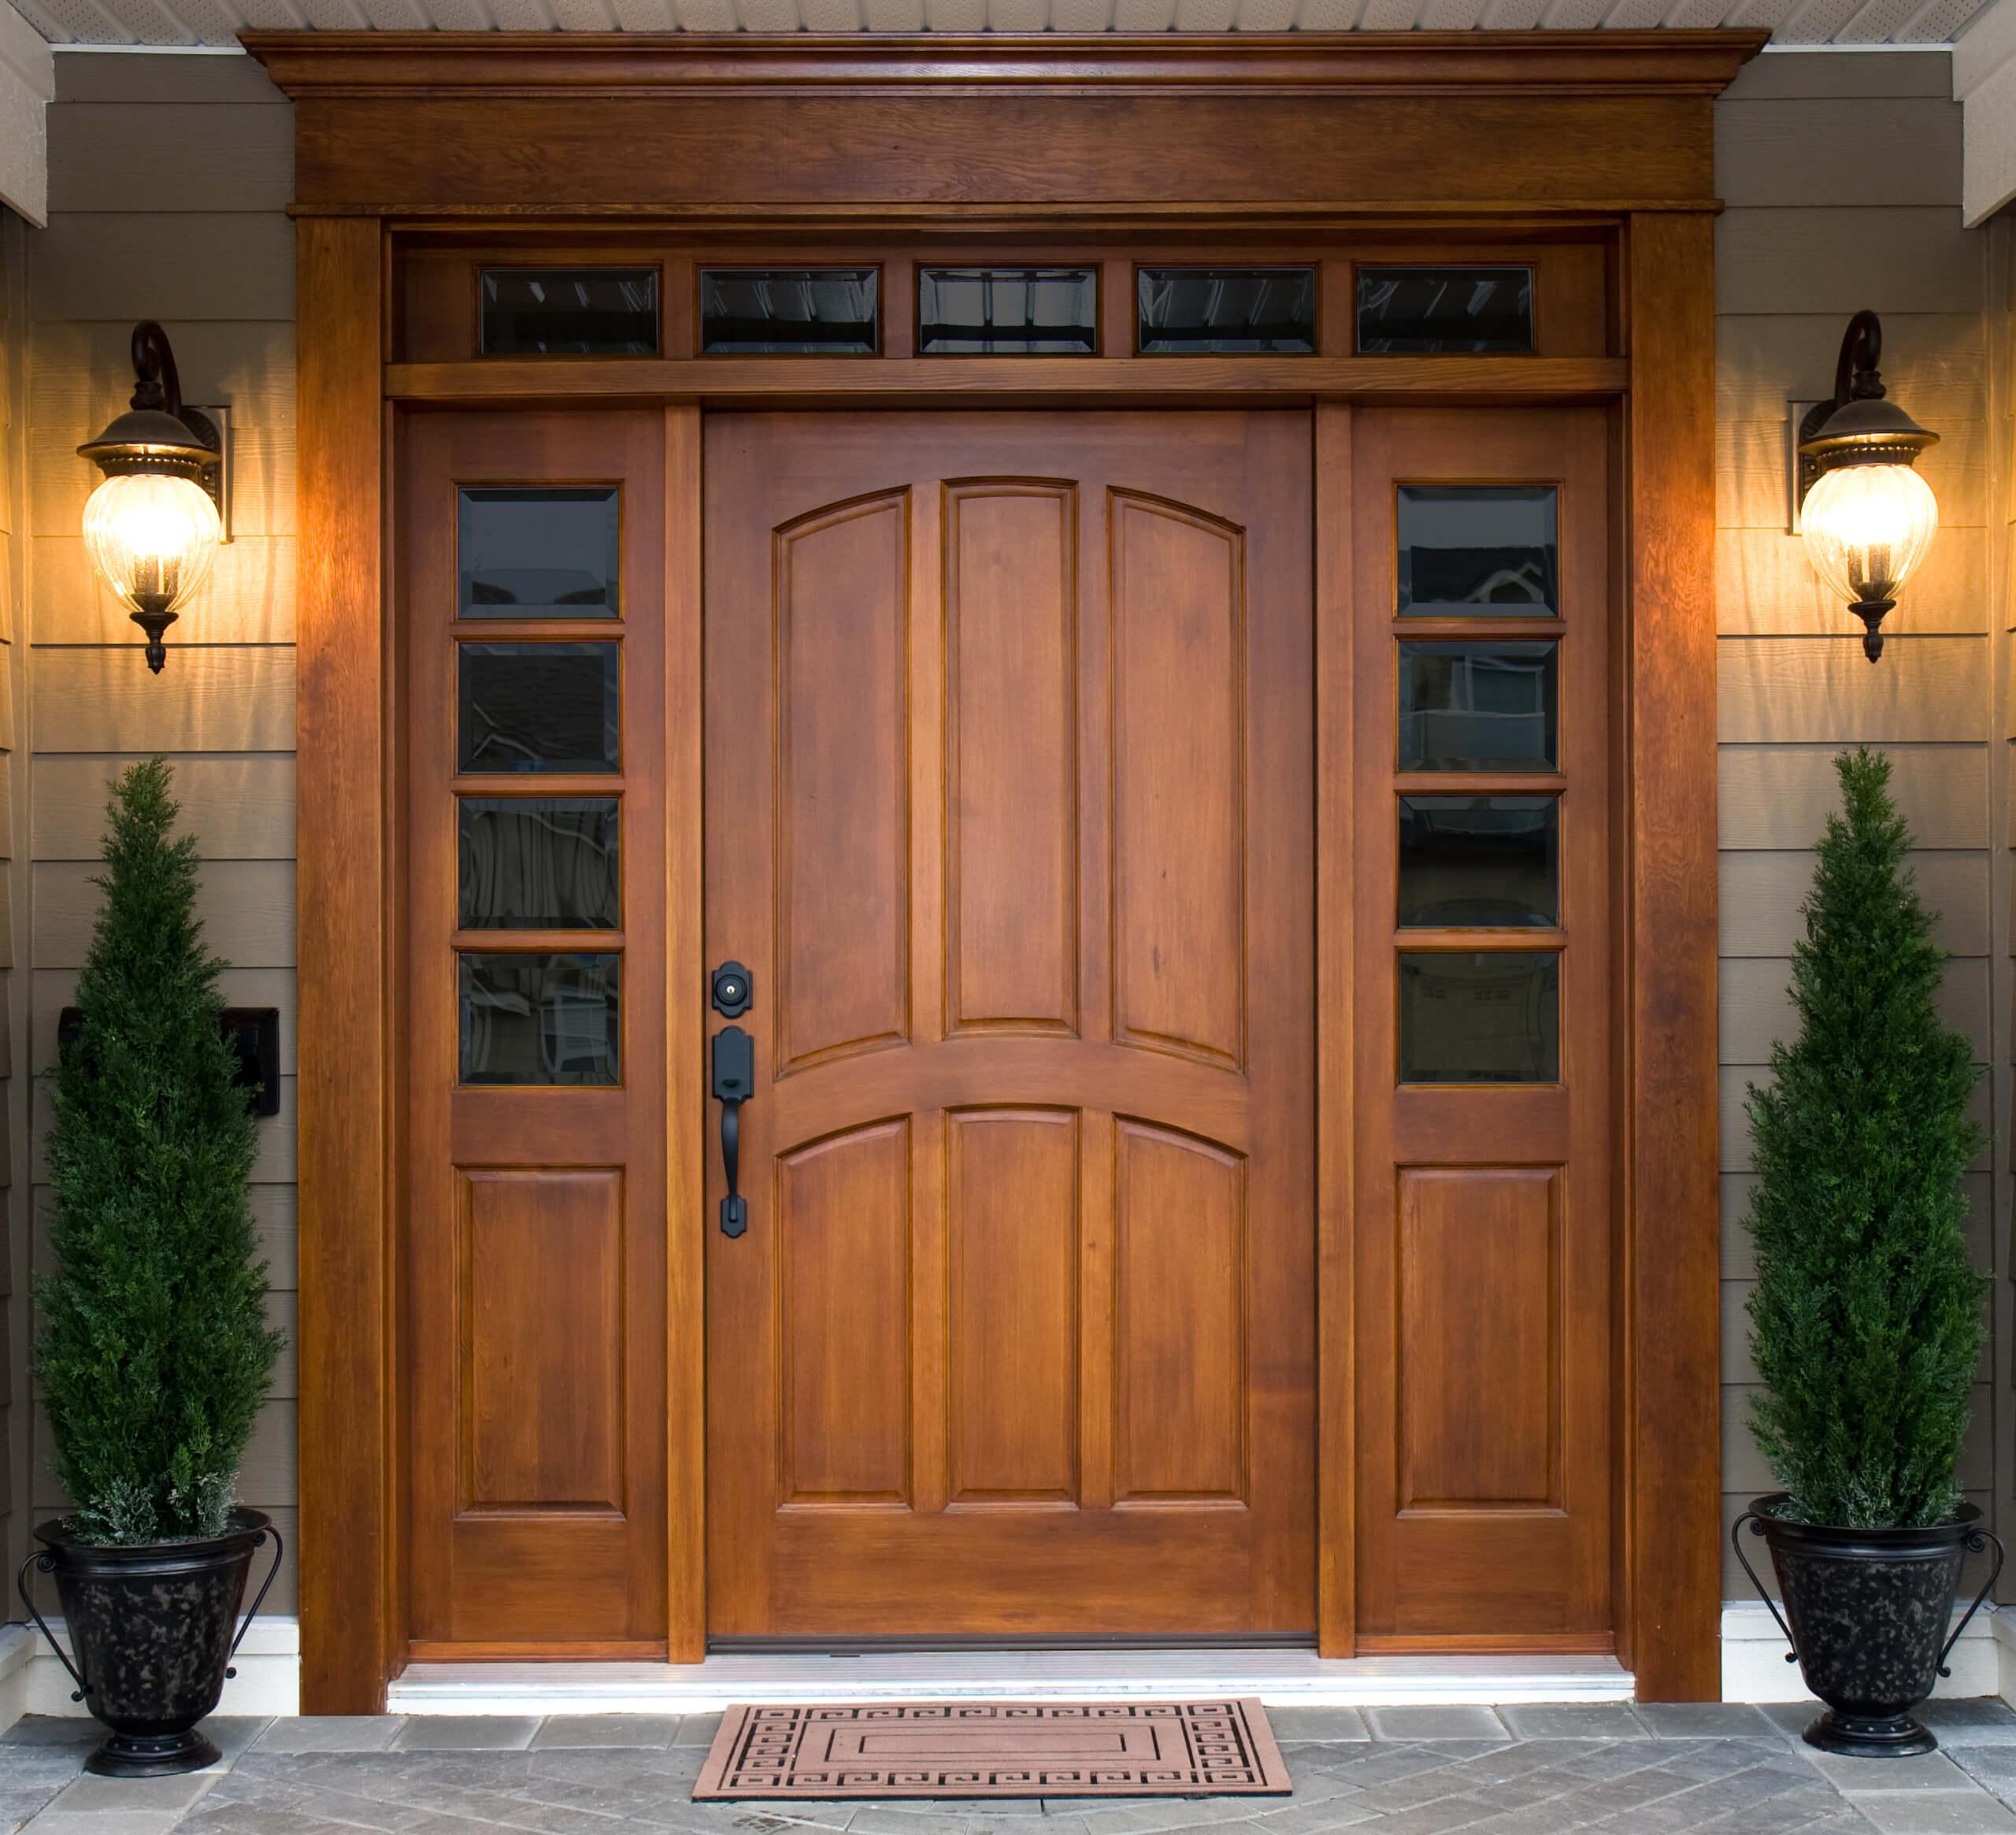
Wood offers natural beauty, which is both traditional and elegant. Exterior doors made from wood are a popular choice, particularly because they can be customized to your size, shape, and style preferences. Also, wooden front doors can be personalized with decorative glass accents, transoms, or side lights.
Wood gives homes a handcrafted touch that cannot be as easily duplicated in fiberglass or steel.
It's important to consider the upkeep needed for a wooden door, especially if it faces south without the protection of a porch. The sun can take a toll on the wood, leading to fading and weathering. To maintain its appearance and integrity, the door may need to be stained or painted every year or so.
Additionally, wood can begin to warp over time from environmental conditions which compromises seals.
Wood door costs range from affordable to fairly high, depending on the type of wood and the amount of customization or skilled labor needed to produce the door. Wood veneer doors start at just $200, while a high-end solid wood door can cost up to $2,000.
Fiberglass Door
If you want the look of wood with a bit more durability, consider a fiberglass entry door.
These doors can be stained in various colors for the same look of wood. They can also be ordered in numerous hues or painted in any color.
Fiberglass entry doors feature an insulated core, which offers additional protection from the elements.
When it comes to cost, fiberglass may be slightly more expensive than wood options, however, their long-term energy savings may be enough to offset any additional expense. They frequently come with long warranties and do not warp.
Fiberglass doors are great for homeowners who do not want to frequently repaint.
Steel Door
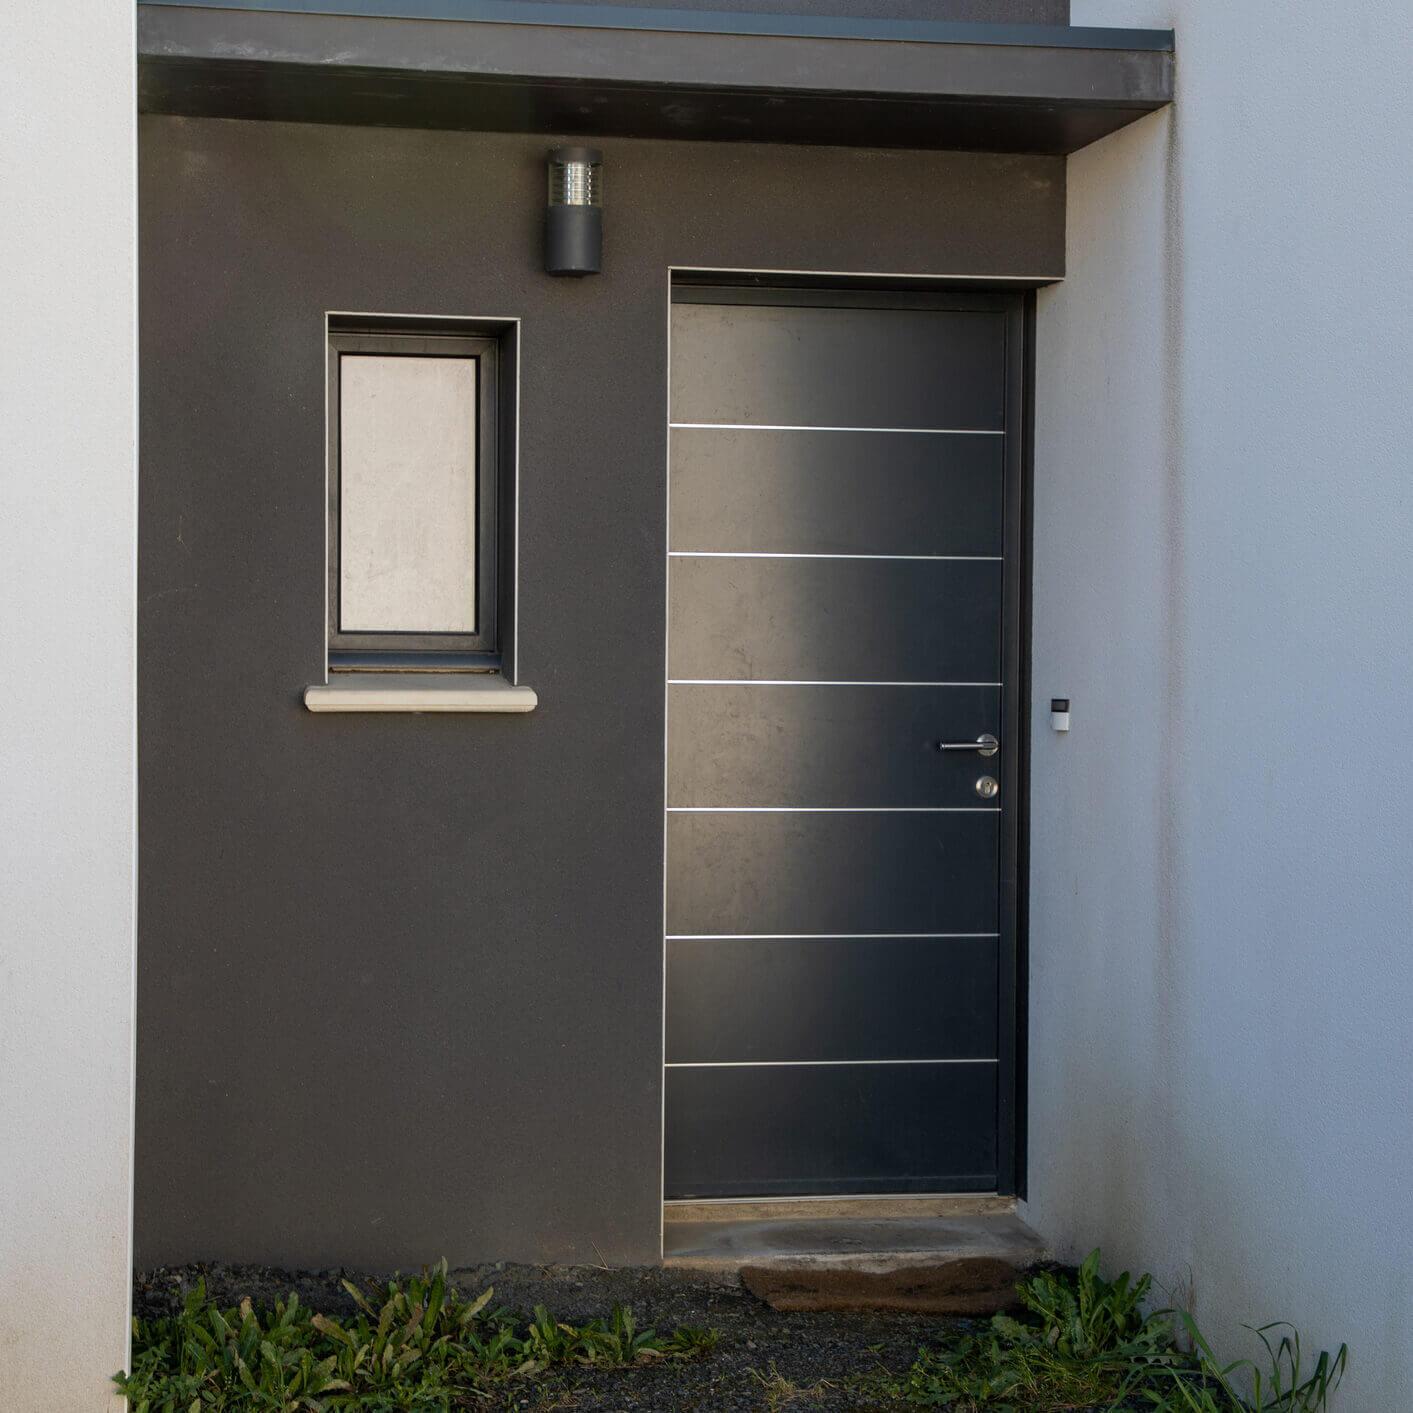
If you choose a steel front door, know that you are choosing one of the safest door options to prevent intrusions. Metal entry doors feature an insulated foam core clad in steel. A downside is the risk of dents, which can be difficult to repair.
Steel doors are the most affordable exterior doors available.
An inexpensive steel door could cost as little as $150 per door. You’ll likely be choosing a door averaging $450-600. Steel doors usually come as part of a pre-hung system
Steel doors have a baked-on polyester finish that runs the risk of chipping and and that needs periodic repainting, especially in areas with extreme temperatures or high humidity.
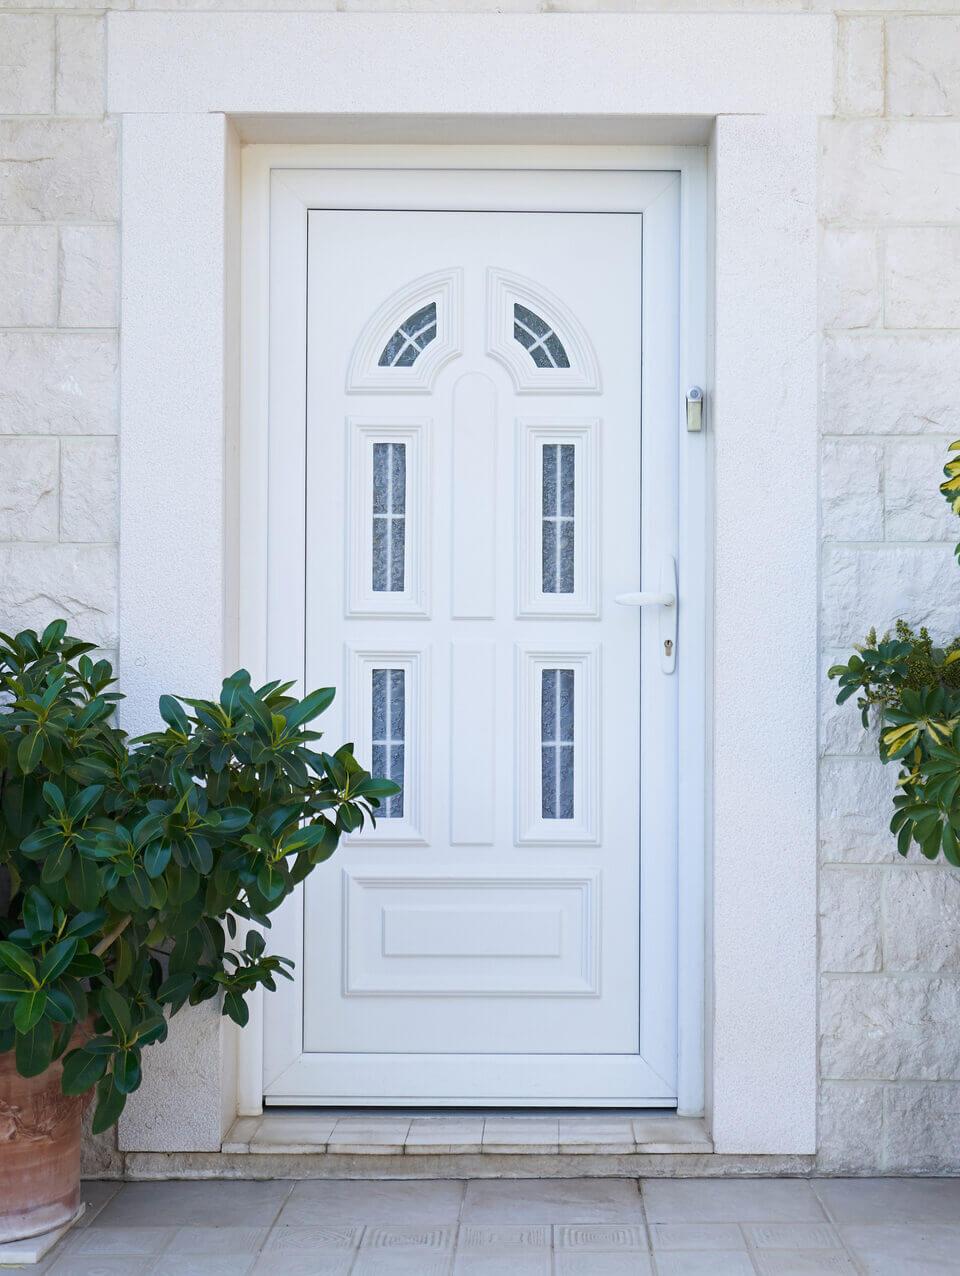
Aluminum Doors
If you want to invest in a low-maintenance exterior door, choosing an aluminum door might be the right option for your home.
An aluminum door has an insulated core covered in an aluminum skin and a baked-on enamel finish. These doors never rust or need painting and almost always come with a 20-year warranty.
Aluminum doors do not come cheap, though. Unlike other exterior doors, you have to buy a custom-built aluminum door. Aluminum doors typically start at around $600 per door but can quickly increase based on the build quality.
Glass Door
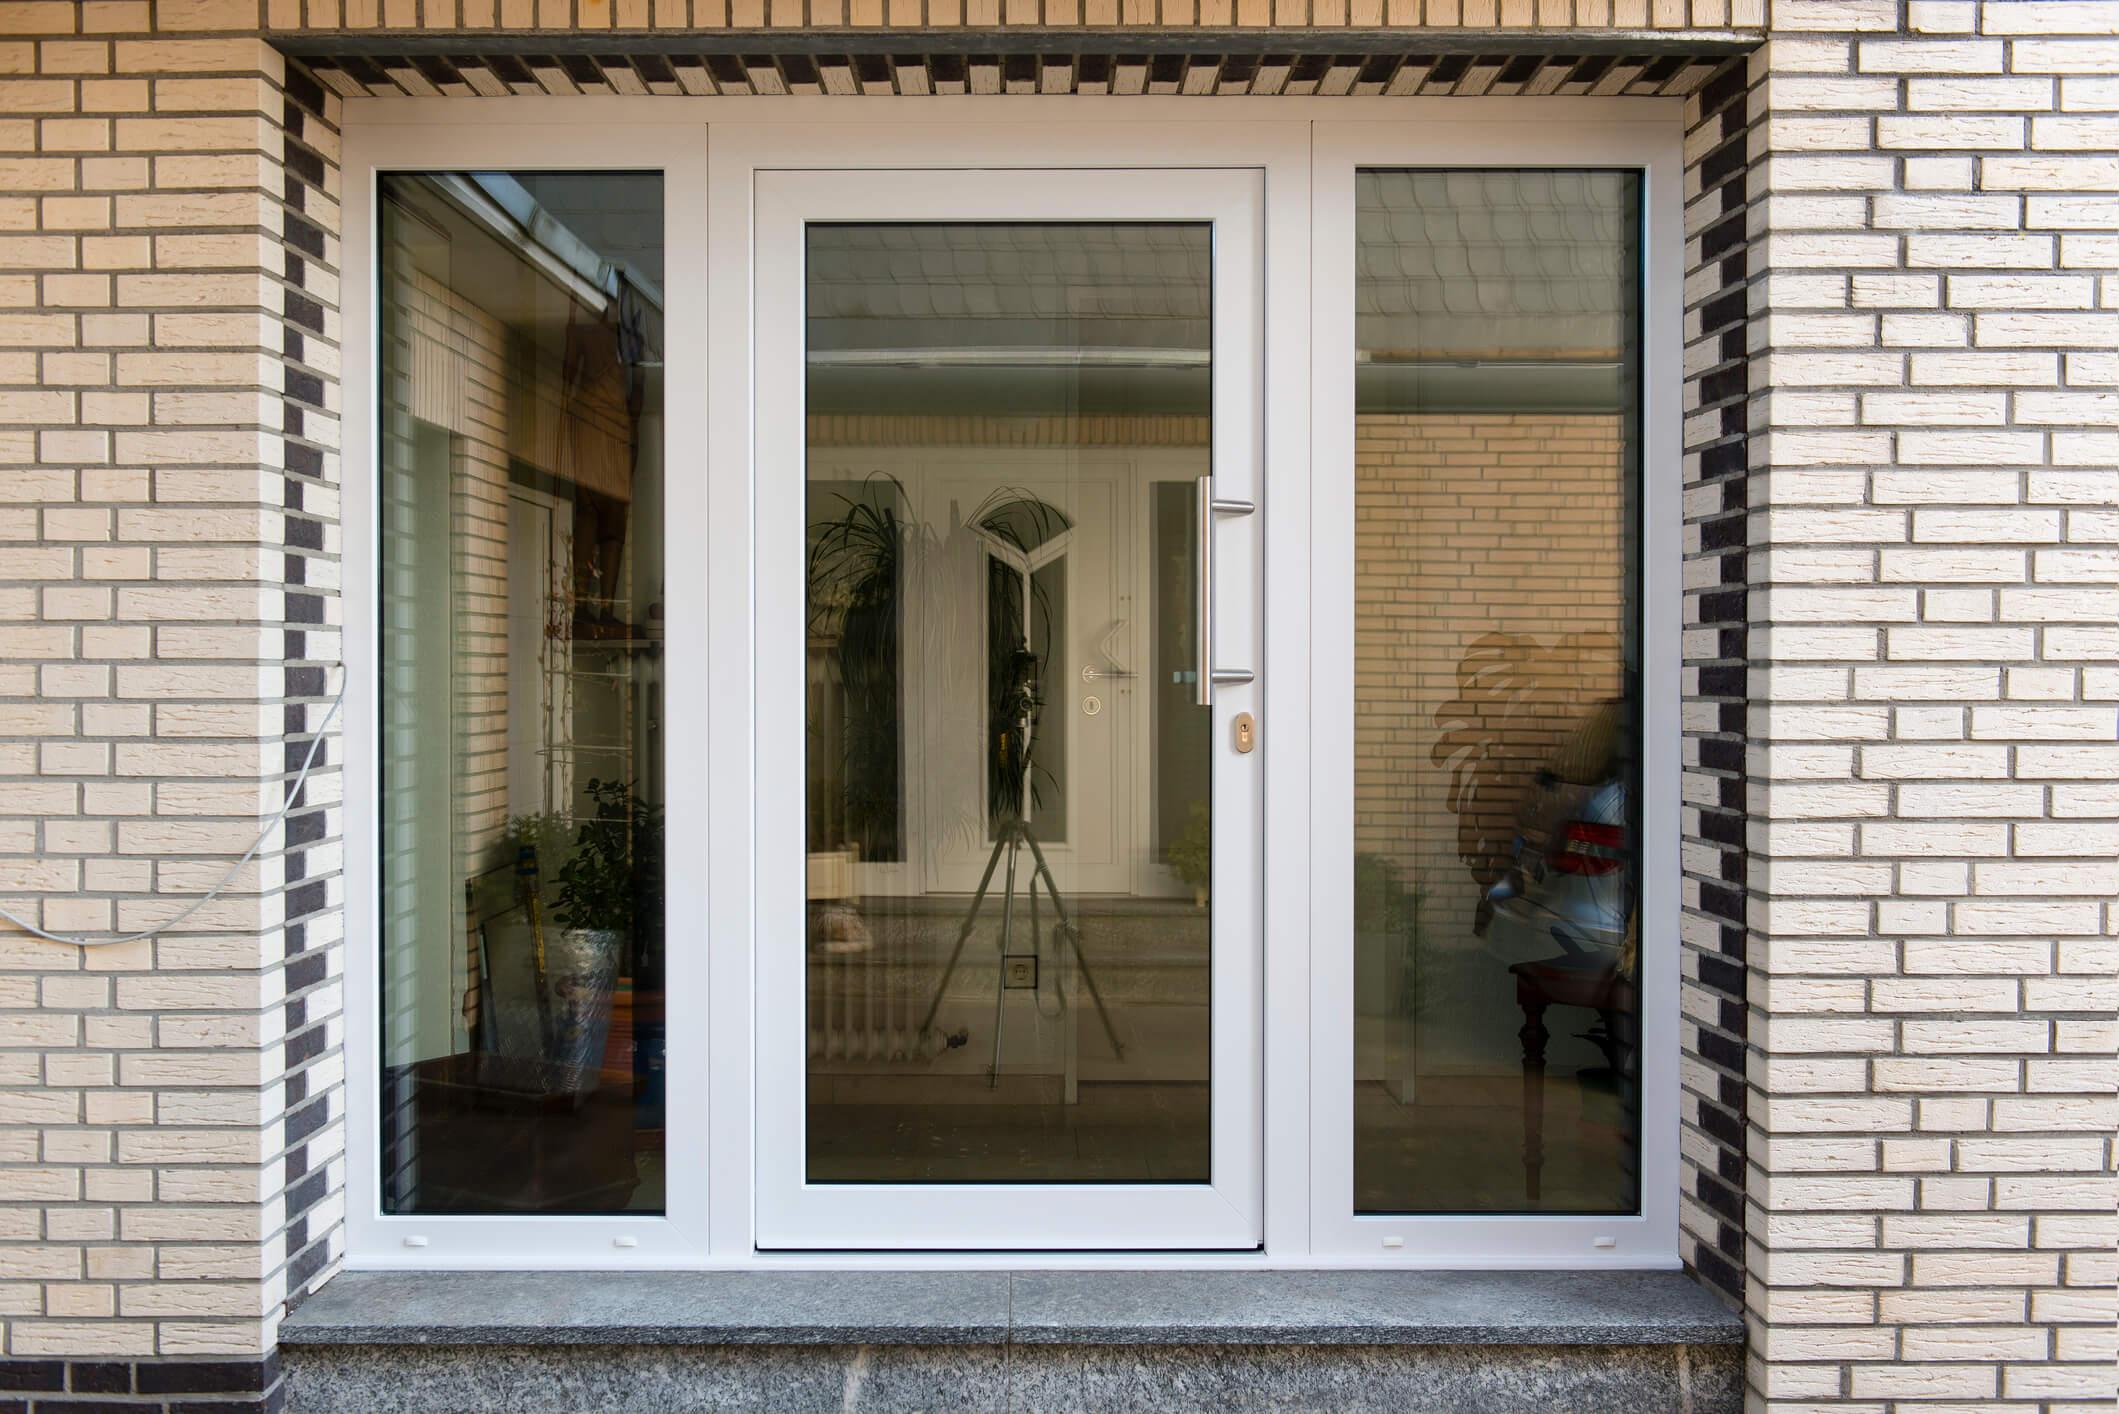
Finally, you may choose a solid glass front door for your home’s entry.
Glass exterior doors can have several pros — perhaps most notably the view you will have from indoors and the amount of natural light they allow into your space.
Conversely, these can also be considered cons depending on your privacy threshold.
Installing Windows and Doors
With the right tools, necessary skills, and an understanding of the degree of difficulty, installing windows and doors in a Mighty Small Homes prefab kit can be a rewarding and money-saving DIY challenge.
The work requires precise measurements, careful alignment, and effective sealing to maintain the aesthetics and functionality.
While the complexity varies depending on factors like window size and door type, a solid grasp of these fundamentals—such as selecting the appropriate shims for leveling, properly flashing to prevent water intrusion, and securing frames to withstand environmental stress—can make the process manageable.
To install doors and windows for your prefab home, follow these simple steps.
Tools and Materials Needed
- Level
- Tape measure
- Shims,
- Screws
- Nails
- Hammer
- Insulation foam
- Flashing tape
- Power drill
Prepare the Openings
Ensure that the openings for the doors and windows are properly framed and leveled. Openings for windows and doors for your Mighty Small Homes kit are cut and pre-framed.
Check for any deviations in measurements to avoid issues during installation.
Install Flashing
Apply flashing tape or flashing membranes, such as Tyvek®, around the edges of the openings. This will help prevent water infiltration and ensure a weather-tight seal.
Position the Frame
Carefully place the door or window frame into the opening. Use shims to adjust the frame so it is level and square. Ensure that there is an even gap around the frame.
Secure the Frame
Once positioned correctly, secure the frame to the opening using appropriate screws or nails. Start from the top and work your way down, ensuring the frame remains level throughout.
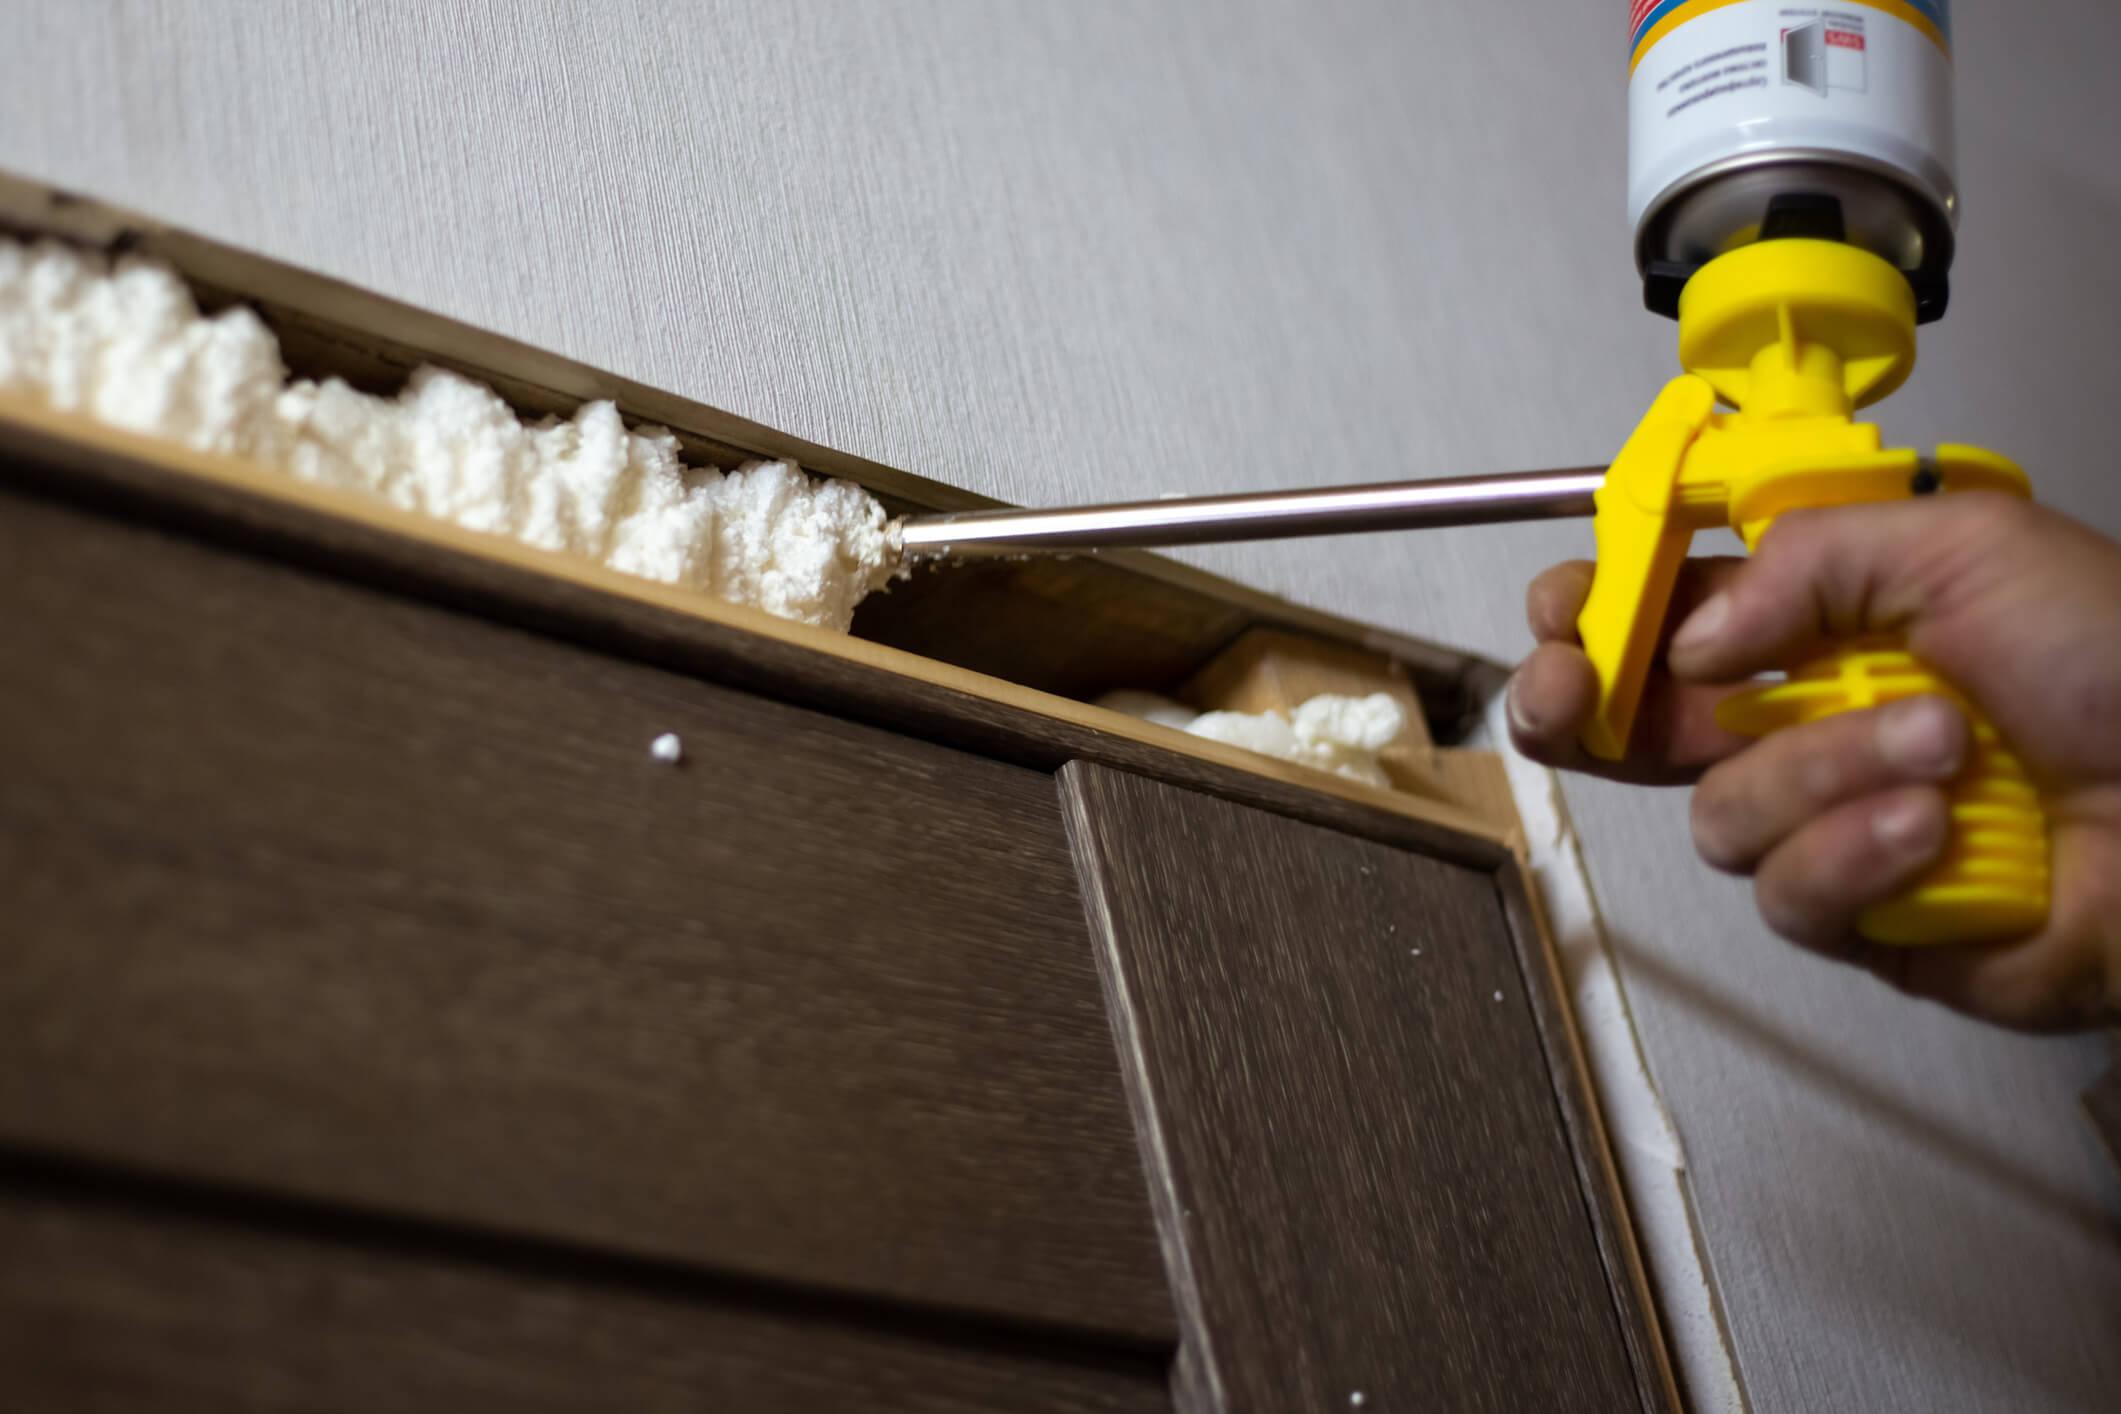
Insulate the Gaps
After securing the frame, fill any gaps between it and the opening with insulation foam. This improves energy efficiency by sealing potential air leaks.
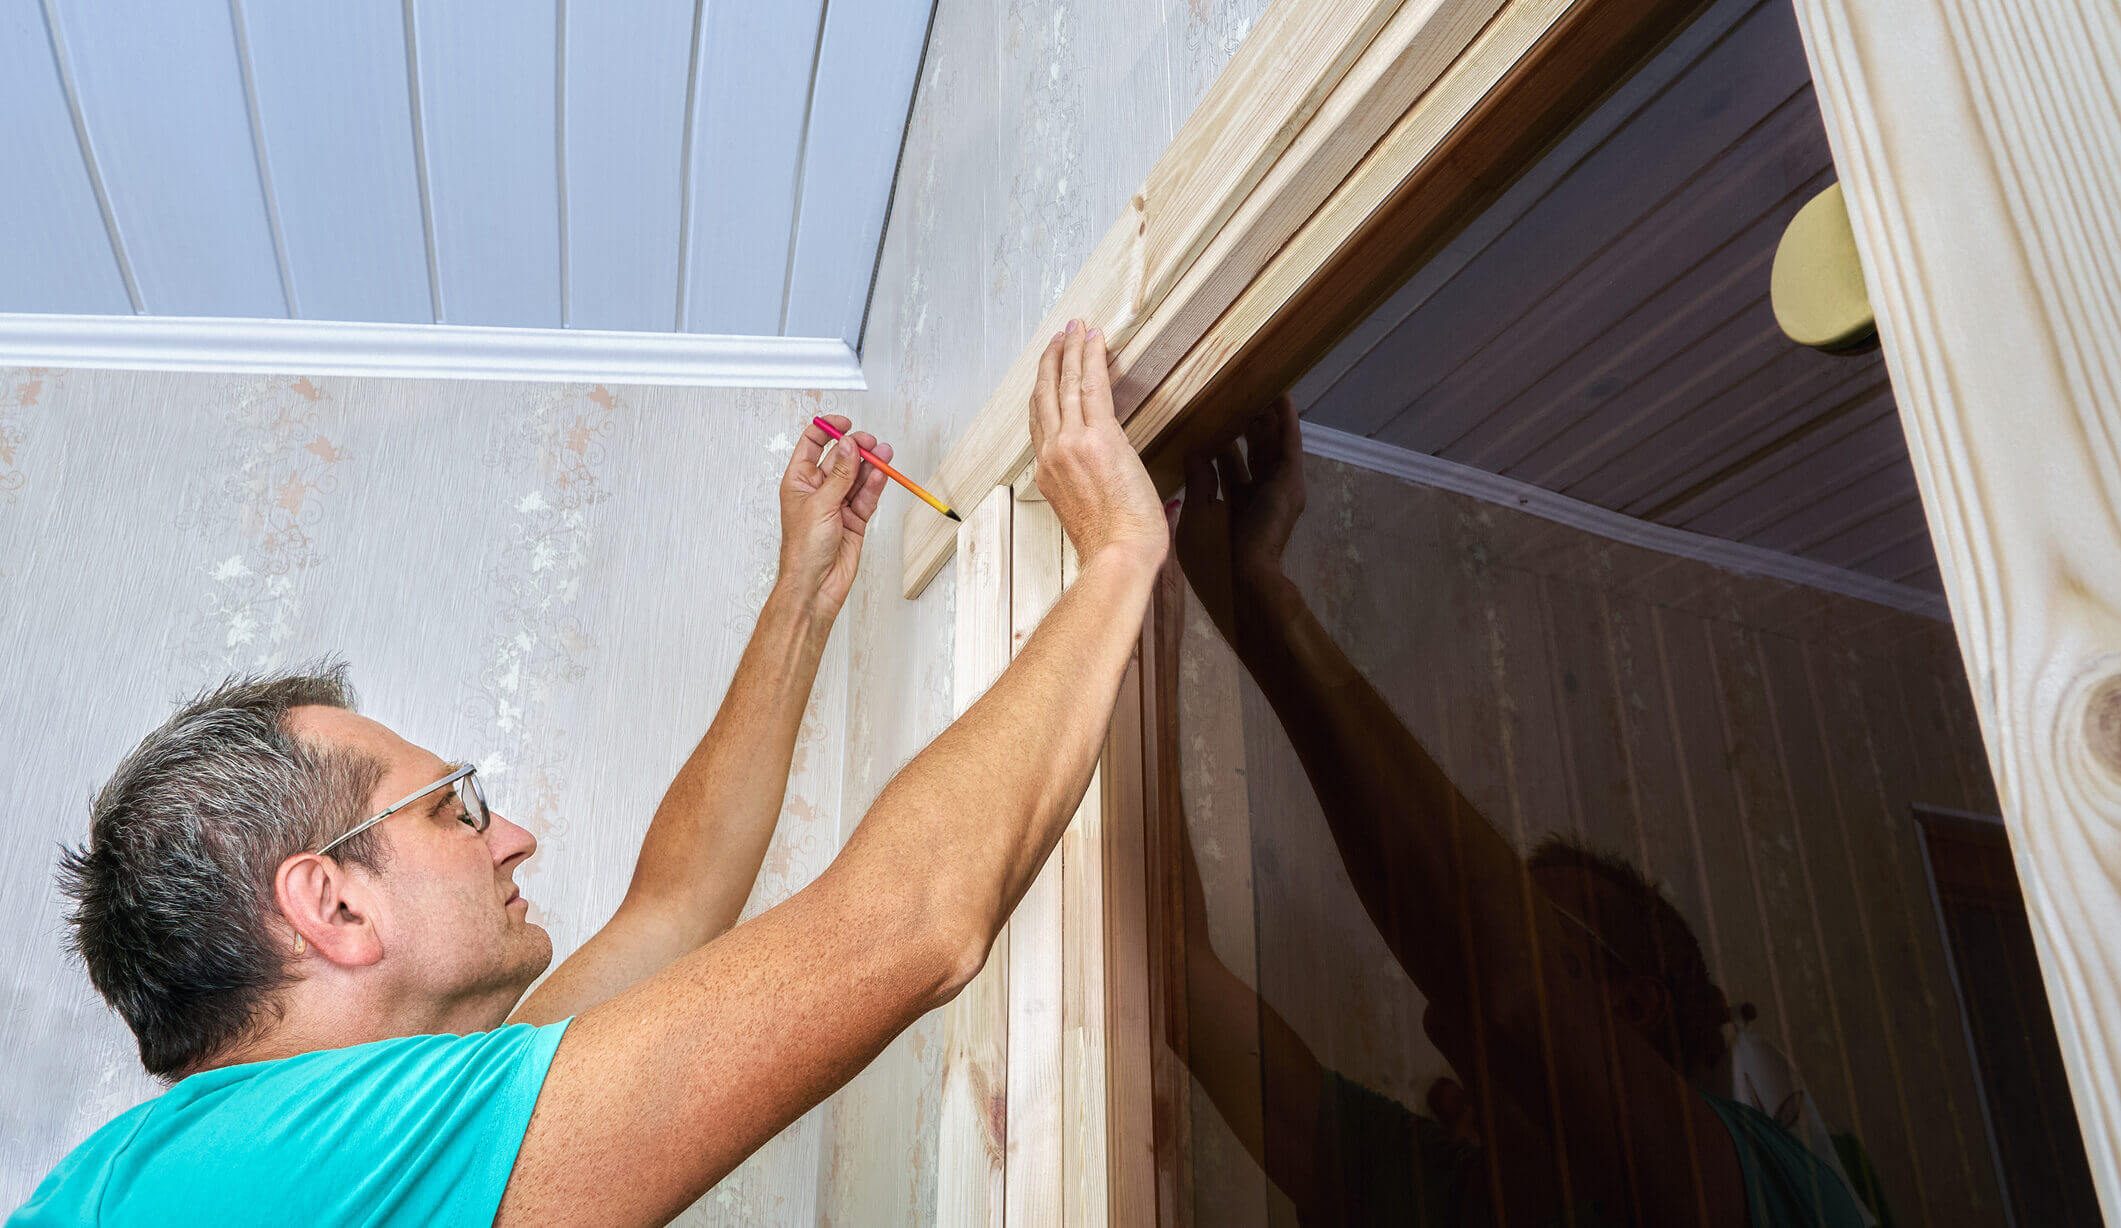
Install Exterior Trim and Flashing
Attach exterior trim around the door or window, and apply additional flashing as needed to protect against moisture.
Install the Door or Window
Finally, install the door or window into the secured frame. For windows, ensure they open and close smoothly. For doors, check the alignment with the door latch and make any necessary adjustments.
Finish Interior Trim
Complete the installation by adding interior trim around the door or window, covering any gaps between the frame and the wall.
Proper installation is crucial for the longevity and performance of doors and windows in a prefab home.
Congratulations, You’re Dried In!
As the roofing, doors, and windows are completed, your house is considered “dried in,” and you’re one step closer to living in your new home!
Roughed-in electrical home wiring is the next step in completing your new home kit. Look for that in the next installment of our How to Build a Small House Kit series, where we will cover installing receptacles for outlets, lights, and switches and running wires from the breaker panel to each receptacle.
FAQs
The most common types of windows include single-hung, double-hung, arched, casement, and sliding windows.
Consider your budget, desired style, energy efficiency, and ease of maintenance. For example, double-hung windows are popular for their ease of cleaning, while arched windows add architectural interest but are often fixed and do not open.
Position the window or door frame in the opening and use shims to adjust it until it is level and square and ensure even spacing around the frame before securing it in place.
Essential tools and materials include a level, tape measure, shims, screws, nails, hammer, insulation foam, flashing tape, and a power drill. Key skills involve precise measurement, proper alignment, and an understanding of weatherproofing techniques to ensure a secure and durable installation.
A house is considered "dried in" when the roof, windows, and doors are installed, creating a weather-tight enclosure. This stage protects the interior from the elements and allows work on electrical, plumbing, and HVAC work to continue.
Related Articles