How to Build a Small House Kit: Roofing
Building a small house kit offers an exciting and efficient way to create a cozy, personalized space. These kits provide all the necessary components, making it possible to assemble a home quickly and efficiently.
With clear instructions and pre-cut materials, constructing the frame and walls can be completed with surprising speed. Once the basic structure is in place, attention turns to one of the most crucial elements: the roof.
The intricacies of roofing go beyond just placing materials on top of the house. It involves understanding the pitch and creating a weather-tight seal to protect the interior and energy efficiency of the home.
This article explores the different types of roofs, such as gable and shed styles, each offering unique benefits for your small house kit. Additionally, we'll examine various roofing materials, considering factors like cost, longevity, installation process, and environmental suitability.
Mighty Roof Options
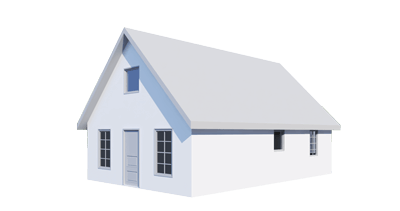
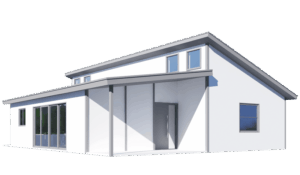
When constructing a small house kit from Mighty Small Homes, the model determines the type of roof, with options being either a shed of gable roof. Each option offers unique benefits and is suited to different architectural styles and personal preferences.
Gable Roofs
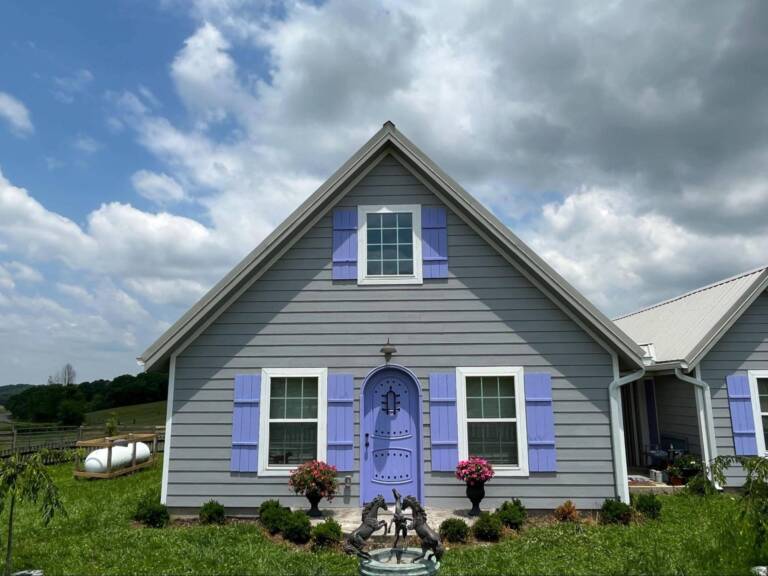
Gable roofs are the quintessential choice for many small house kits, characterized by their iconic A-shape. This design features two sloping planes of equal length that meet at a central ridge, forming a triangular profile.
Gable roofs are versatile and complement various architectural styles, including cottage, ranch, and A-frame homes.
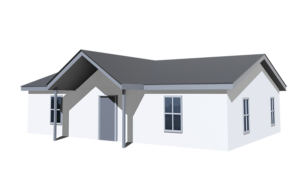
Ranch: For ranch-style kits, the gable roof offers a classic and straightforward look with a lower pitch. This style is easy to build and provides strong drainage, although it may require additional considerations in areas with high winds due to the deep overhangs. The lower pitch makes working on the roof easier.
Cottage: The gable roof on a cottage-style small house kit enhances its quaint, charming look. The steep pitch helps in effective water and snow drainage, reducing the risk of leaks and structural damage. The steeper pitch offers a greater challenge when finishing the roof.
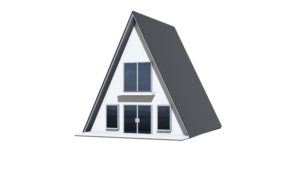
A-Frame: Modern "A-frame" kits take the gable roof to an extreme, with steeply sloping sides that form the walls and roof in one continuous plane. This design is excellent for shedding snow and rain and offers a distinctive, striking appearance. Note, however, its extreme pitch makes finishing this roof a significant challenge for most do-it-yourselfers.
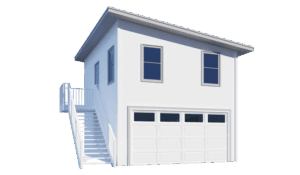
Shed Roofs
Shed roofs, also known as skillion or "lean-to" roofs, feature a single sloping plane that typically slopes down in one direction.
This modern design is particularly popular for contemporary, carriage, and other modern-style small house kits.
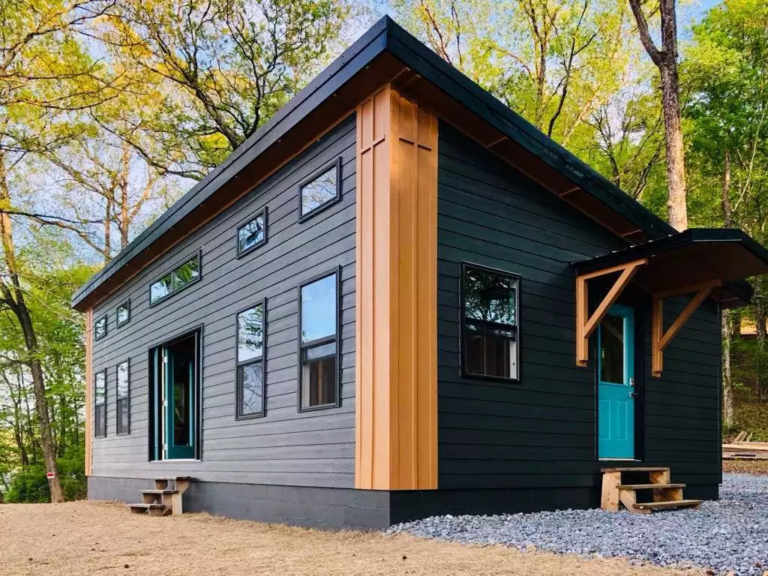
Modern: A shed roof adds a sleek, minimalist aesthetic to modern small house kits. The single slope allows for high windows on one side, bringing in ample natural light and creating an open, airy interior.
Contemporary: For contemporary house designs, the shed roof provides a cost-effective and stylish roofing solution. Its simplicity means lower labor costs and easier construction while still offering effective water shedding and a modern appearance.
Carriage: In carriage-style kits, a shed roof can create a unique look with a blend of traditional and modern elements. The slope can be adjusted to suit the overall design, ensuring it complements the home's aesthetic while providing practical benefits like natural light and water runoff.
Roofing Materials: Pros and Cons
When it comes to selecting roofing materials for your small house kit, there are several factors to consider. The pitch of your roof influences the quantity of materials needed, as steeper pitches require more coverage.
Each roofing material has advantages and disadvantages. Choosing the right one depends on your budget, environmental conditions, and the longevity you desire.
Here’s a detailed look at some popular roofing materials, along with a pro-con chart to help you make an informed decision.
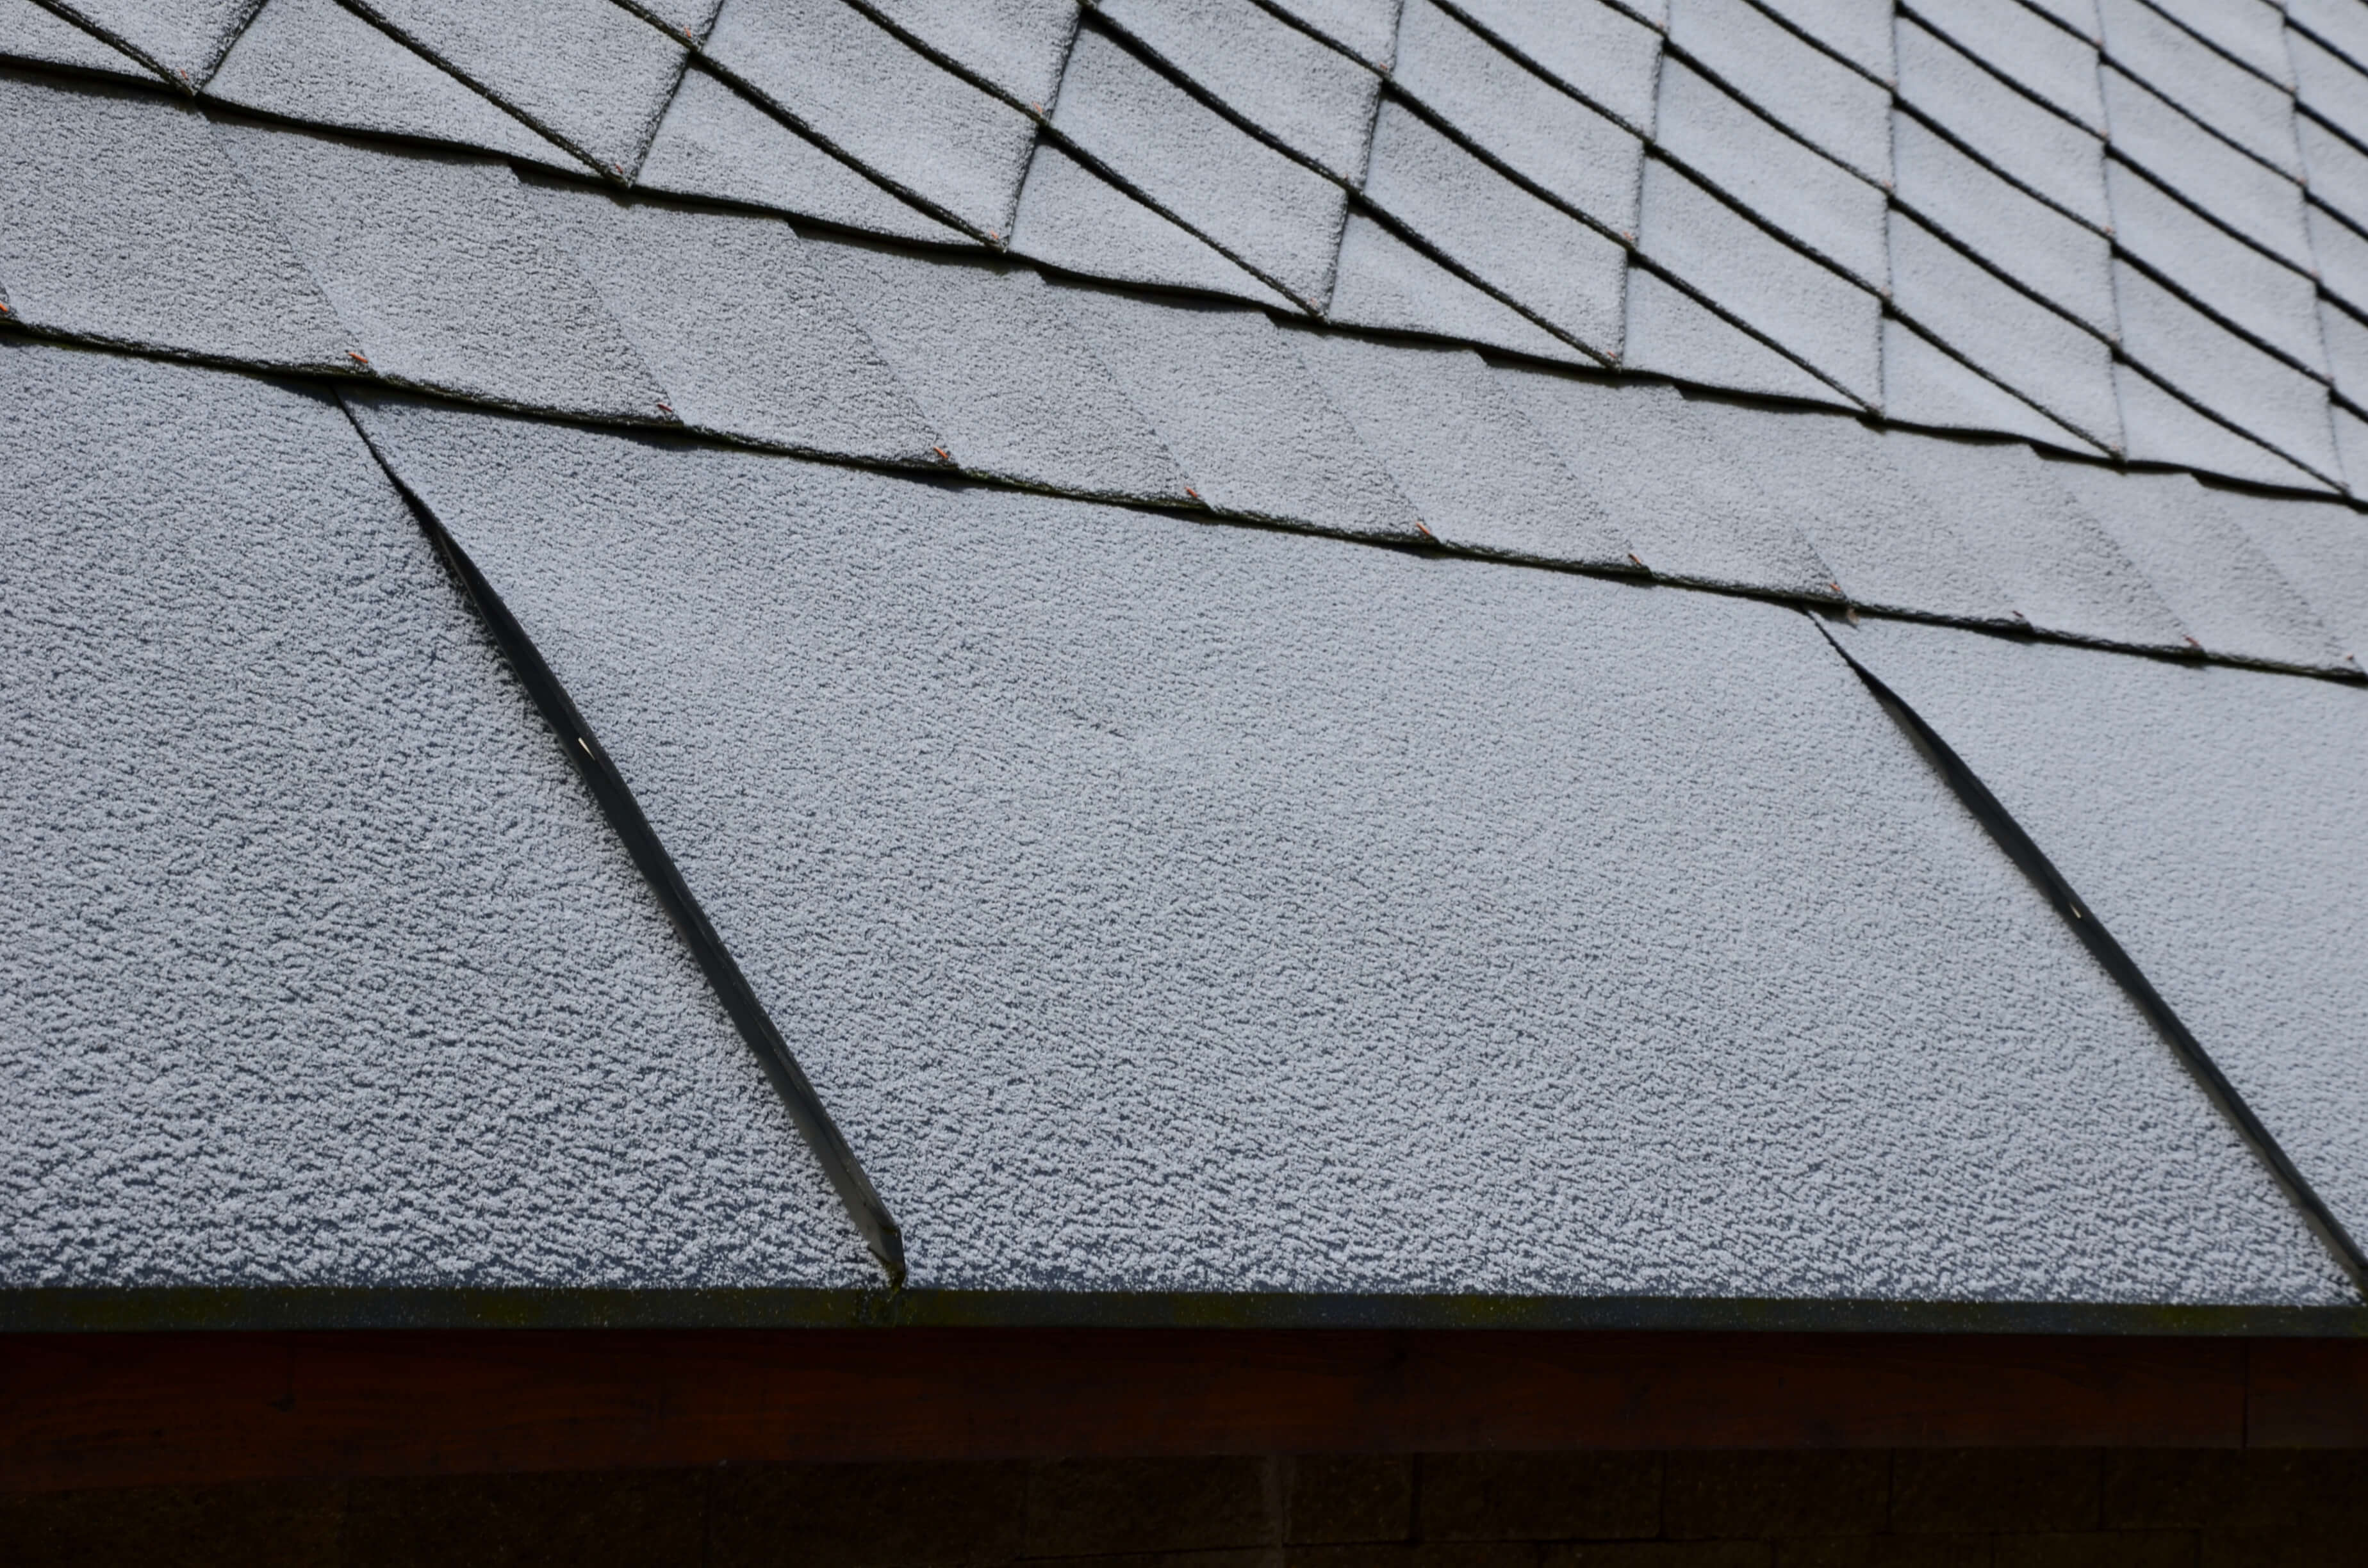
Asphalt Shingles
Asphalt shingles are one of the most common roofing materials due to their affordability and ease of installation. They come in various colors and styles, making them versatile for different architectural designs.
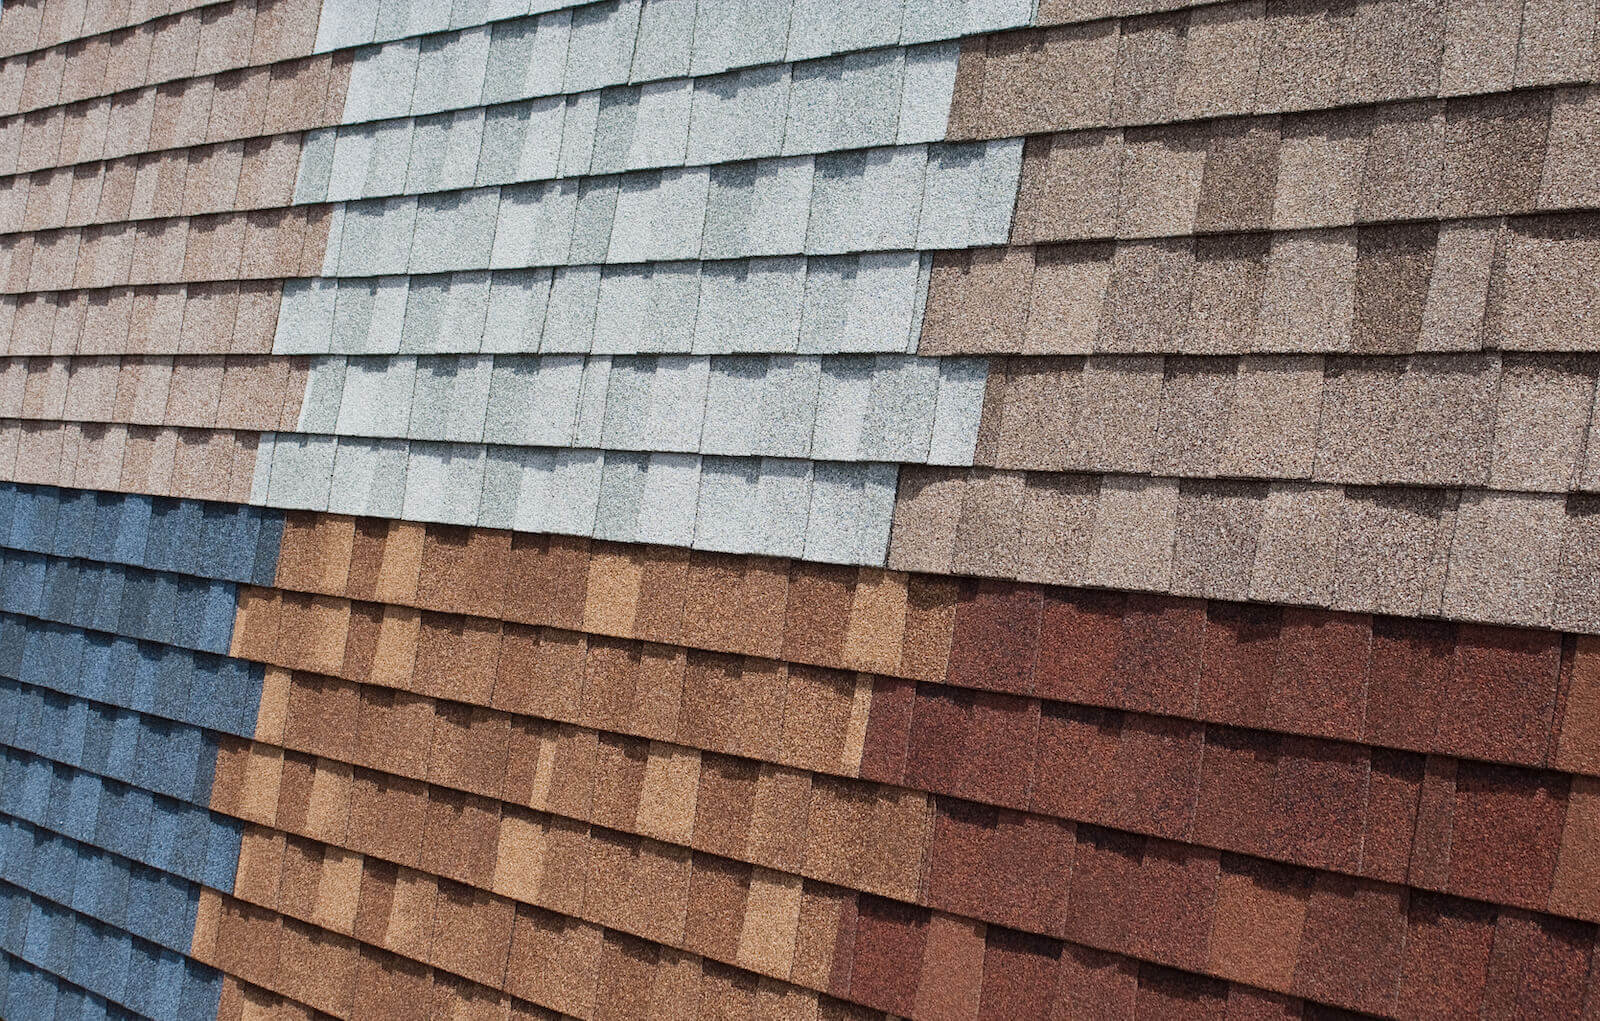
- Pros: Affordable, easy to install, available in various styles and colors.
- Cons: Less durable compared to other materials, shorter lifespan, not environmentally friendly.
- Cost: Low
- Longevity: 15-30 years
- Environmental and Geographic Considerations: Suitable for most climates, but can deteriorate faster in extreme weather conditions.
Metal
Metal roofing is known for its durability and energy efficiency. It can be made from various metals like steel, aluminum, and copper.
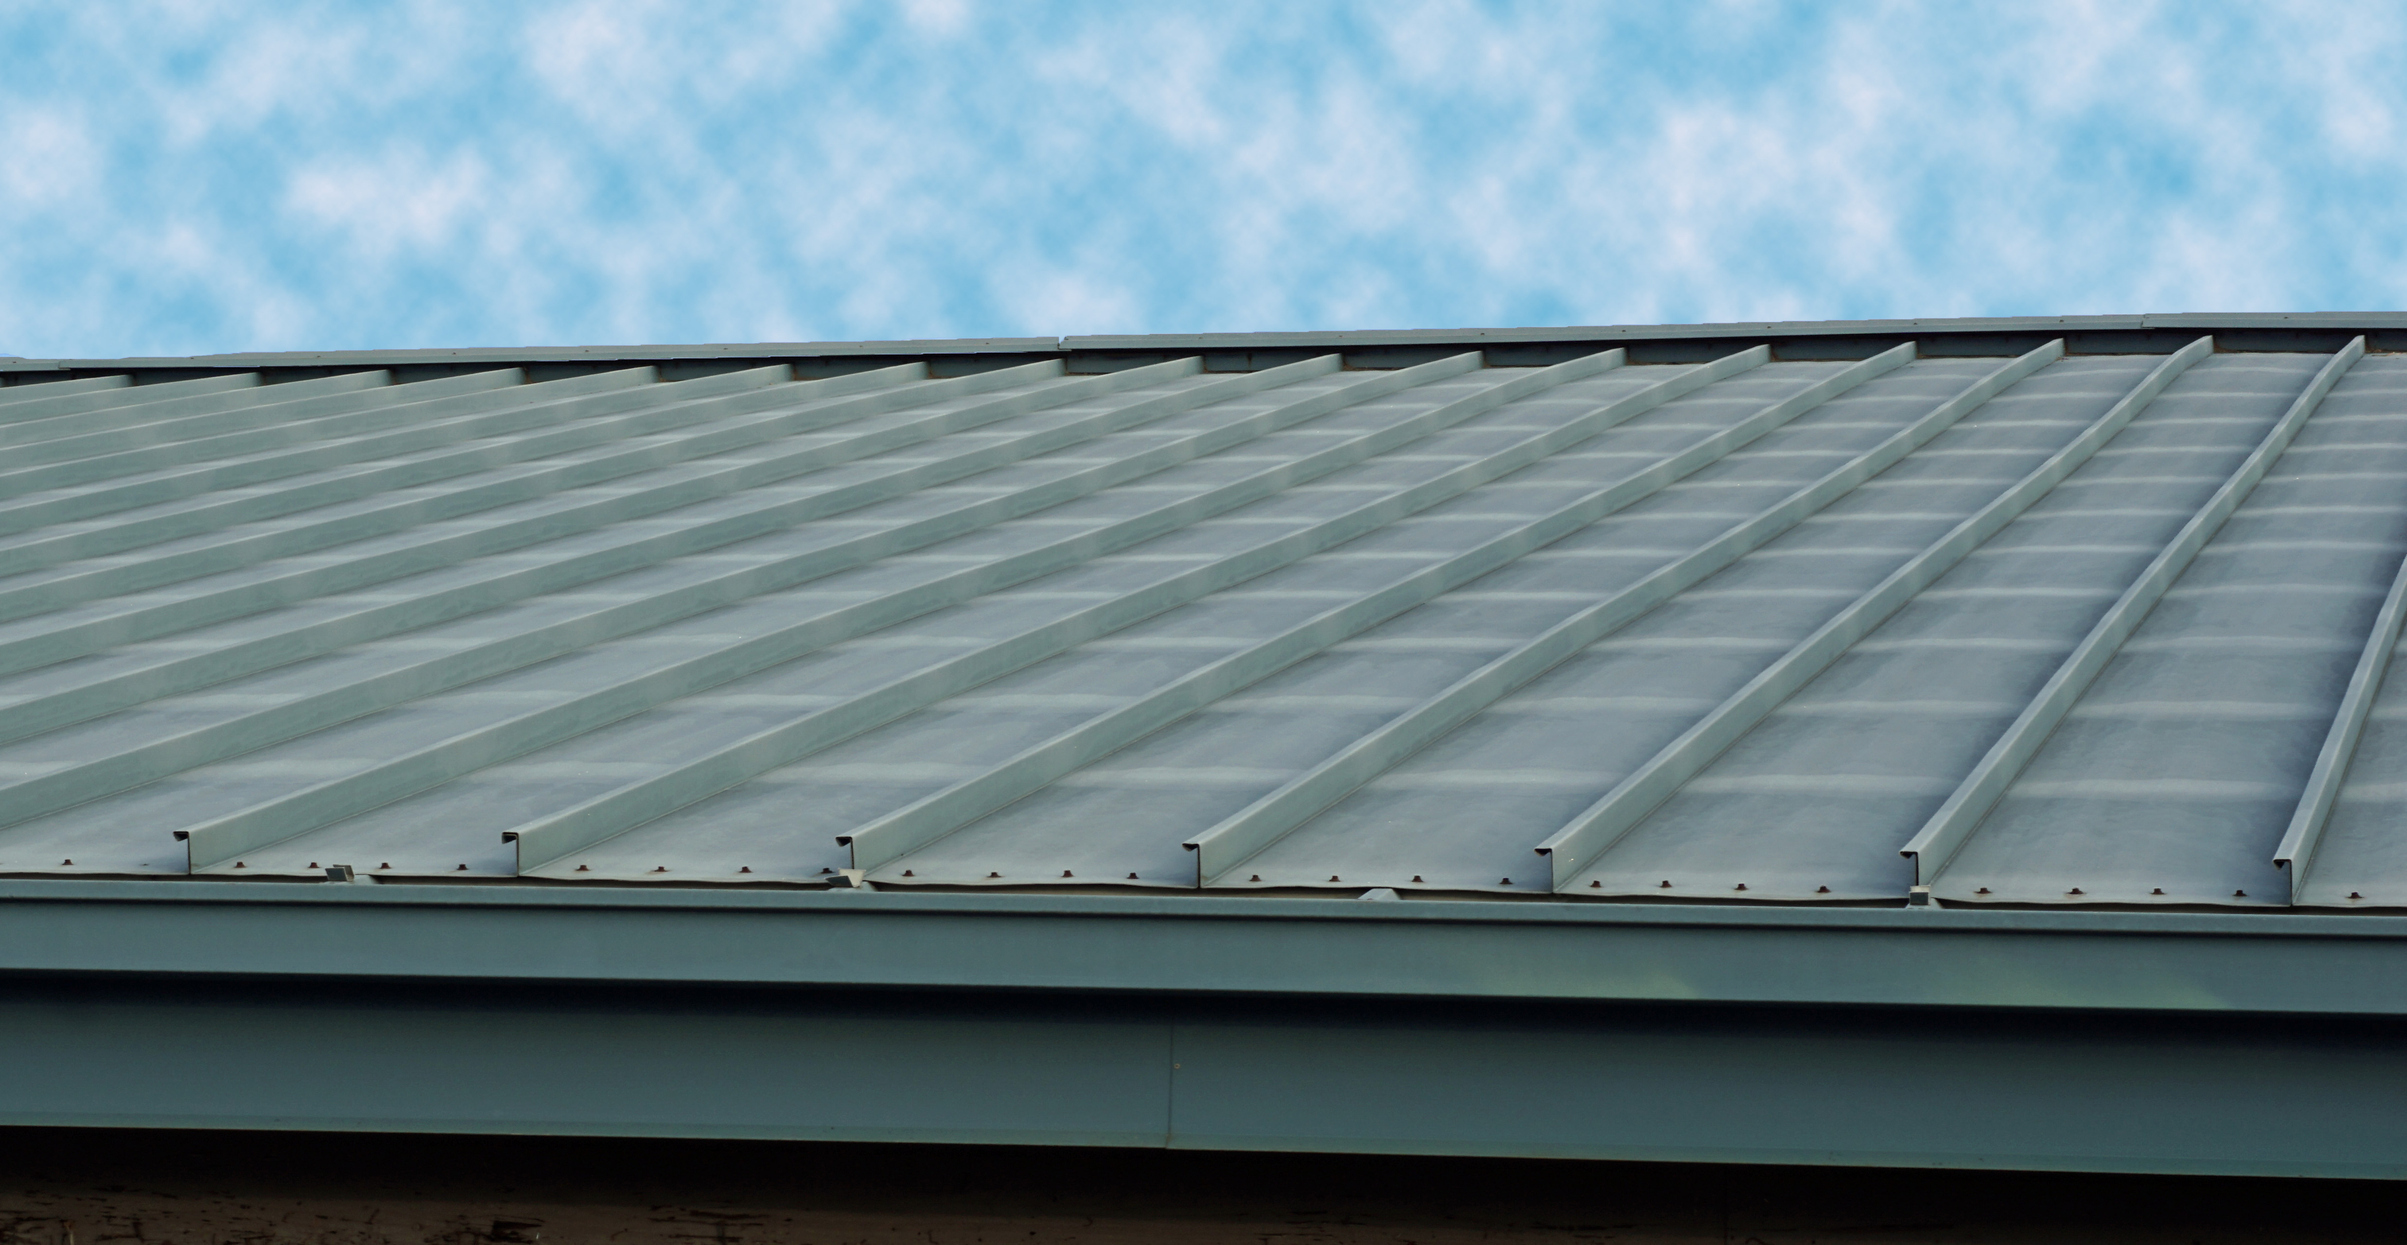
- Pros: Durable, long-lasting, energy-efficient, recyclable.
- Cons: Higher upfront cost, can be noisy during rain.
- Cost: Moderate to high
- Longevity: 40-70 years
- Environmental and Geographic Considerations: Excellent for areas with extreme weather or wild-fire risk.
Standing Seam
Standing seam metal roofs are a type of metal roofing with vertical panels that interlock at the seams.
- Pros: Highly durable, excellent weather resistance, sleek appearance.
- Cons: Expensive, requires professional installation.
- Cost: High
- Longevity: 50+ years
- Environmental/Geographic Considerations: Ideal for areas with heavy snow, rainfall, or increased fire risk.
Wood Shingles or Shakes
Wood shingles and shakes offer a natural and rustic appearance. Shakes are hand-split, giving a more textured look, while shingles are machine-cut for a smoother finish.
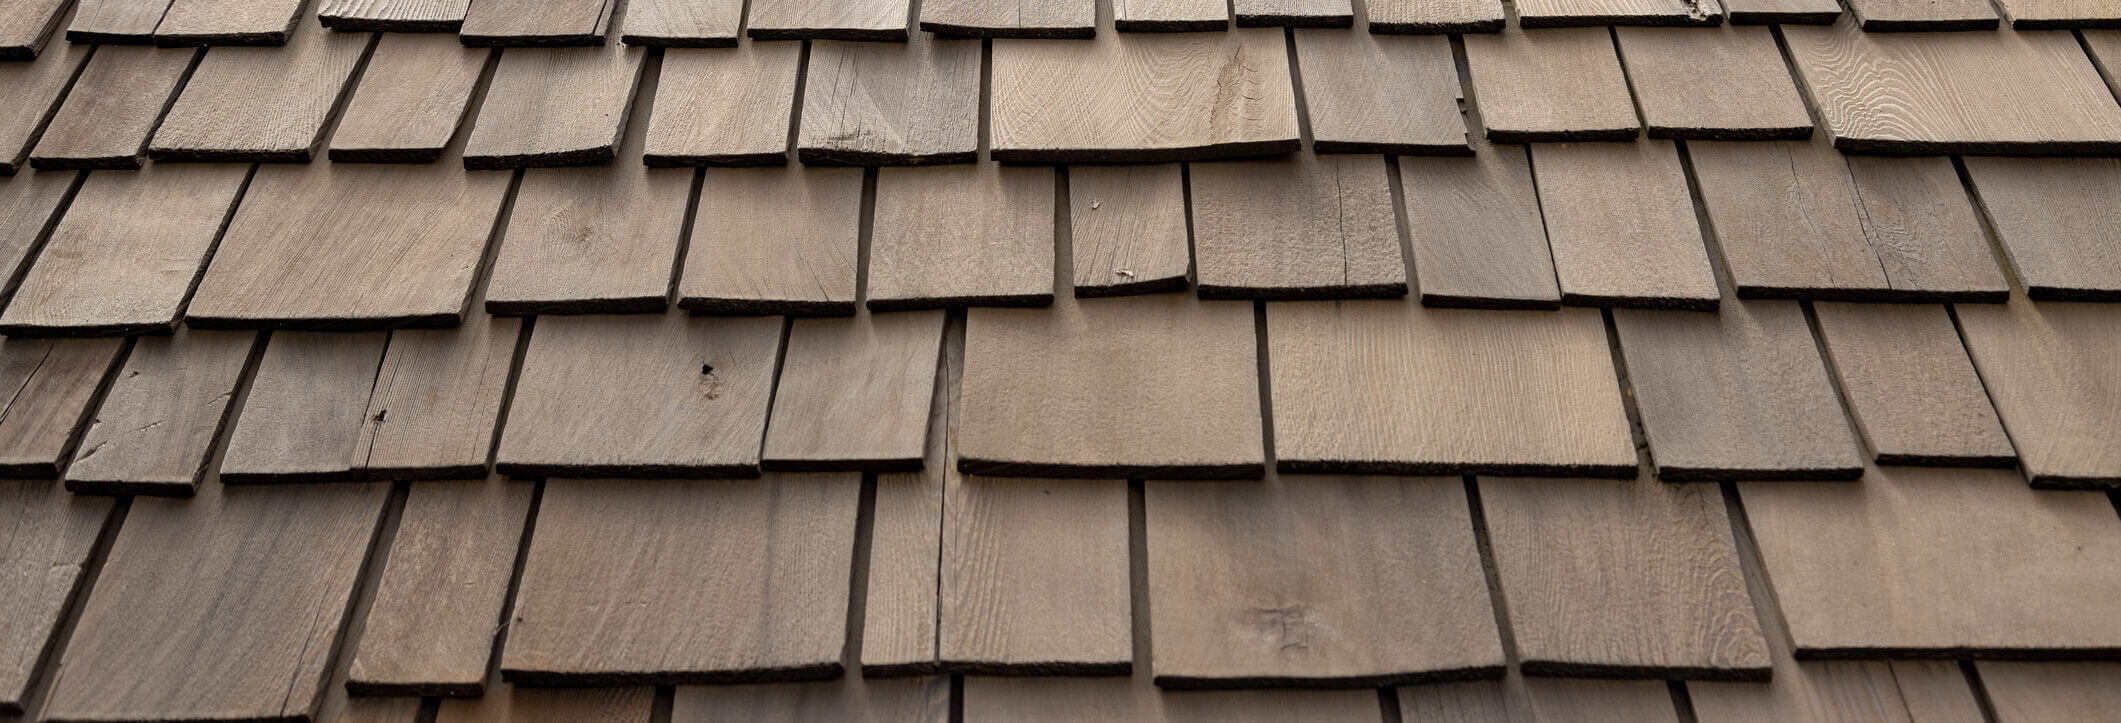
Pros: Aesthetic appeal, natural insulation.
Cons: High maintenance, fire risk, susceptible to rot and insects.
Cost: Moderate to high
Longevity: 30-40 years
Environmental and Geographic Considerations: Best for dry climates; not recommended for fire-prone areas.
Tile (Clay, Concrete, Slate)
Tile roofing includes materials like clay, concrete, and slate, known for their longevity and classic appearance.
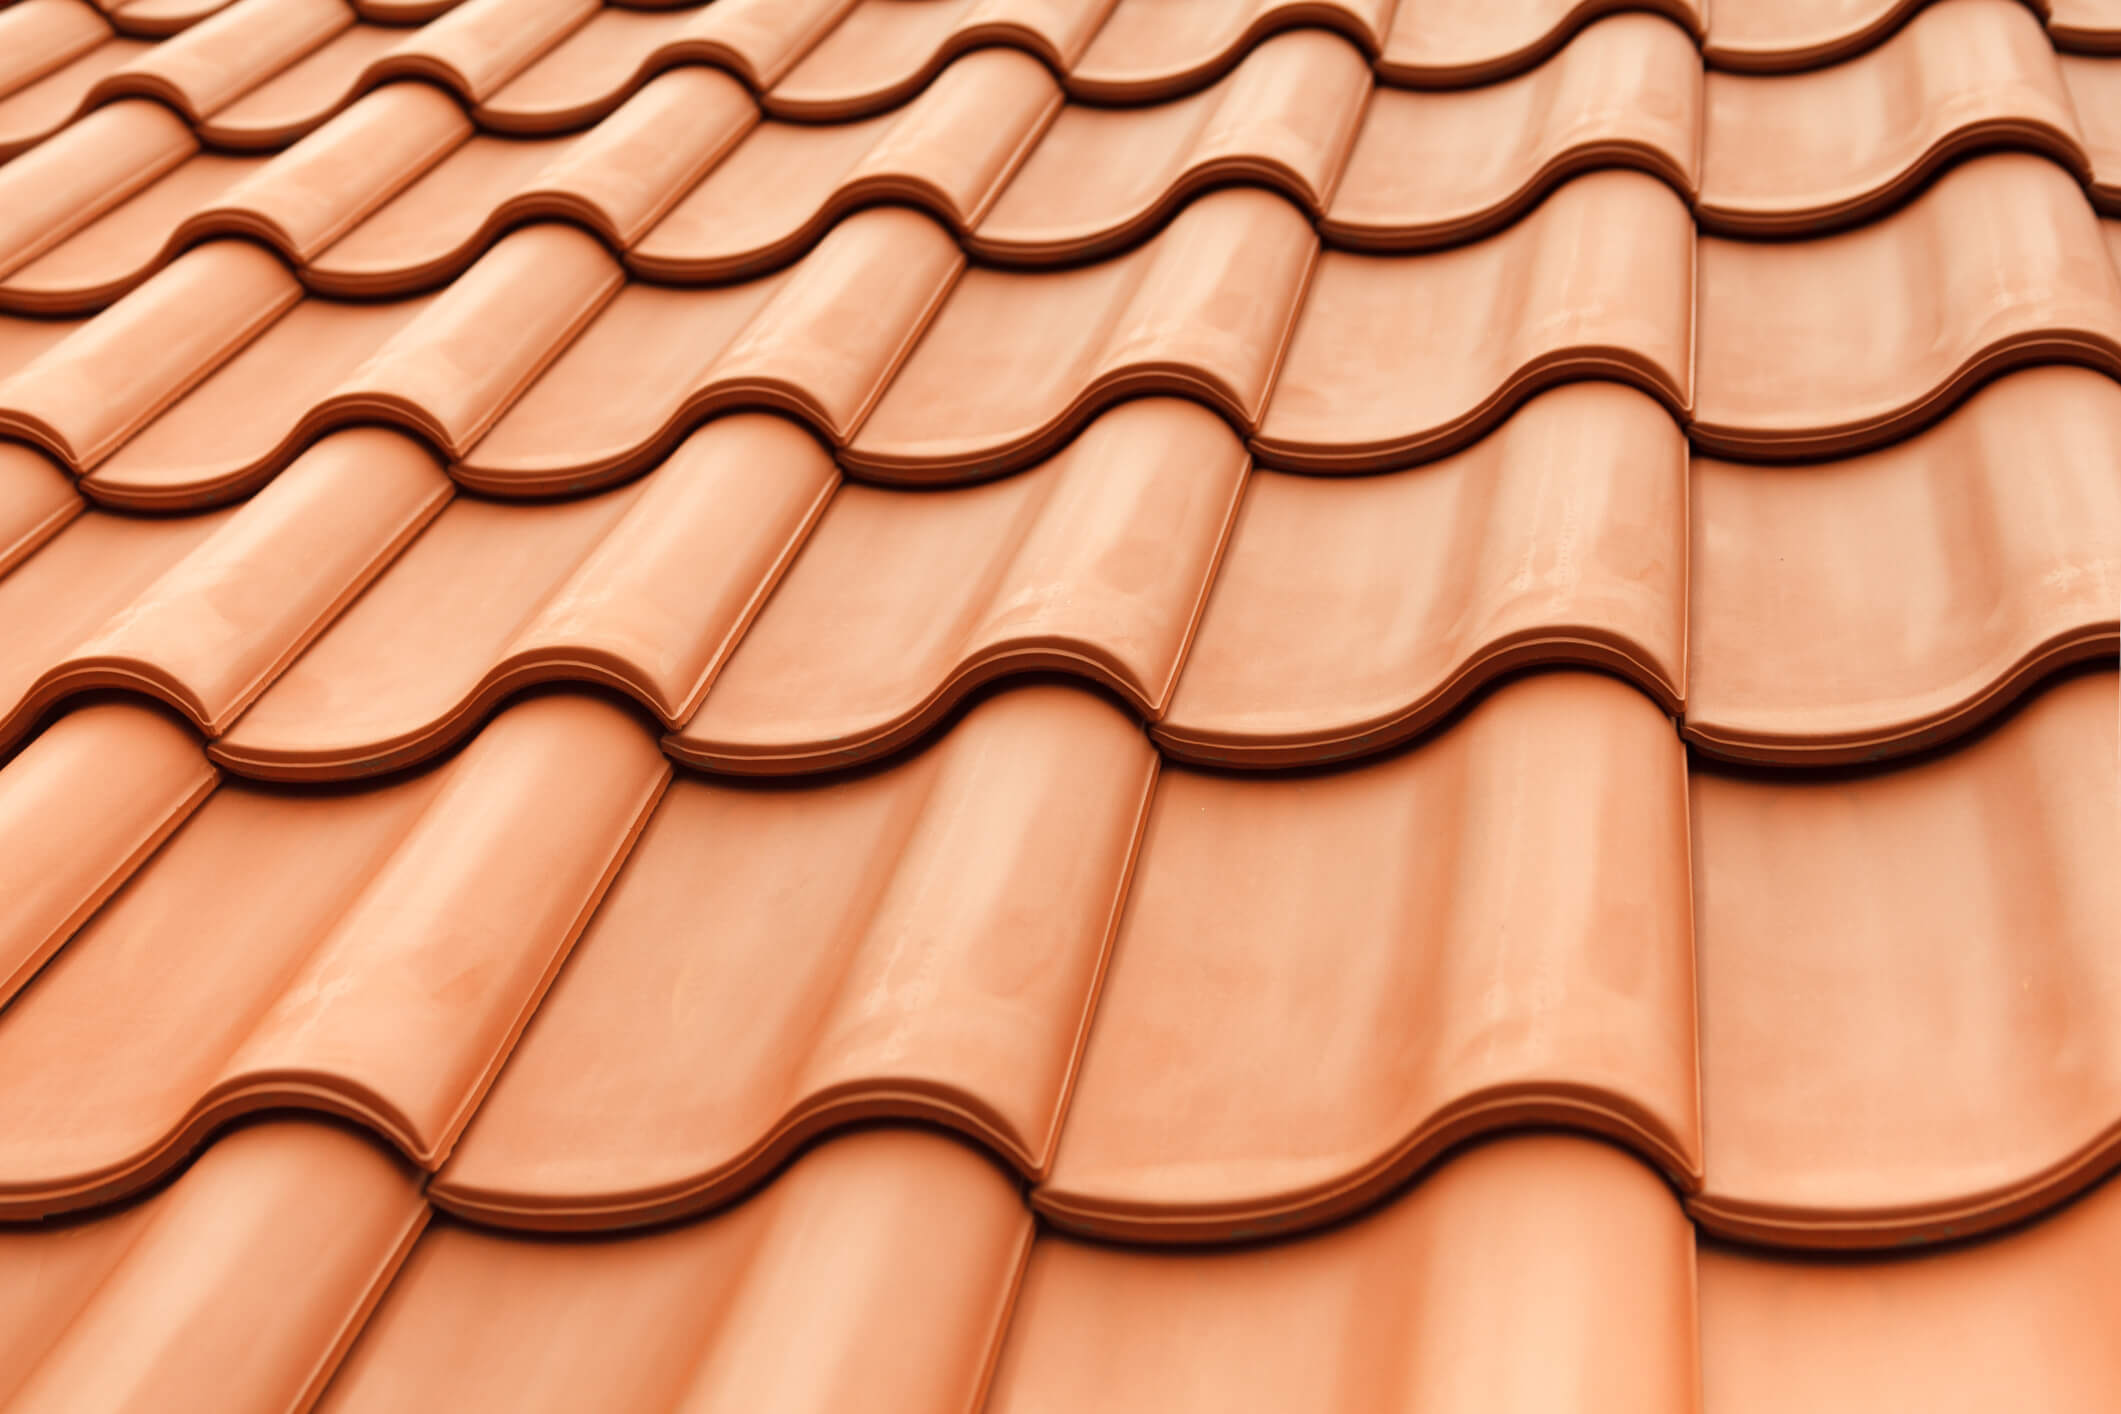
Pros: Extremely durable, fire-resistant, aesthetically pleasing.
Cons: Very heavy, expensive, complex installation.
Cost: High
Longevity: 50-100 years
Environmental/Geographic Considerations: Suitable for hot climates; not ideal for areas with heavy snowfall.
Synthetic Options
Synthetic roofing materials mimic the appearance of traditional materials like slate and wood but are made from synthetic compounds.
Pros: Lightweight, durable, often more affordable than natural counterparts.
Cons: Varying quality, may not have the same longevity as natural materials.
Cost: Moderate
Longevity: 30-50 years
Environmental and Geographic Considerations: Versatile for various climates; eco-friendly options available.
Pros-Con Chart
| Material | Pros | Cons | Cost | Longevity | Environmental and Geographic Considerations |
| Asphalt Shingles | Affordable, easy to install, versatile | Less durable, shorter lifespan | Low | 15-30 years | Suitable for most climates |
| Metal | Durable, energy-efficient, recyclable | Higher upfront cost, noisy | Moderate to High | 40-70 years | Great for extreme weather, fire-resistant |
| Standing Seam | Highly durable, sleek appearance | Expensive, professional installation | High | 50+ years | Ideal for heavy snow/rain, fire-resistant |
| Wood Shingles/Shakes | Aesthetic appeal, natural insulation | High maintenance, fire risk | Moderate to High | 30-40 years | Best for dry climates, not for fire-prone areas |
| Tile (Clay, Concrete, Slate) | Extremely durable, fire-resistant | Very heavy, expensive, complex installation | High | 50-100 years | Great for hot climates, not for heavy snow |
| Synthetic | Lightweight, durable, affordable | Varying quality | Moderate | 30-50 years | Versatile, eco-friendly options available |
Important Consideration
Be Careful!
Modern and ranch-style roofs typically have less pitch, making roofing them easier but potentially requiring additional drainage solutions.
In contrast, cottage and A-frame roofs have a steeper pitch, necessitating more materials but offering better water and snow runoff.
These distinctions are crucial for both material calculation and ensuring the roof's durability and efficiency.
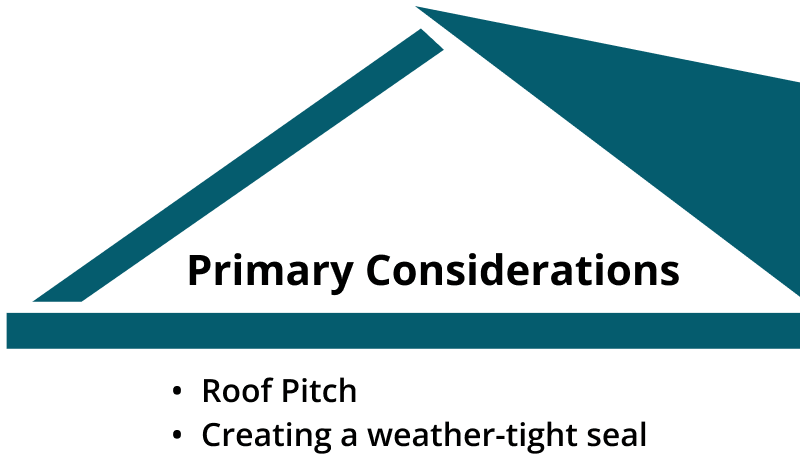
Roof Pitch for Calculating Materials
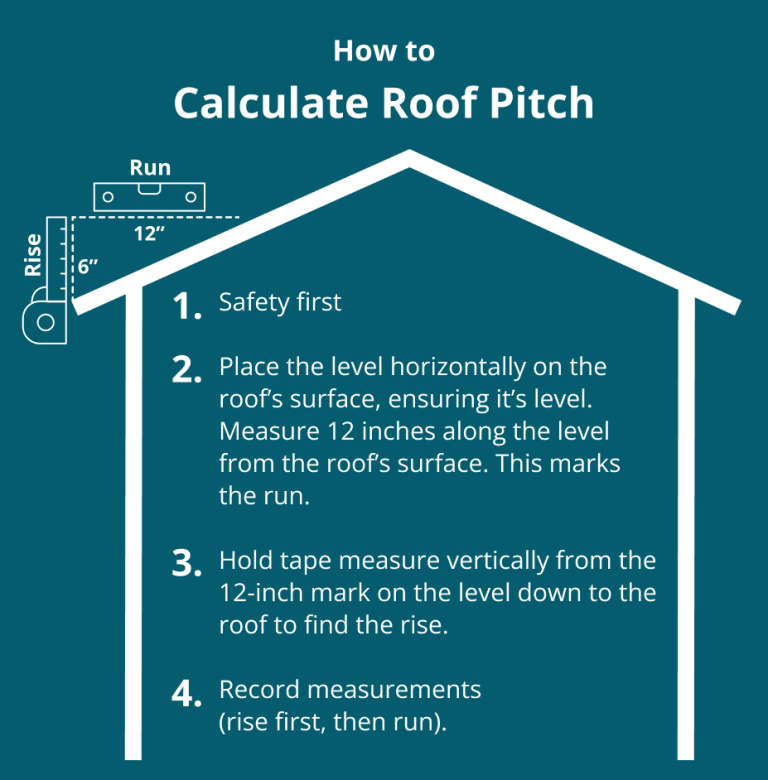
Roof pitch refers to the slope of a roof, measured as the ratio of the rise (vertical distance) to the run (horizontal distance), indicating how many inches the roof rises vertically for every 12 inches it extends horizontally.
The pitch of your roof influences both the aesthetic and functionality of your small house kit. Steeper pitches, as seen in cottage and A-frame styles, require more materials but offer better water and snow runoff.
In contrast, lower pitches in modern and ranch styles are simpler and less material-intensive but may need additional drainage solutions.
When planning your roofing project, accurate calculation of the materials needed is essential. The roof pitch directly factors into the quantity of materials required. Calculating the materials needed involves understanding the pitch or slope. It is represented as a pitch factor.
Calculating Roofing Materials: A Quick Guide
- Measure the House Footprint: Calculate the total square footage of your house. Measure and multiply the length and width of the perimeter of the house.
- Determine the Roof Pitch: Roof pitch is the angle or slope of the roof. It is usually expressed as a ratio of the vertical rise to the horizontal run (e.g., 4:12 means 4 inches of rise for every 12 inches of run).
- Use the Pitch Factor: Apply the pitch factor to the calculated area to adjust for the slope of the roof. This will give you the actual surface area that needs to be covered.
Pitch Factor Chart
| Roof Pitch | Angle | Roof Pitch Factor |
| 1:12 | 4.76° | 1.0035 |
| 2:12 | 9.46° | 1.0138 |
| 3:12 | 14.04° | 1.0308 |
| 4:12 | 18.43° | 1.0541 |
| 5:12 | 22.62° | 1.0833 |
| 6:12 | 26.57° | 1.118 |
| 7:12 | 30.26° | 1.1577 |
| 8:12 | 33.69° | 1.2019 |
| 9:12 | 36.37° | 1.25 |
| 10:12 | 39.81° | 1.3017 |
| 11:12 | 42.51° | 1.3566 |
| 12:12 | 45.00° | 1.4142 |
Roof Installation
Installing a roof can be a complex and challenging task, often requiring professional assistance to ensure safety and quality.
Whether you’re using asphalt shingles, metal, or tiles, each material has specific installation requirements and potential challenges.
Here’s a brief overview of what’s involved in installing each type of roofing material, along with a concise list of steps and tools needed.
General Installation Steps
- Prepare the Roof Deck: Ensure the roof deck is clean, dry, and in good condition.
- Install Underlayment: Lay down the underlayment to provide an additional layer of protection.
- Install Roofing Material: Follow specific steps for your chosen material, ensuring proper overlap and alignment.
- Seal and Finish: Use appropriate materials to seal edges, seams, and ridges to prevent leaks.
- Inspect and Clean Up: Check for any missed spots or errors and clean up debris.
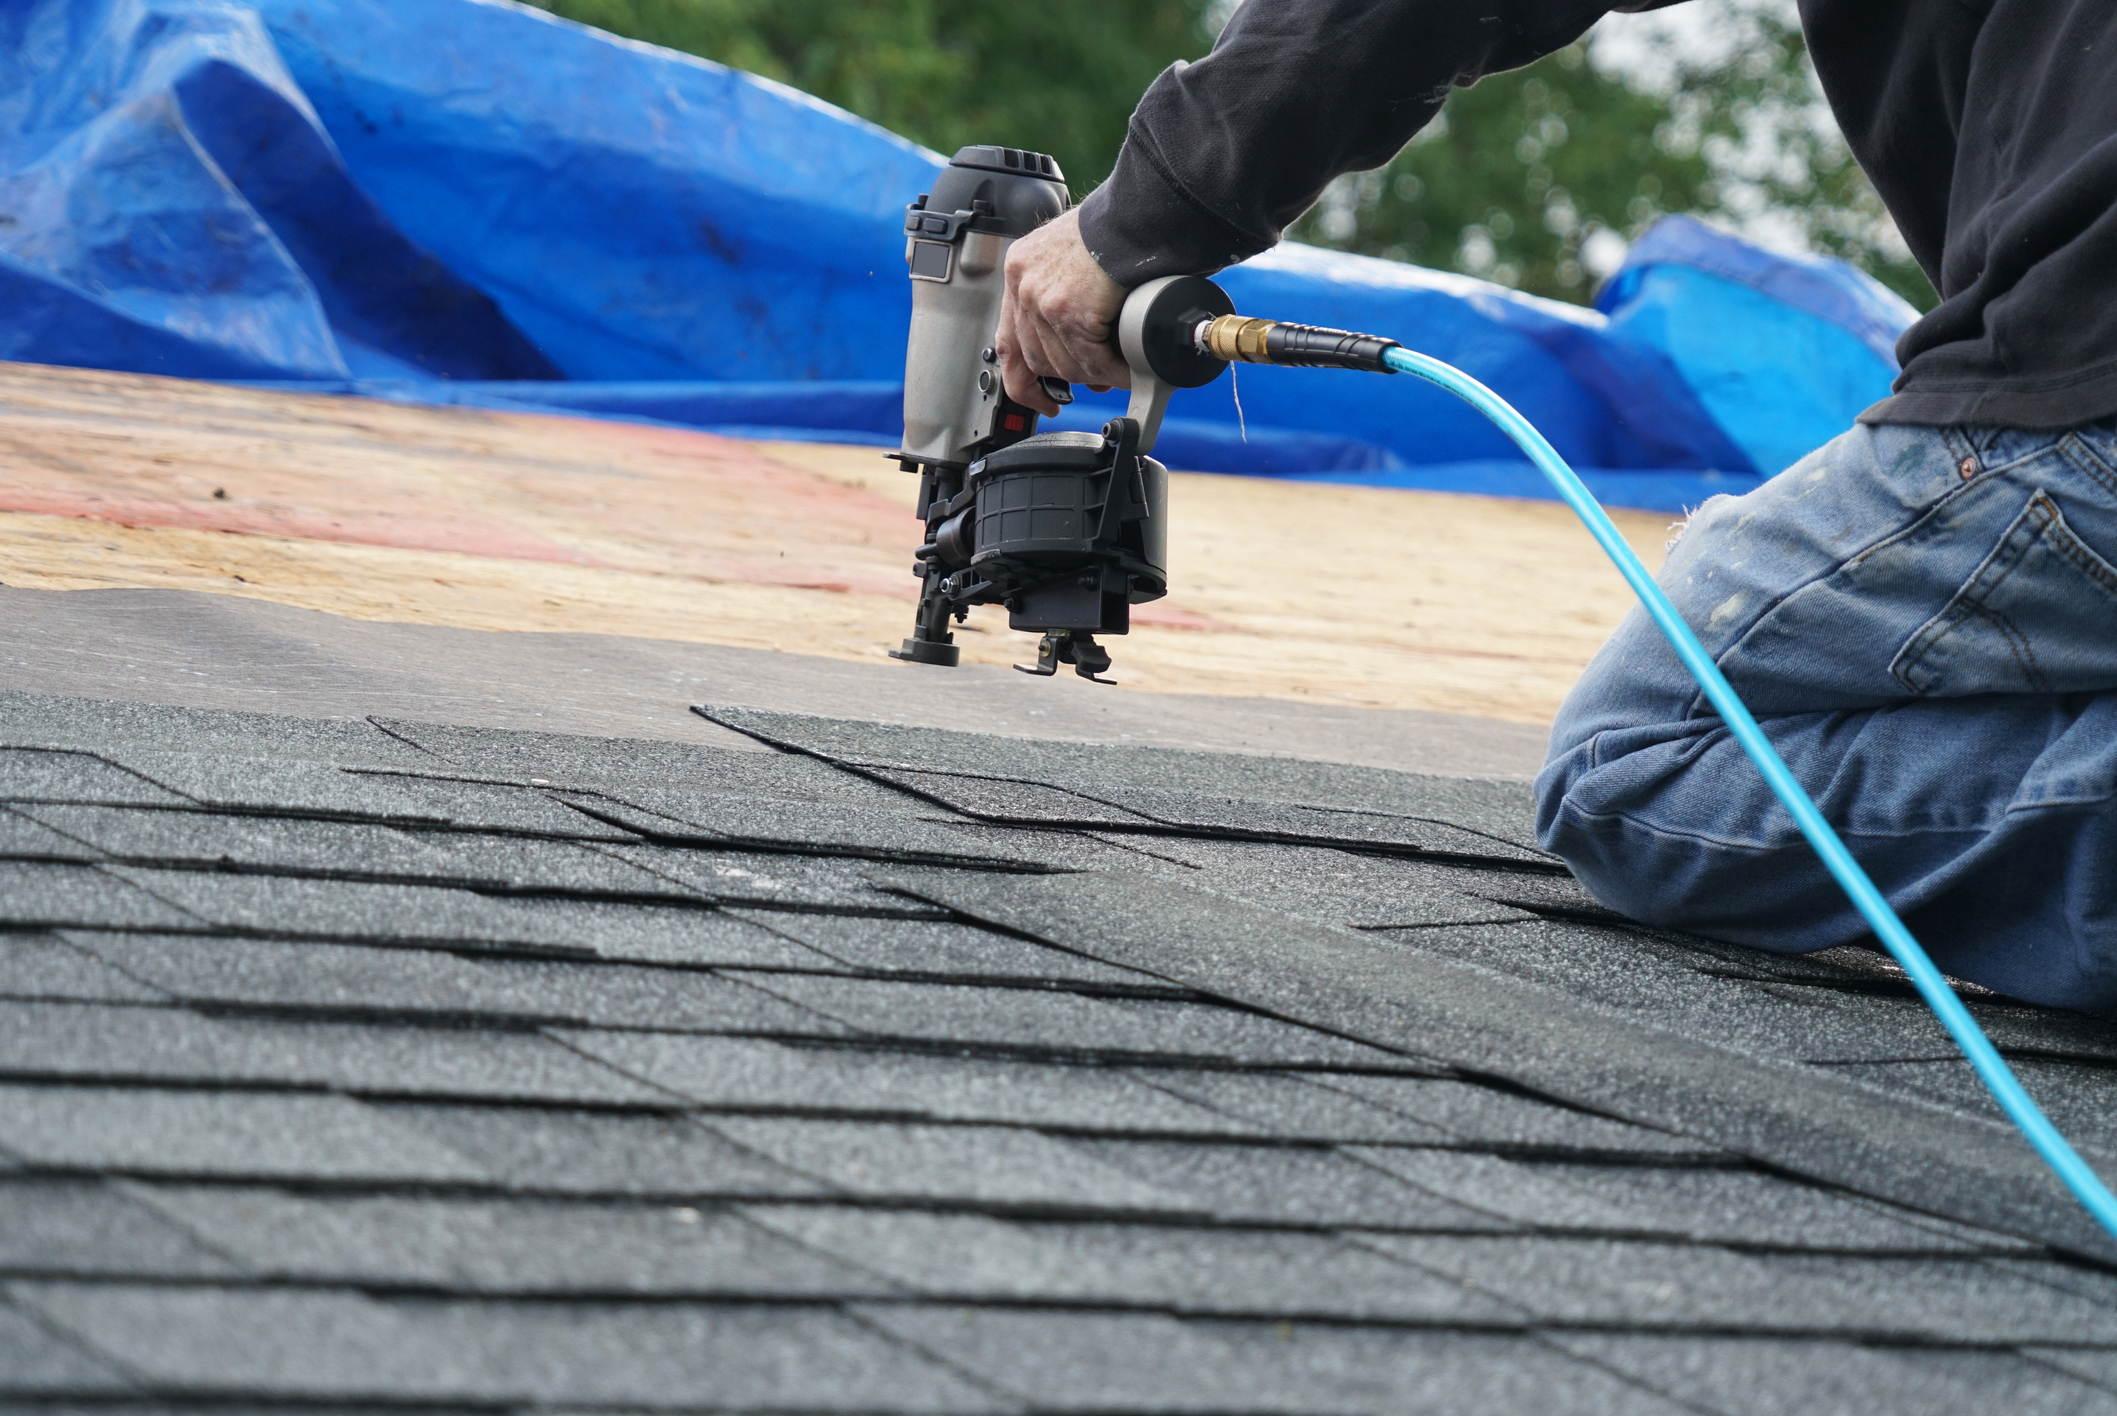
Installing Asphalt Shingles
Asphalt shingles are relatively easy to install and are a popular choice for DIY enthusiasts. However, proper installation is crucial to prevent leaks and extend the roof's lifespan.
Steps
- Prepare the roof deck
- Install the underlayment
- Lay starter shingles along the eaves
- Install shingles in overlapping rows
- Cap the roof with ridge shingles
Tools Needed
- Hammer
- Roofing nails
- Utility knife
- Roofing adhesive
- Chalk line
- Ladder
Biggest Challenges
Ensuring proper overlap and alignment to prevent leaks.
Installing Metal Roofing
Metal roofing is durable and energy-efficient, but due to its complexity, it requires precision during installation. Professional help is often recommended due to the complexity.
Steps
- Measure and cut metal panels
- Install insulation and underlayment
- Attach metal panels with screws
- Seal seams and edges
- Install flashing and trim
Tools Needed
- Metal snippers
- Power drill
- Roofing screws
- Measuring tape
- Safety harness
- Ladder
Biggest Challenges
Handling large metal panels and ensuring watertight seams.
Installing Wood Shingles or Shakes
Wood shingles and shakes provide a natural, rustic look but require careful installation to avoid warping and leaks.
Steps
- Install roofing felt
- Lay shingles/shakes starting from the bottom edge
- Overlap each row by half
- Secure with nails
- Trim and finish at the ridges
Tools Needed
- Hammer
- Roofing nails
- Measuring tape
- Chalk line
- Ladder
- Saw
Biggest Challenges
Maintaining consistent spacing and avoiding splits in the wood.
Installing Tile Roofing (Clay, Concrete, Slate)
Tile roofing is exceptionally durable but heavy and complex to install. Professional installation is highly recommended.
Steps
- Install waterproof underlayment
- Lay tiles starting from the bottom edge
- Secure tiles with screws or clips
- Install ridge tiles
- Apply mortar to seal gaps
Tools Needed
- Tile cutter
- Power drill
- Roofing screws/clips
- Mortar and trowel
- Ladder
- Safety harness
Biggest Challenges
Handling heavy tiles and ensuring proper alignment.
Other Considerations
A well-protected home goes beyond choosing and installing roofing materials. Several other features improve drainage and protect the home from water and moisture.
Ice barriers are crucial in colder climates to prevent ice dams, while flashing protects vulnerable areas from leaks. Fascia boards support the roof's lower edge and provide a finished look.
Gutters and downspouts are vital for directing water away from the foundation, preventing erosion and water damage.
Properly installing these elements ensures your roof performs efficiently and lasts longer, protecting your home from various weather conditions.
Success Begins with Careful Planning
Successfully roofing a small house kit requires a realistic assessment of your skill and a thoughtful choice of materials that balance style and function.
Also, careful consideration of roof pitch, appropriate material selection, and essential components like flashing, ice barriers, and gutters will ensure your roof is durable and efficient.
With the right approach, your small house kit will be well-protected and beautifully finished, ready to withstand various weather conditions for years to come.
Some of the same materials like metal and wood can be used for exterior finishing. Read the article about options for your home siding.
FAQs
A square in roofing refers to 100 square feet of roofing material. It's used as a standard measurement for estimating and purchasing materials.
Roof pitch indicates the steepness or slope of a roof. It's expressed as a ratio, such as 4:12, which means the roof rises 4 inches vertically for every 12 inches horizontally.
Flashing is a thin material, often metal, installed to prevent water penetration around joints, such as where the roof meets a plumbing vent stack or chimney.
Fascia is a board that runs along the lower edge of the roof that often supports the first row of roof tiles or shingles and provides a finished appearance.
A roof pitch of 4:12 (18.4 degrees) or less is generally considered safe for DIY roofing, as it's easier to work on and less steep.
A bundle of asphalt shingles typically weighs between 60 to 80 pounds, depending on the brand and type of shingles.
Yes, permits are usually required for roofing projects. Regulations vary by location, so it's important to check with your local building department.
Roofing materials are typically started at the bottom edge of the roof and work upward, overlapping each row to ensure proper water shedding.
Metal roofs, specifically standing seam metal roofs, are highly recommended for protection against high winds due to their durability and secure installation.
Class A fire-rated materials such as metal roofing, clay tiles, and asphalt shingles treated with fire retardants are best for fire resistance.
Metal roofing, especially standing seam metal roofs, is the most wind-resistant roofing material. It withstands strong winds associated with tornadoes and hurricanes due to its interlocking panels and sturdy installation.