How to Build a Small House Kit: Plumbing with SIPs


Tackling DIY rough-in plumbing can save money. It’s essential to adhere to best practices and seek expert advice when necessary. If you hit any snags, consulting a licensed plumber will help ensure safety and compliance with regulations.
The first rule for roughing in plumbing with your prefab kit from Mighty Small Homes is not to put plumbing inside an exterior wall.

Here’s why: The structural insulated panels of the exterior walls with the solid foam core provide a high insulation value that makes your home about 60% more energy efficient than a traditional stick-built home. It’s difficult to run pipe through the exterior walls, and it would reduce the insulating benefits.
There are solutions for fixtures like kitchen sinks, often on an exterior wall with a window above.
This article in our “Get Building” series helps you tackle DIY plumbing rough-in.
Steps for Plumbing Your Small Home Kit
Once you obey the first rule, plumbing your SIPS home is no different than plumbing a conventional home. It may be easier.
Step 1: Floor Planning is the Key
Rough-in plumbing your kit home starts early – before your home arrives. Careful planning of the location of your kitchen, bathrooms, laundry, and water heater makes running the supply and drain lines easy, and it reduces costs.
During your site preparation and foundation construction, you should have planned the location for the service lines.
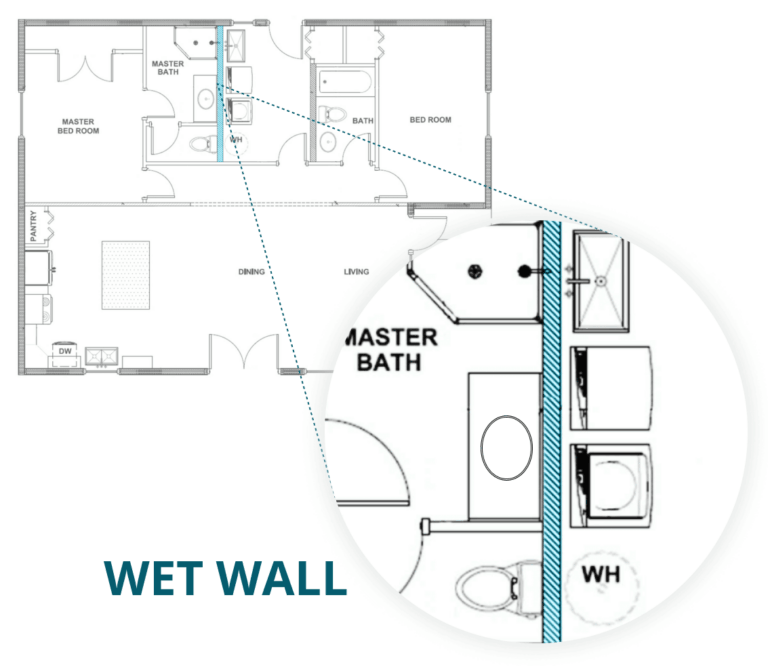
Your kit home includes a custom floor plan design. Our planner will help you craft a layout incorporating one or more “wet walls.” These interior walls divide your home into the various rooms where you will run your plumbing.
A carefully planned wet wall will save you time and money because plumbing is consolidated in only one or two locations in your home.
How does a wet wall work?
The best approach for your wet wall is to have rooms needing plumbing share an interior wall.
A wet wall is often an interior wall designed to consolidate plumbing for water supply and drainage and avoid plumbing on exterior walls. This approach helps prevent issues related to freezing pipes and simplifies maintenance.
It also centralizes the plumbing system, making it more efficient and accessible for repairs and modifications. It improves the home's overall durability and insulation.
For example, a full bath in a bedroom may share a wet wall with a half bath and kitchen. The illustration shows the layout, which includes a wet wall.
A laundry room and water heater could share a wall with a half bath.
It’s easy to see how a wet wall can save time.
Sometimes, installing plumbing along an exterior wall can’t be avoided. If you need to run plumbing on an exterior wall for a kitchen sink below a window, installing a surface chase on the wall facing is best to conceal the pipes.
Plastic or Copper Plumbing
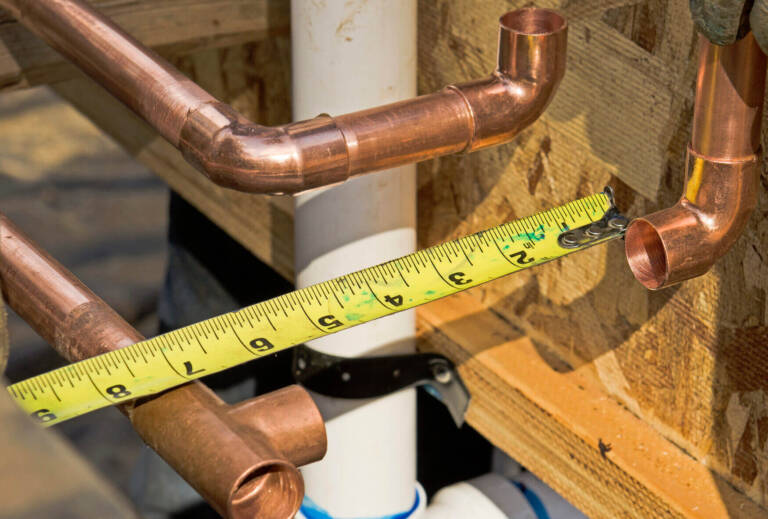
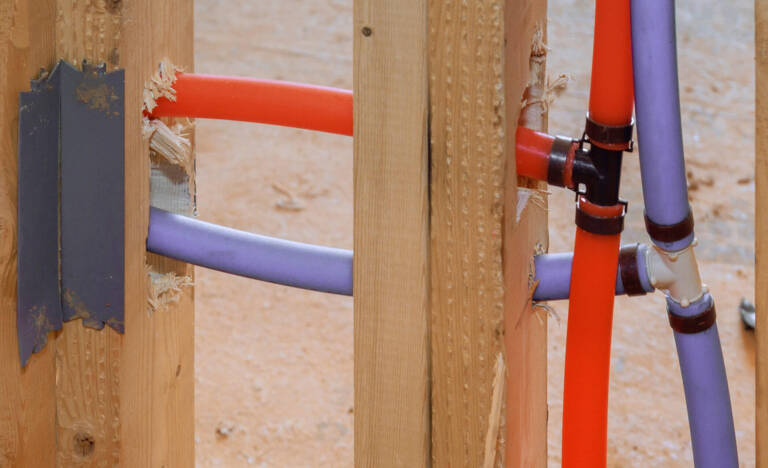
The two key options for rough-in plumbing are plastic or copper. Copper has been the traditional material. PVC (polyvinyl chloride) plumbing has been used for many years. Now, PEX, which stands for cross-linked polyethylene, offers an alternative that makes it a good choice.
Each has advantages and disadvantages.
 |
 |
Copper |
PEX |
Advantages of Copper |
Advantages of PEX |
| Durable | Less expensive |
| Resists Corrosion | Less labor required |
| Resistant to Bacteria | No corrosion |
| Last longer (50-70 years) | Reduced risk of freezing |
| Flexible and requires fewer fittings | |
Disadvantages of Copper |
Disadvantages of PEX |
| Expensive | not impermeable |
| requireces torch for making connections | shorter life expectancy (30-50 years) |
| more susceptible to freezing | Degrades with exposure to direct and indirect UV light |
Step 2: Permits Keep You Legal, Inspections Keep You Safe
During your early planning, you’ve found permits and inspections are part of the construction process. While there are many universal codes for plumbing, you’ll need to be familiar with the requirements for your state or city.
Make sure your jurisdiction allows you to perform the rough-in plumbing.
There are specific code requirements for plumbing in each area of your home.
Examples of Plumbing Requirements
We’ve highlighted a few plumbing requirements so you can better understand what’s required. This is not a comprehensive list.
Don’t hesitate to contact a professional. That could save you time, money, and headaches.
- Drains - Support plastic lines at the required distance. Support at each horizontal branch connection.
- Traps - Trap arms less than three inches cannot change direction more than 90 degrees without a cleanout, and trap arms three inches and larger cannot change direction more than 135 degrees without a cleanout.
- Vents - Vents must terminate a minimum of six inches above the roof line and 10 inches in high-snow load areas.
- Water Service - Minimum service line is ¾ inch.
- Dishwasher - The drain requires an air gap.
- Bathroom - Rigidly support faucet and shower head fittings. Check for minimum shower size.
Once you have roughed in your plumbing, the inspection can be performed. Check your code-enforcement offices. The plumbing, electrical, and mechanical work may be inspected at the same time.
Step 3: Finishing
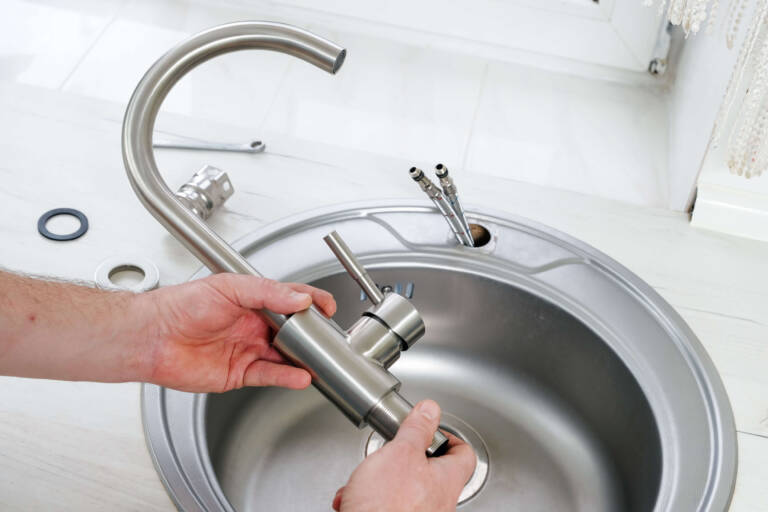
Following the inspection you can begin setting your sinks, drains, toilets, and other fixtures. You should plan on completing your painting and flooring before your final plumbing.
Be sure you have turned off the water supply before removing the temporary caps on the plumbing stubs. If you have replaced new faucets or toilets, or unclog a drain elbow, you should be comfortable with the finished plumbing.
Now for the second rule: Check for leaks.
Plumbing Tips
Don’t over-tighten water supply lines
As tempting as it may be, over-tightening the connection to your sink or toilet may do more harm than good. Threaded nuts may crack, and rubber seals may compress and fail. Hand tighten and then use pliers for an additional quarter turn.
Using Teflon tape
Wrap the “tape” clockwise three times for the best seal. The tape won’t unwind when the connection is screwed together.
Use silicone caulk, not putty
For sealing joints, silicone calk is preferred. It lasts longer than putty and won’t stain stone or some plastic surfaces.
Shutoffs and cleanouts
You won’t regret installing these if you need to repair or unclog.
Frequently Asked Questions
Rough-in plumbing includes routing pipes through wall cavities, vent stacks to the roof, and connecting the water supply and wastewater drain lines.
PEX plastic tubing, made from cross-linked polyethylene, is used for rough-in plumbing for new-home construction. PEX is commonly used for plumbing because its material is flexible and resistant to freezing temperatures.
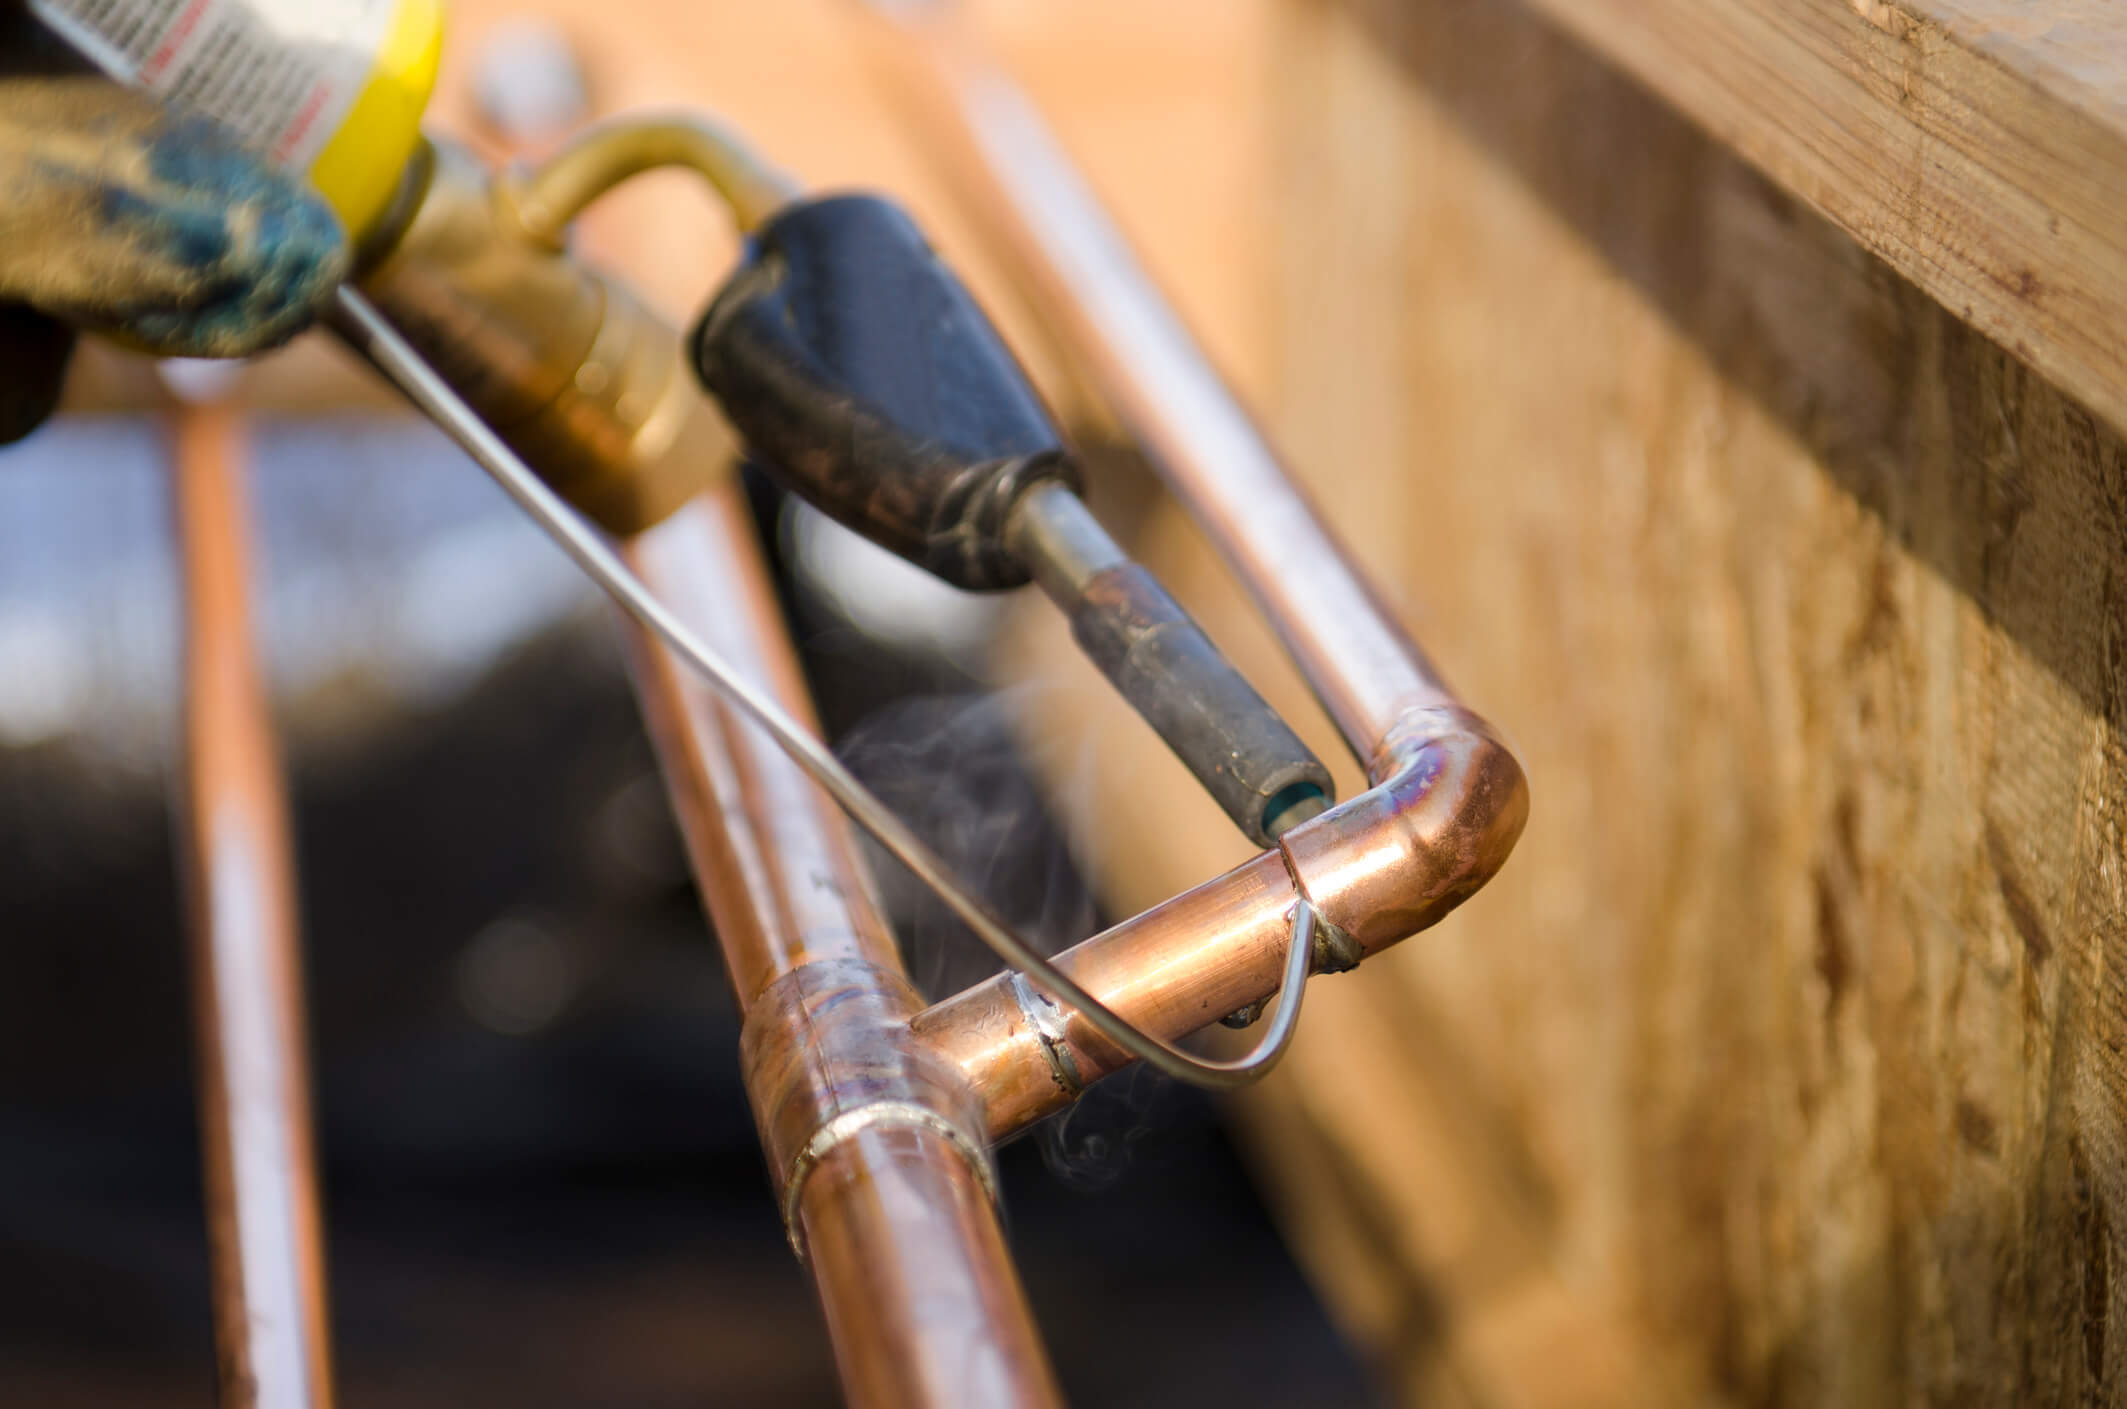
This is another term for joining copper fittings with soldering using a torch.
A drain should drop ¼ inch for every linear foot. Too much slope and the water may flow too fast, leaving solids; with too little slope, the solids may not flush away.