How to Build: Wiring a Mighty Small Home Kit
Ready to bring your new prefab home to life with electricity? With your windows, doors, and interior wall framing complete, the next step is one of the most crucial - wiring your home.
Whether you’re a seasoned DIYer or a beginner, wiring a home can seem daunting. But don’t worry — this guide will help you understand the wiring process, making it accessible and straightforward.
Learn how to efficiently pull and install electrical cables for outlets, switches, and lighting, all while preserving the energy efficiency of your structural insulated panels (SIPs).
| Important Rules to Remember | |
|---|---|
|
Wiring differs from traditional homes for a prefab house kit using structural insulated panels (SIPs). Instead of drilling hole after hole through two-by-four wall studs and header plates, you’ll fish and pull cables through sealed panels.
Using Floor Plans as a Guide
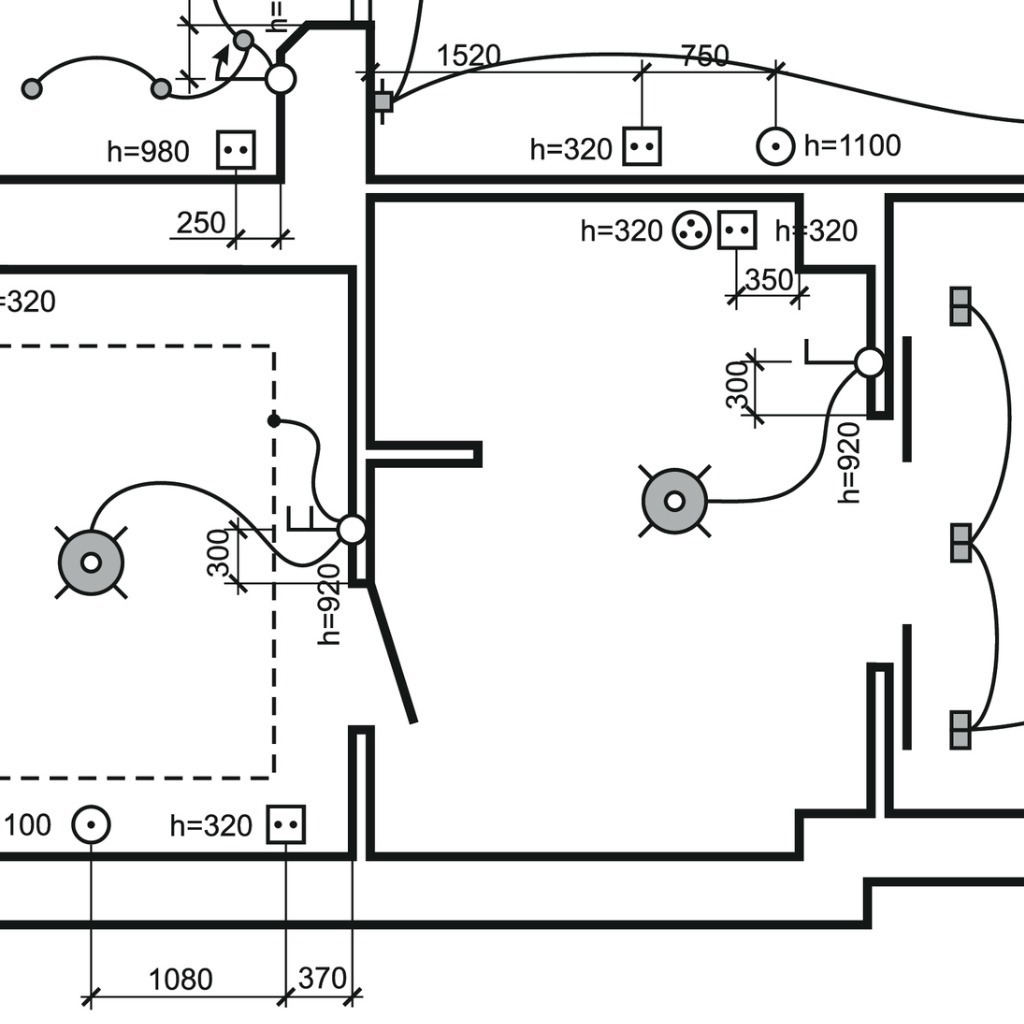
Mighty Small Homes provides customized floor plans with all kits. These plans include dimensions for all walls, windows, and door openings. Use these as your guide for planning electrical installations. Mark locations for electrical panels, outlets, and switches on the plans to accommodate multiple wires and meet code requirements.
Understanding Local Codes and Regulations
Consult your local planning office to understand wiring requirements based on national codes like the National Electrical Code (NEC). Ensure you comply with local regulations and safety standards.
Wall and Roof Opening Checklist
Plan for all necessary electrical devices to avoid missing any essential wiring.
- Receptacles, switches, fan controls
- Light openings
- Telephone and cable TV jacks
- Doorbell systems
- Thermostats and electric heat openings
- Internet and audio equipment
- Security devices
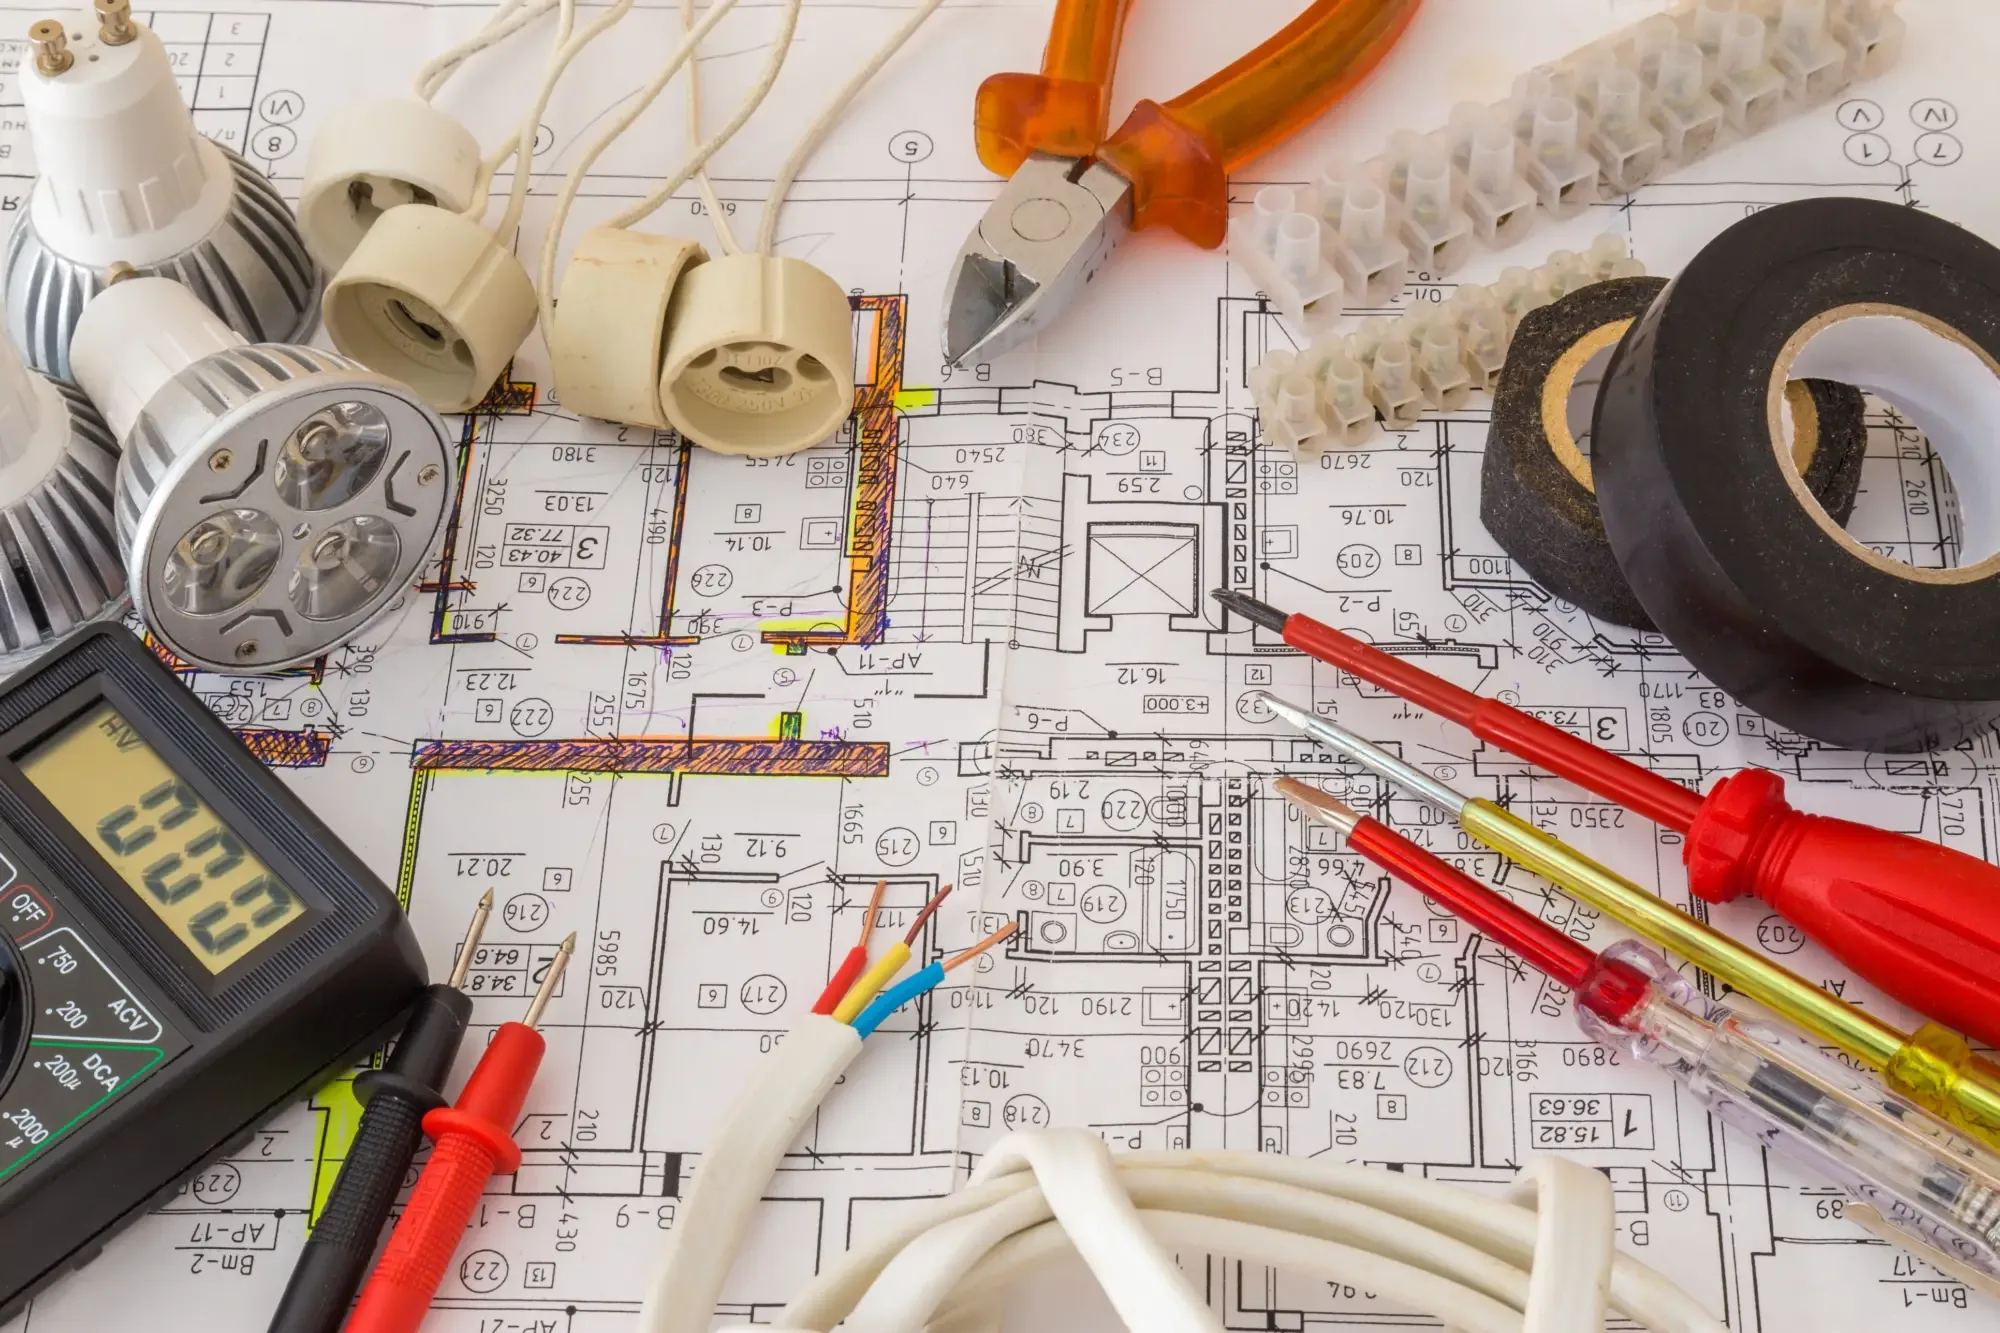
Tools for Wiring and Installation
Ensure you have the following tools and accessories.
- Fish tape wire puller
- Measuring tape
- Outlet boxes
- Drill
- Round cutter
- Wood bore
- Wire nuts and wire cutters/strippers
Calculating Wire Needs
Gather wire based on the amount and gauge needed for various loads. For example, washers and dryers require heavier gauge wire. Use the American Wire Gauge (AWG) system to measure wire thickness.
| Wire Gauge | Amphere Rating | Applications Review the amp ratings for appliances and equipment |
|---|---|---|
| 4/0 (0000) | 260 amps | The largest wire size likely to be found in home electrical systems |
| 3/0 (000) | 200 amps | Service entrance and feeder cable |
| 1/0 (0) | 150 amps | Service entrance and feeder cable |
| 2 Gauge | 95 amps | Large water heaters, HVAC units, and electrical vehicle (EV) chargers |
| 4 Gauge | 70 amps | Electric furnaces, hot tubs or spas, electric furnaces, and electric ranges and ovens |
| 6 Gauge | 55 amps | Clothes dryers, cooktops and electric ranges, subpanels, and water heaters |
| 10 Gauge | 30 amps | Window AC units, power tools, baseboard heaters, water heaters, cooktops |
| 12 Gauge | 20 amps | Kitchen, bathroom, and outdoor receptacles (outlets) – 120V air conditioners, and general lighting |
| 14 Gauge | 15 amps | Light fixtures, lamps, receptacles, lighting circuits, entertainment systems, smoke detectors, and small appliances |
| 16 Gauge | 13 Amps | Low-voltage landscape lighting, low-power tools, small appliances, and lighting fixtures |
| 18 Gauge | 10 amps | Low-voltage lighting, LED lighting, speaker wire, and doorbells |
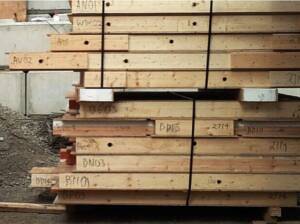
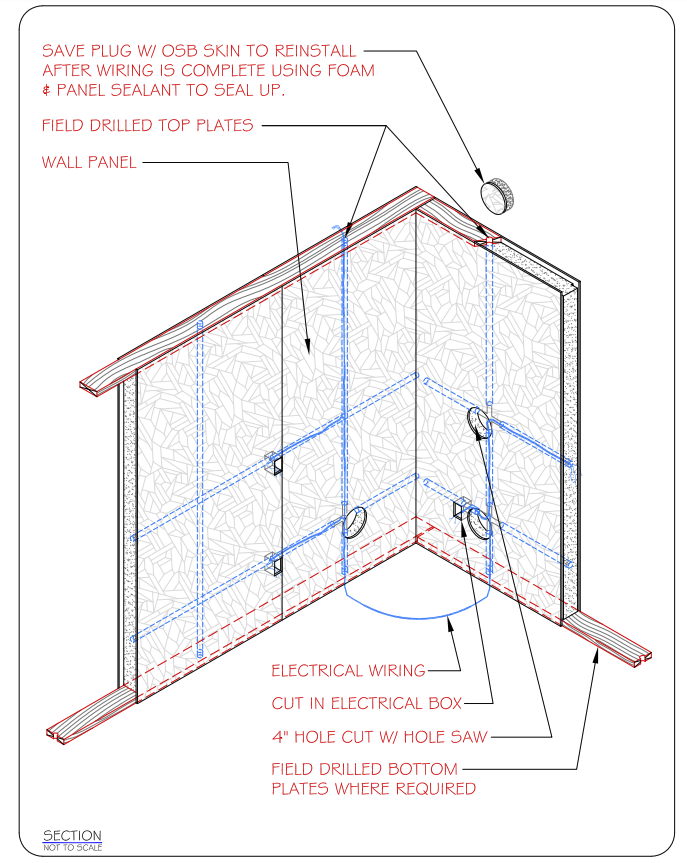
Wiring Through Panels
Mighty Small Homes include 1-¼” channels in panels for electrical wires. Use these channels exclusively for electrical use, not plumbing or other utilities.
- Horizontal Chases: Installed 16” from the bottom of wall panels for electrical outlets; additional 44” chases in kitchen, bath, and utility areas.
- Vertical Chases: These are provided in 4’ wide panels below window openings. Boreholes are drilled in the sill, and top plates to align with wire chases for easy wire pulls to sublevel or roof areas.
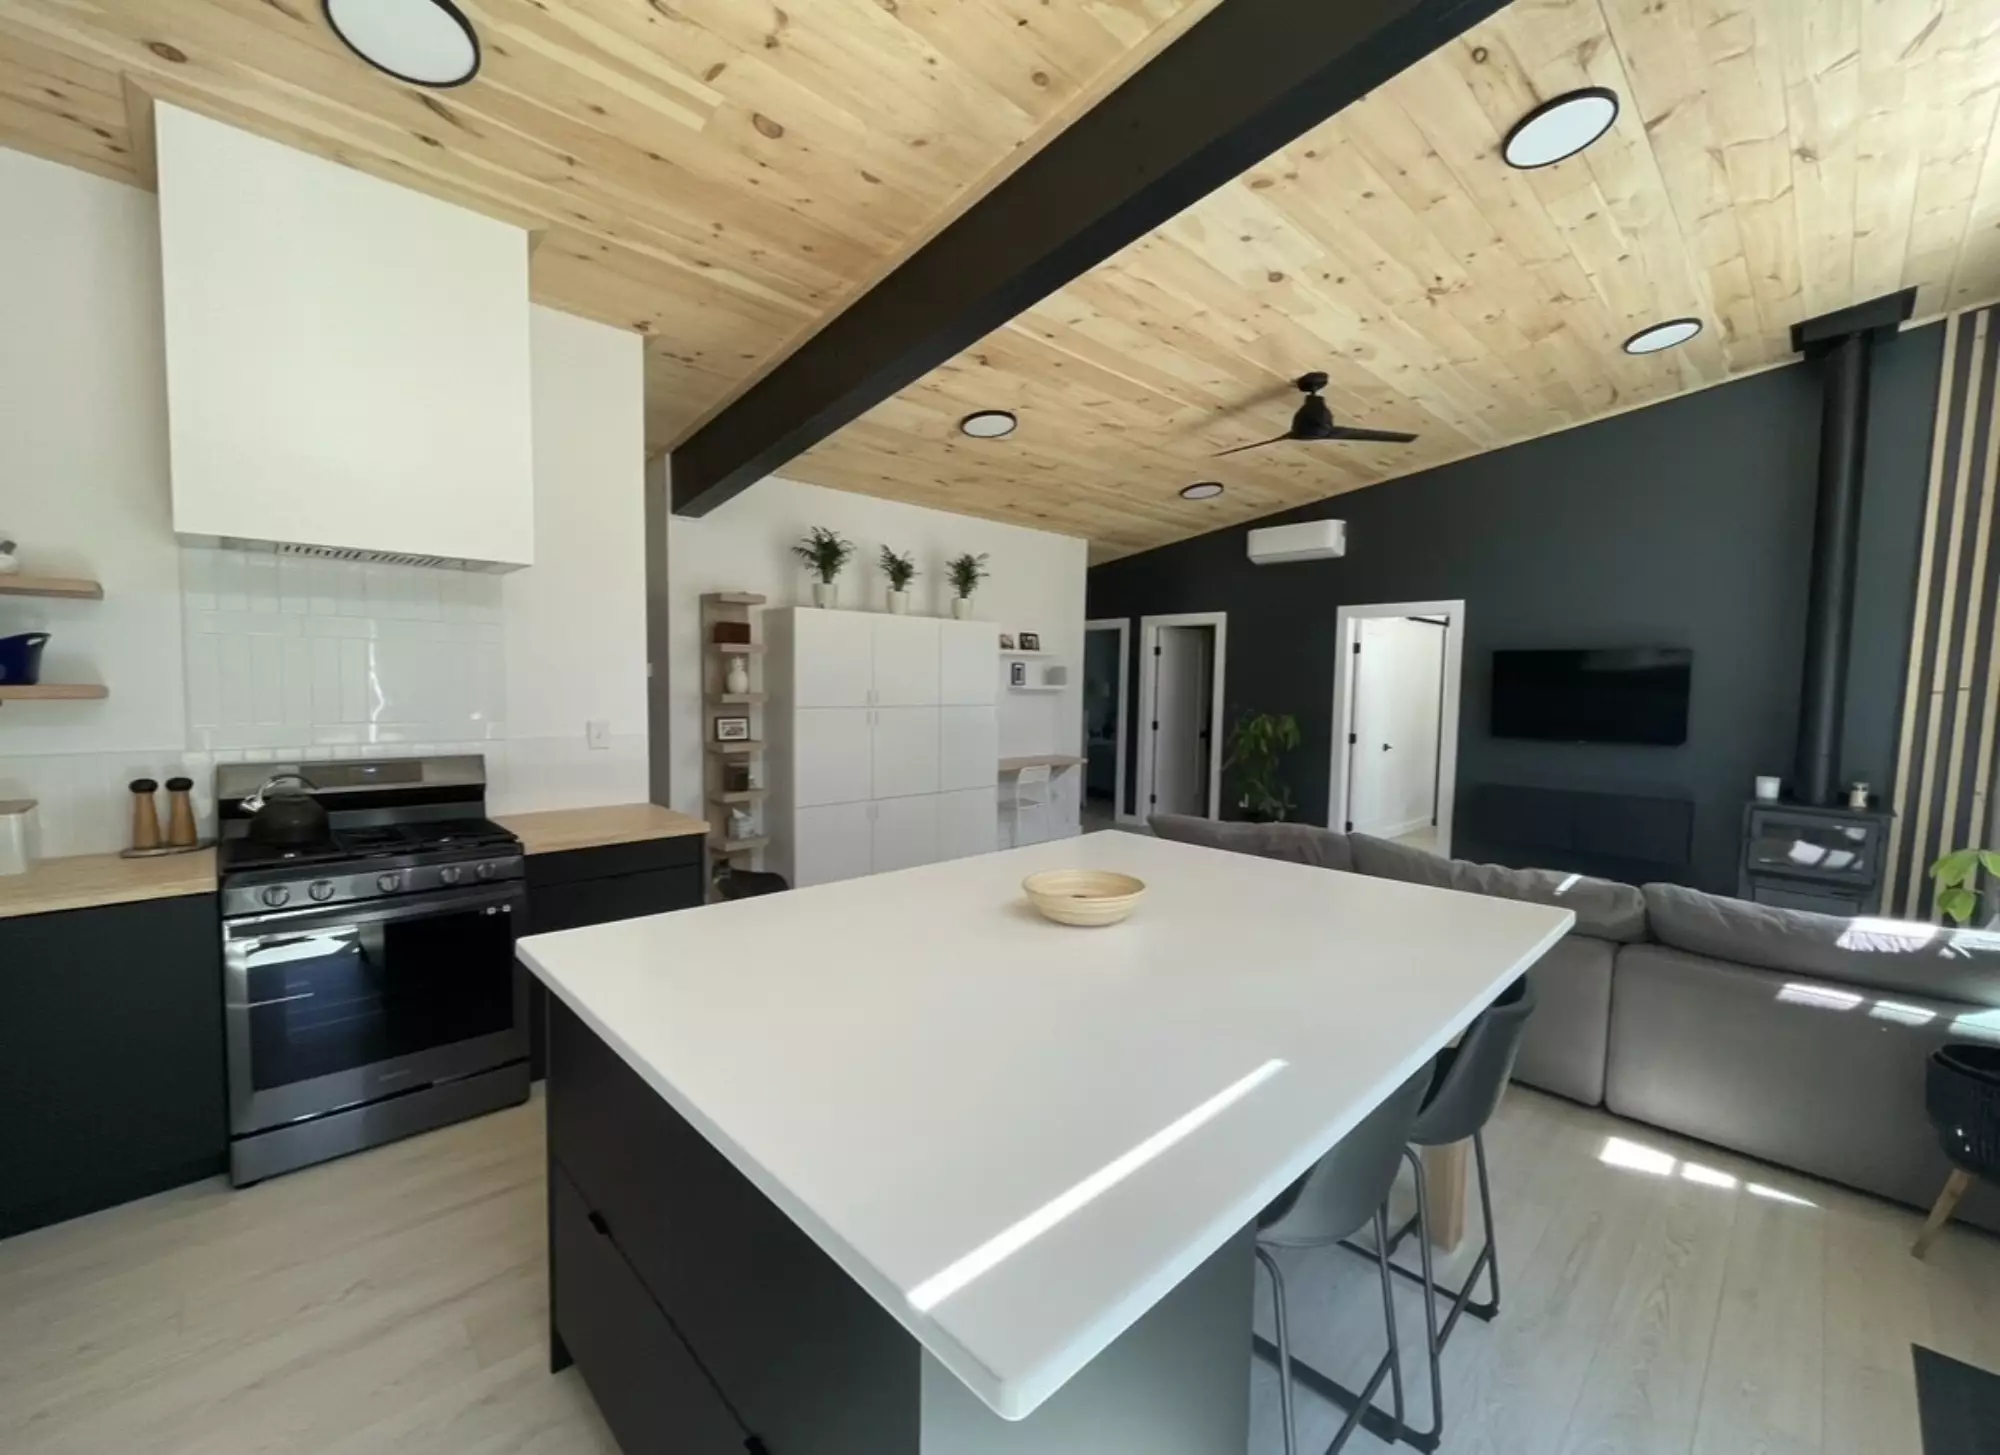
Roof and Ceiling Wiring
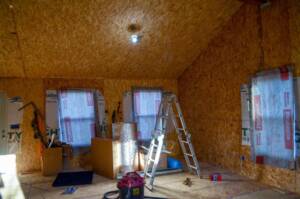
Depending on your design, roof panels may have wire chases for wiring. Plan wiring routes in advance, especially in corners, to prevent confusion and ensure efficient installation.
It’s best to avoid recessed lights for lighting in SIP roofs. Recessed lights can weaken the structural integrity of the SIP panel and cause heat-related issues. For a better solution, consider track lighting or surface-mounted LEDs
When working with electrical wiring in SIP roof panels, aligning the wiring chases with the vertical chases in the wall panels is essential. This alignment ensures end-to-end connectivity and efficient routing of electrical cables. Make sure your plans specify these alignments to avoid any issues during installation.
The Mighty Small Homes roof panels can be delivered with pre-drilled wiring chases.
| TIP: Remove only necessary foam when installing boxes. Use foam sealant after the rough-in inspection to maintain energy efficiency . Ensure boxes are mounted after pulling wires, with wire pulled through openings, and securely fixed. |
Protecting Foam Insulation
Remove only necessary foam when installing boxes. Use foam sealant to maintain energy efficiency. Ensure boxes are mounted after pulling wires, with wire pulled through openings, and securely fixed.
Involve MEP Tradespeople Early
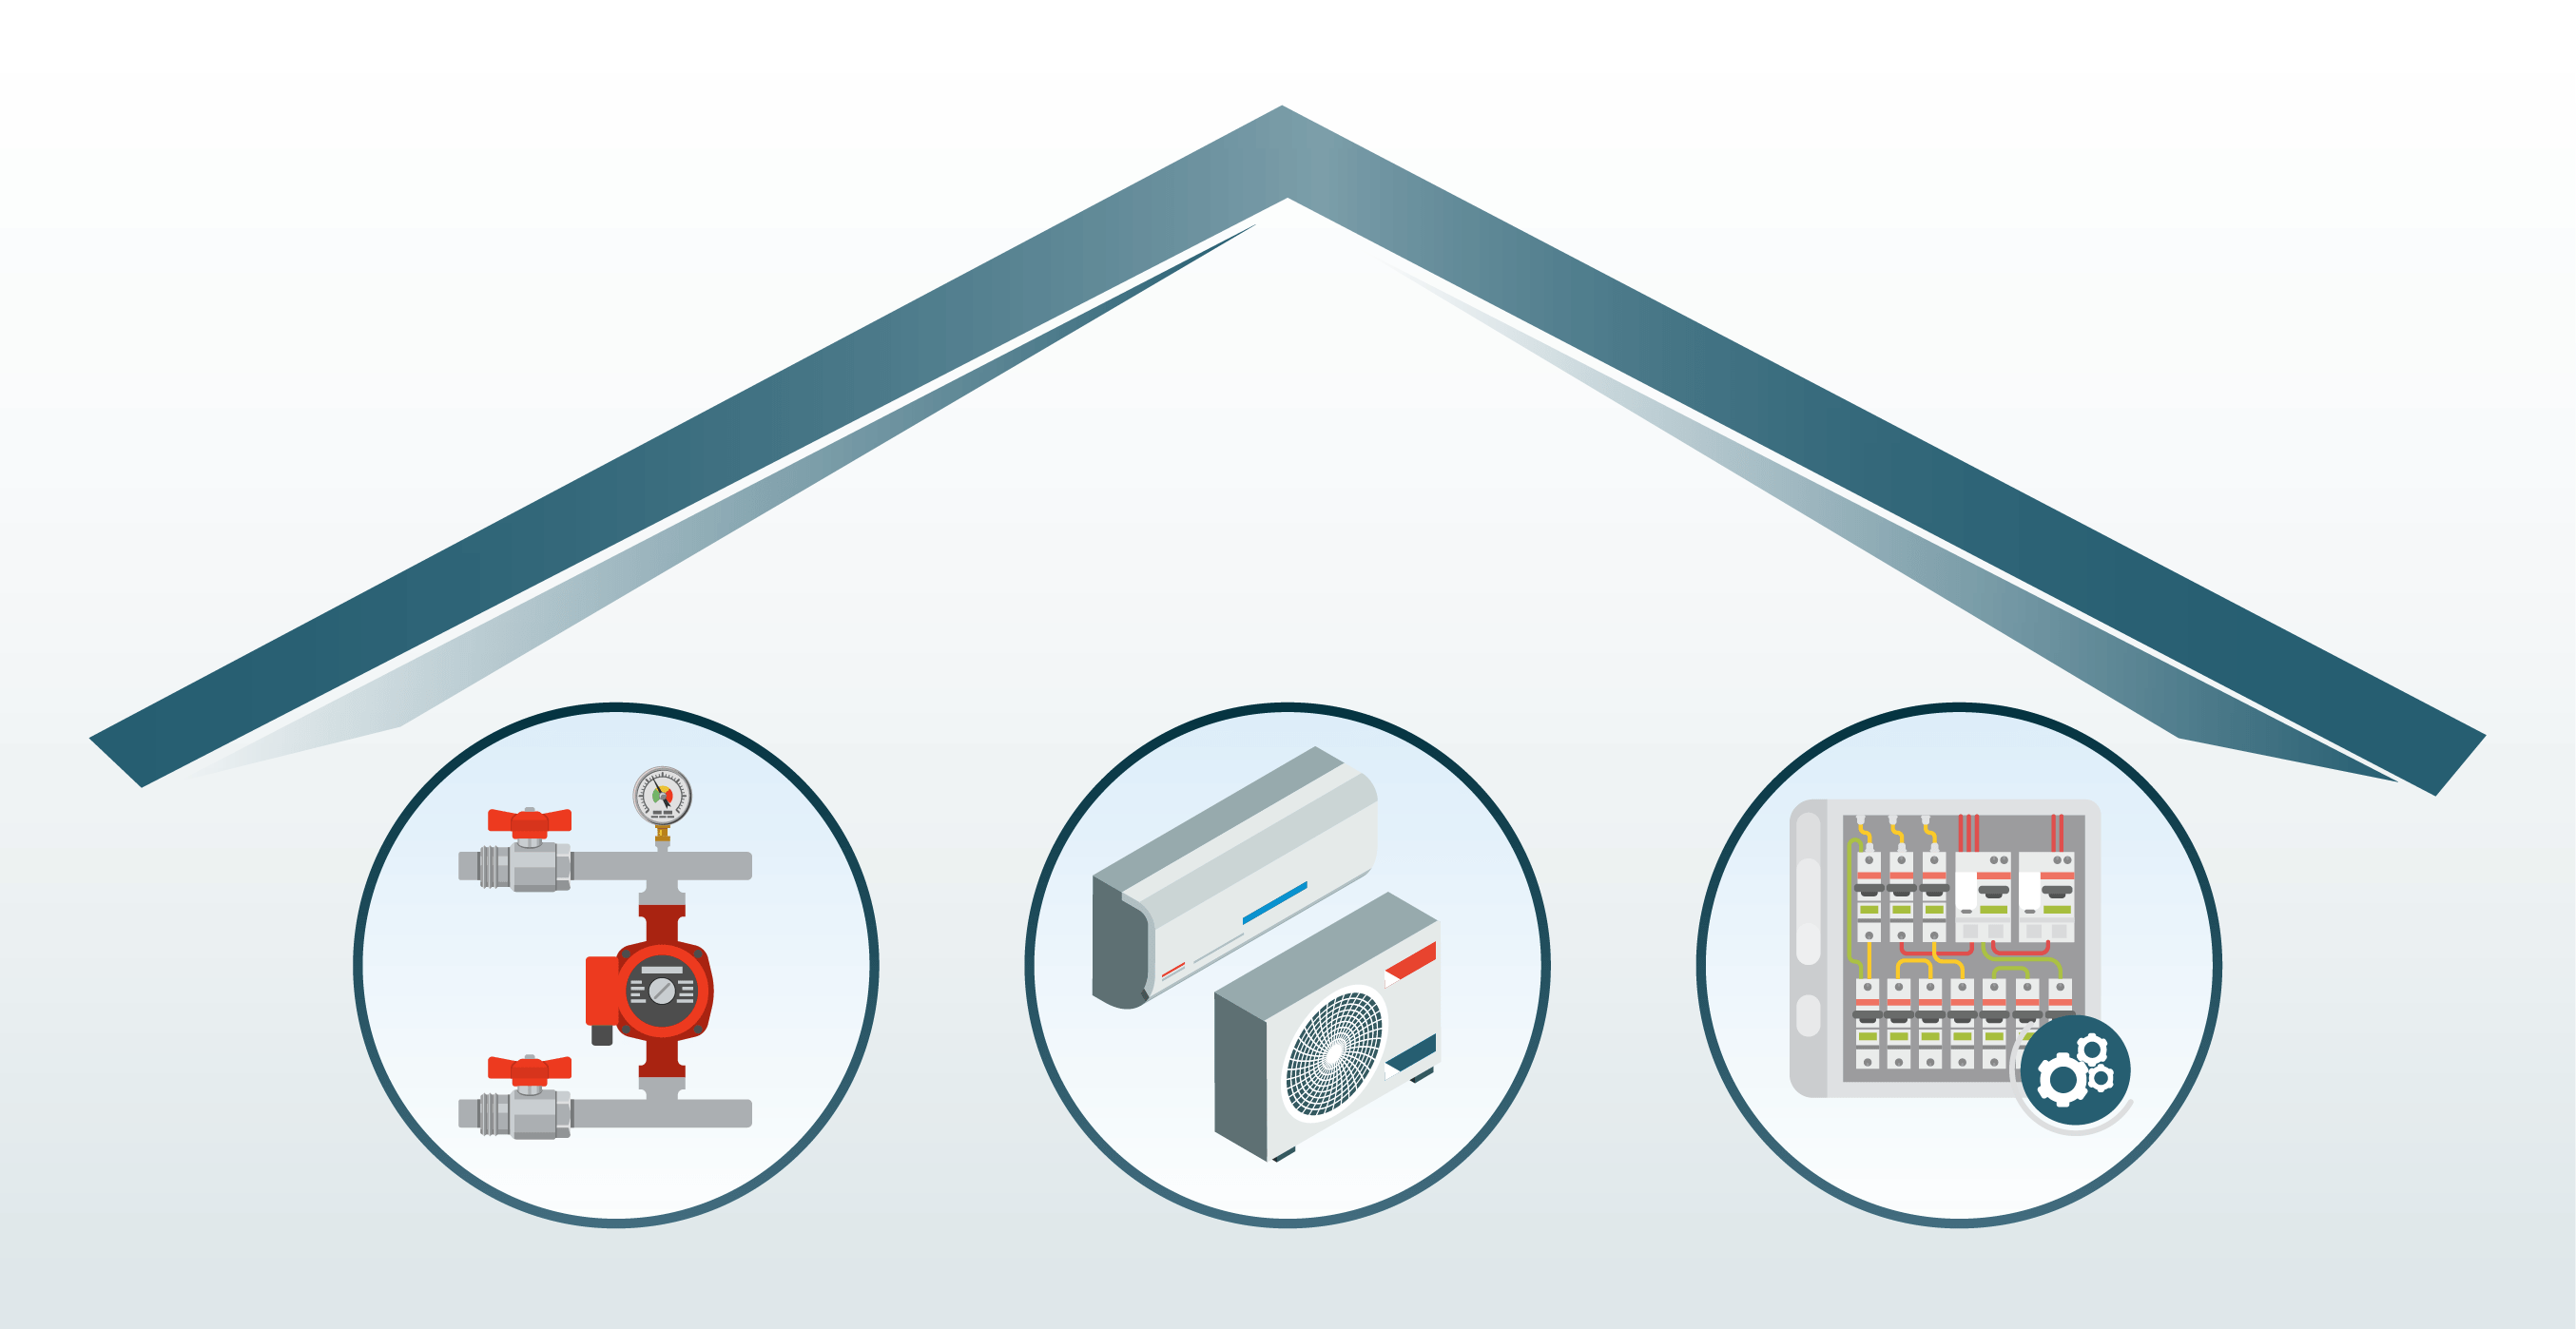
To prevent wiring issues, prefab kit homes using structural insulated panels benefit from a carefully planned mechanical, electrical, and plumbing plan (MEP) like traditional home-building projects.
MEP plans provide detailed documentation and layout for the mechanical, electrical, and plumbing systems in residential or commercial buildings. They are blueprints for installing and integrating these essential systems, ensuring they work together seamlessly to create functional and efficient structures.
Having an MEP plan can save you time and materials.
Wiring a SIP Home Yourself
Wiring your prefab SIP home is a unique but manageable task if you approach it with the proper knowledge and tools. Unlike traditional stick-built homes, SIP homes require you to fish and pull cables through sealed walls, preserving the panels’ integrity and energy efficiency.
Overview to Wiring Your SIP Home Yourself
Plan and Prepare
Begin by studying your customized floor plans provided by Mighty Small Homes. Building on a slab foundation requires extra planning for the main electrical service from the street.
Mark the locations for electrical panels, outlets, switches, and any other devices, having all necessary tools, including fish tape, measuring tape, outlet boxes, drill, wire nuts, wire cutters, strippers, etc.
Understand Local Codes
Before starting, consult your local planning office to understand wiring requirements based on national codes like the National Electrical Code (NEC). This ensures compliance with safety standards and avoids any future issues. New homes require inspections during two phases.
An electrical rough-in inspection occurs before the wall is closed or insulation is added. The inspector checks wires, conduits, and electrical boxes to meet safety standards. After the rough-in inspection, gaps around boxes are sealed with spray foam.
Once the home build is done, the work must have a final inspection. This comprehensive evaluation ensures that all electrical components are operational and conform to safety guidelines.

Installing Electrical Outlets and Switch Boxes
|
Create Minimal Disturbance
When pulling cables, aim to disturb the sealed panels as little as possible. This preserves your home's energy efficiency. Use the pre-cut channels in the SIP panels designed for electrical wires. Horizontal chases are typically installed 16” from the bottom of wall panels for outlets and 44” above countertops in kitchens and bathrooms.
Use Vertical Chases
Vertical chases are provided in 4’ wide panels and below window openings. Bore holes in the sill and top plates to align with these chases, allowing easy wire pulls to sublevel or roof areas.
| TIP: Always clean the holes of wood chips and other debris to facilitate smooth wire pulls. |
Protect the Insulation
When installing electrical boxes, carefully remove only the foam necessary to seat the box. If excessive foam is removed, use foam sealant to maintain the panel’s insulation value. This should be done after the rough-in inspection. Mount the boxes after pulling the wires, ensuring the cables are securely fixed, and the boxes are flush with the finished wall or ceiling surface.
Successfully Wiring Your SIP Home: A Rewarding DIY Project
Following these steps and some professional guidance if required, you can confidently undertake the electrical work of your SIP home.
Careful planning, adherence to local codes, and using the right tools are key to a successful and efficient wiring installation. With the right approach, wiring your prefab SIP home can be a rewarding DIY project that enhances your home's functionality and energy efficiency.
The Mighty Small Homes team will work with you to get your home ready for assembly.